
Baked Ziti


This post may contain affiliate links. Read my full disclosure policy.
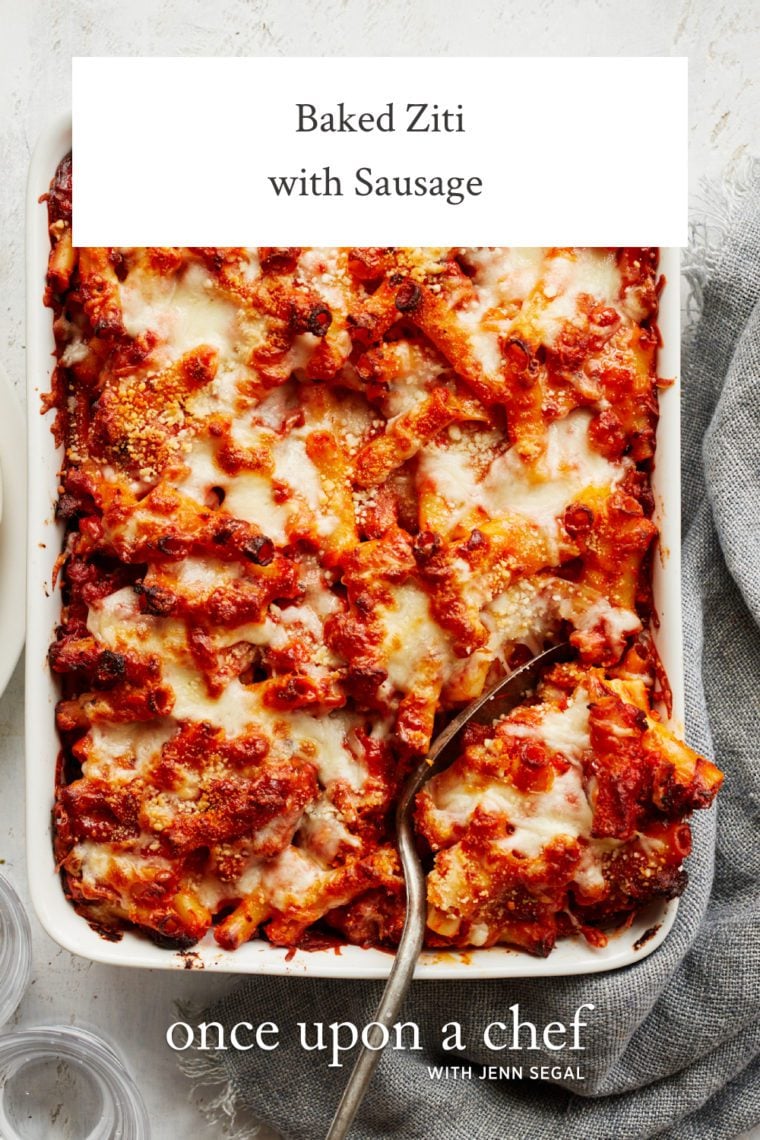
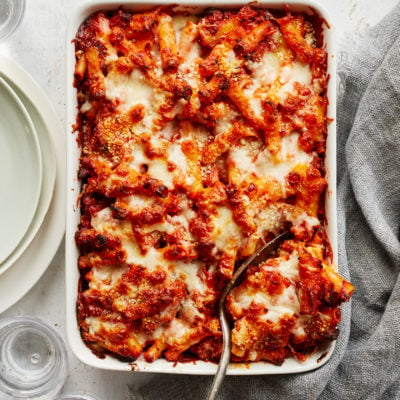
My baked ziti skips the ricotta for a silkier, creamier sauce that never bakes up dry or grainy. Made with Italian sausage, it’s easy enough for a weeknight and hearty enough for a crowd.
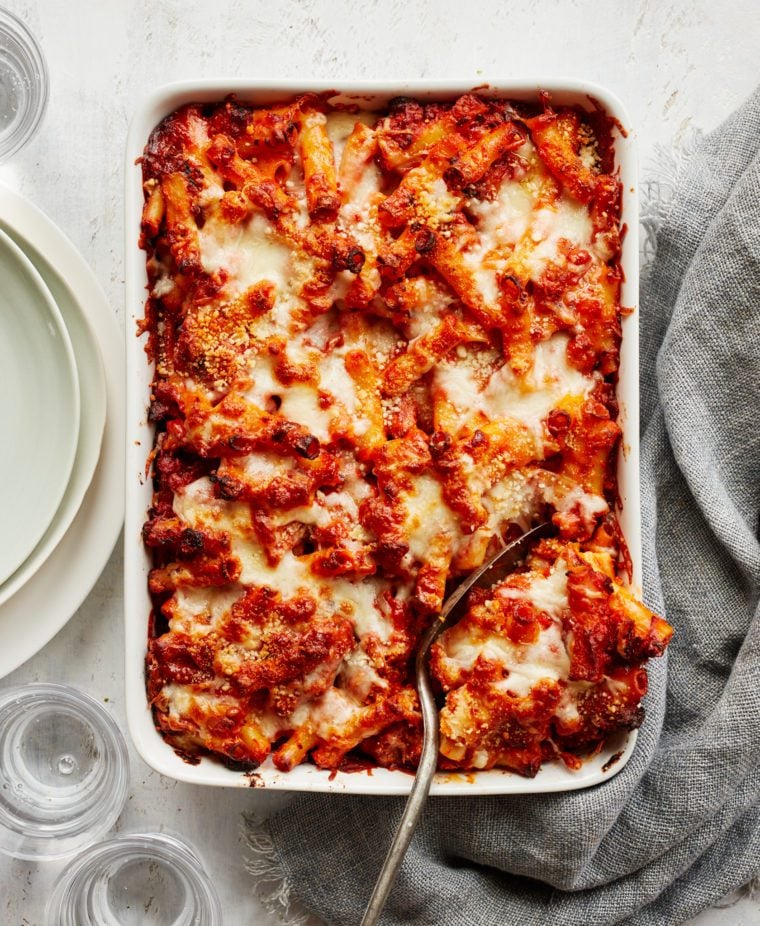
Photo by Johnny Miller, (Clarkson Potter, 2021)
This baked ziti is a MAJOR crowd-pleaser, whether I’m hosting a family gathering or cooking for my son’s college friends (I usually double the recipe in that case!). In fact, I love it so much that it’s featured proudly on the cover of my second cookbook. The Italian sausage does a lot of the heavy lifting here, giving the sauce deep flavor without a long ingredient list. It’s doable on a weeknight yet special enough to serve to company, and it’s also a fantastic make-ahead potluck dish.
What really sets this version apart from most baked ziti recipes is what’s not in it: ricotta. I know that’s the classic approach, but after lots of testing, I landed on a cream-based sauce instead—and I think it makes for a better dish. More on why below.
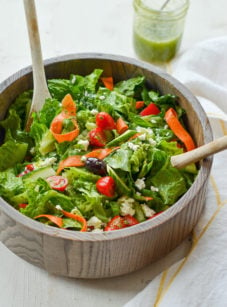
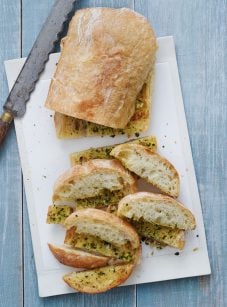
As the baked ziti works its magic in the oven, throw together a big Italian salad and warm some garlic bread, and you’re ready to feast!
“Simply outstanding…I made the ziti for a huge birthday party I hosted for a member of my family. Everyone (ages 5 to 91) devoured it.”
Why I skip The Ricotta
Most baked ziti recipes call for dolloping in ricotta, but baked at high heat, it tends to dry out and turn grainy—exactly the texture problem people worry about with baked ziti. So instead, I build the sauce with heavy cream and grated cheese. Stirred into the whole dish rather than dolloped throughout, it coats every piece of pasta evenly and keeps the ziti moist, down to the last leftover bite.
What You’ll Need to Make Baked Ziti
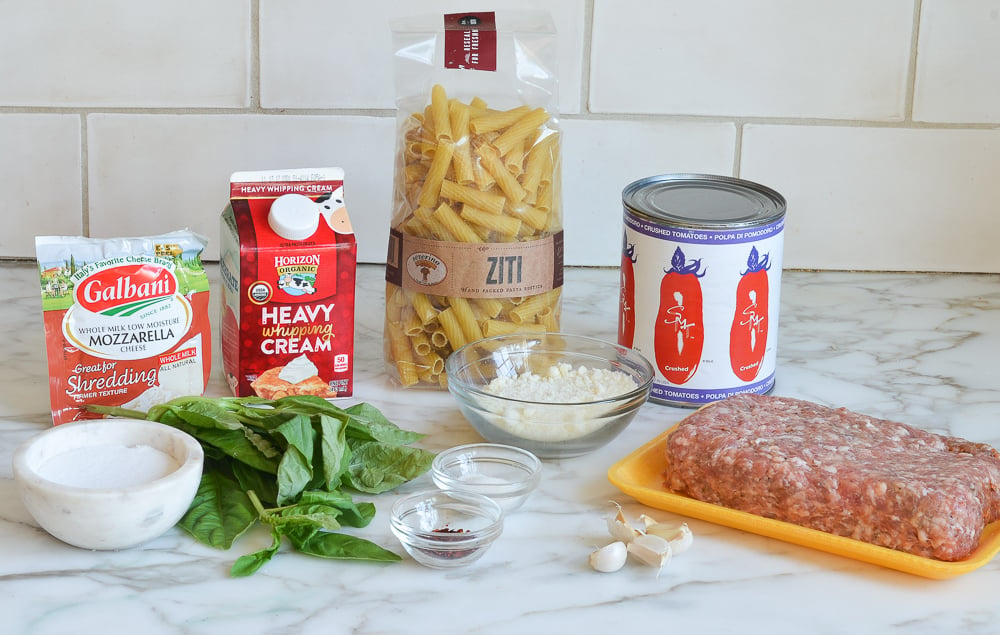
- Ziti noodles – Rigatoni or penne work fine too; look for a ridged shape that holds onto sauce.
- Italian sausage – Bulk sausage is easiest to crumble, but links work if you remove the casings first. Sweet or spicy, your call.
- Garlic: Adds savory depth to the sauce.
- Canned crushed tomatoes – The base of the sauce.
- Salt, sugar, and red pepper flakes – The sugar balances the acidity of the tomatoes; don’t skip it.
- Heavy cream – Stands in for ricotta here (see above).
- Pecorino Romano – Parmigiano Reggiano works as a substitute if that’s what you have.
- Pecorino Romano: Lends a sharp and salty flavor. Parmigiano Reggiano cheese can be substituted if needed.
- Fresh Basil: Adds a fresh, aromatic finish.
- Mozzarella Cheese: Whole milk mozzarella is best. You can purchase a plastic-wrapped brick of mozzarella (usually sold in the dairy case) and shred it yourself. To make it easier to work with, pop it in the freezer for 15 to 20 minutes prior to shredding. Or, to save time time, use pre-shredded mozzarella; just be sure it is made from whole milk, not part-skim.
- Jump to the printable recipe for precise measurements
Step-by-Step Instructions
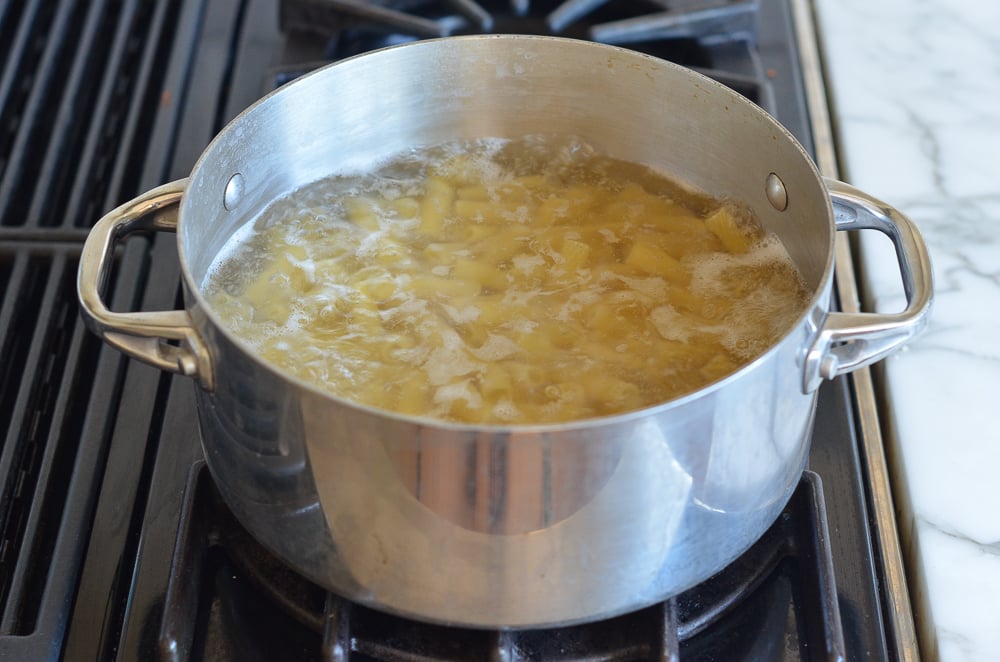
Step 1: Boil the noodles. Since the ziti finishes cooking in the oven, boil it a few minutes short of al dente on the stovetop—it’ll continue cooking in the casserole dish and won’t turn mushy by the time it’s done baking.
Step 2: Make the sauce. Brown the sausage first, then use the same pan (with just a bit of the rendered fat left behind) to soften the garlic and simmer the tomatoes. Finish the sauce with cream, cheese, and basil.
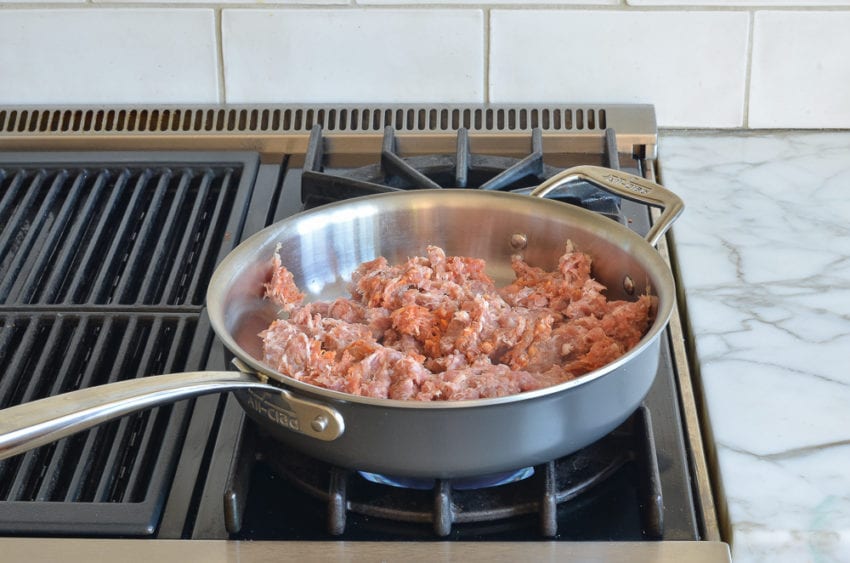
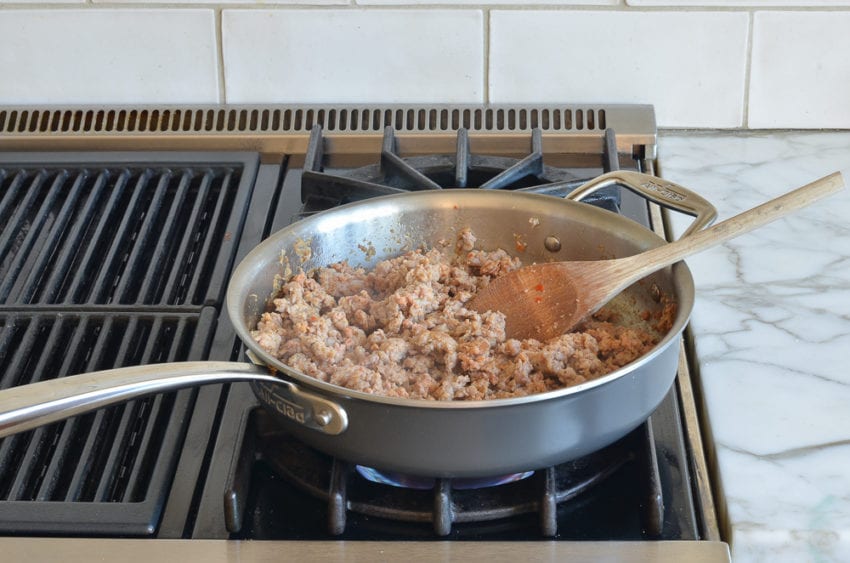
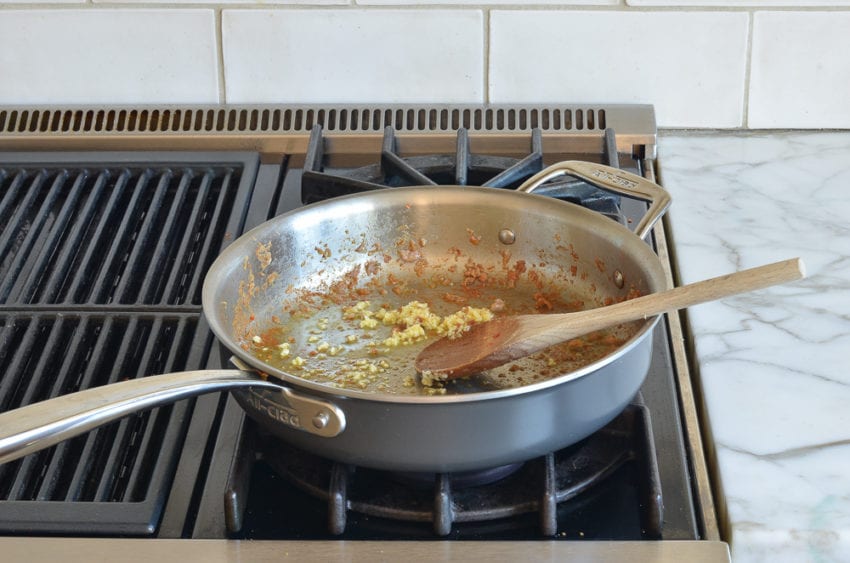
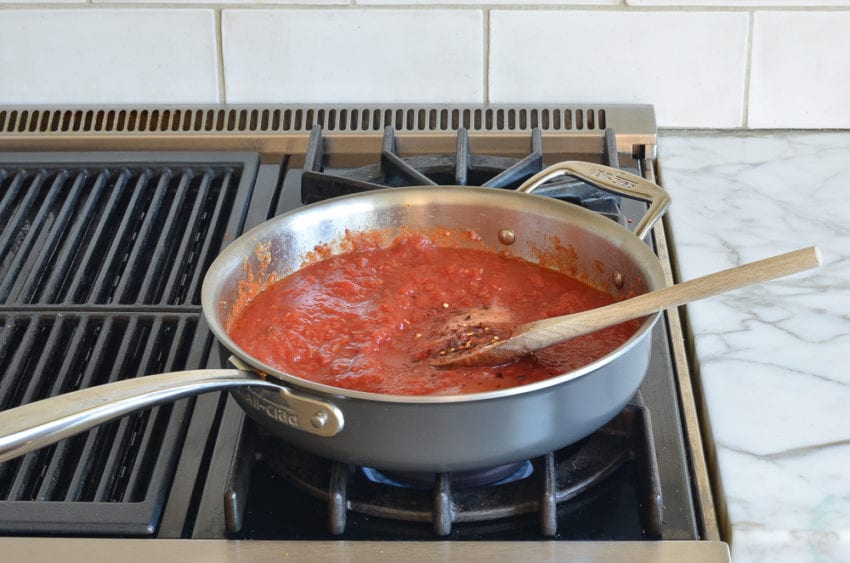
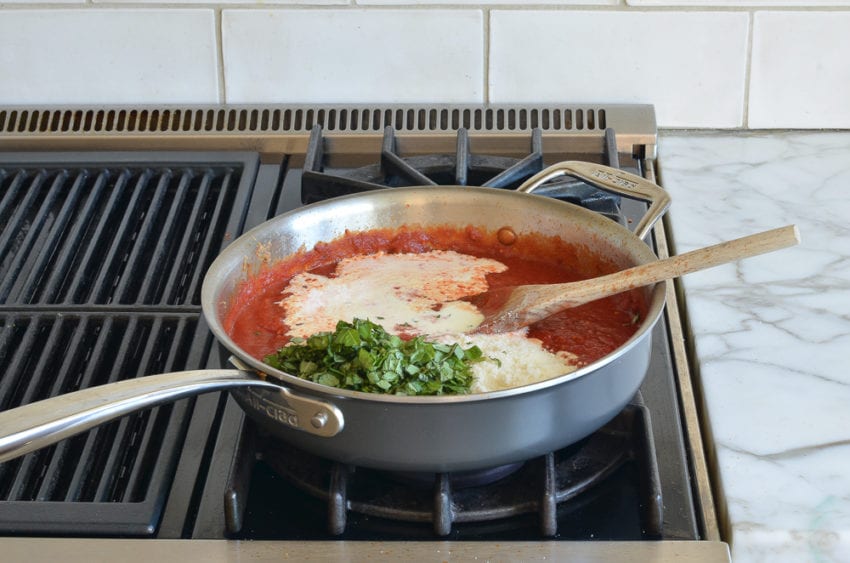
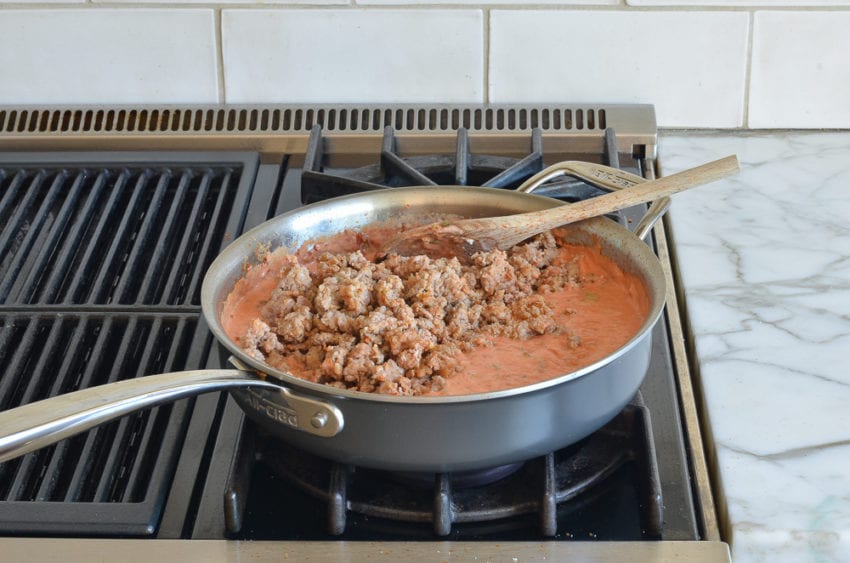
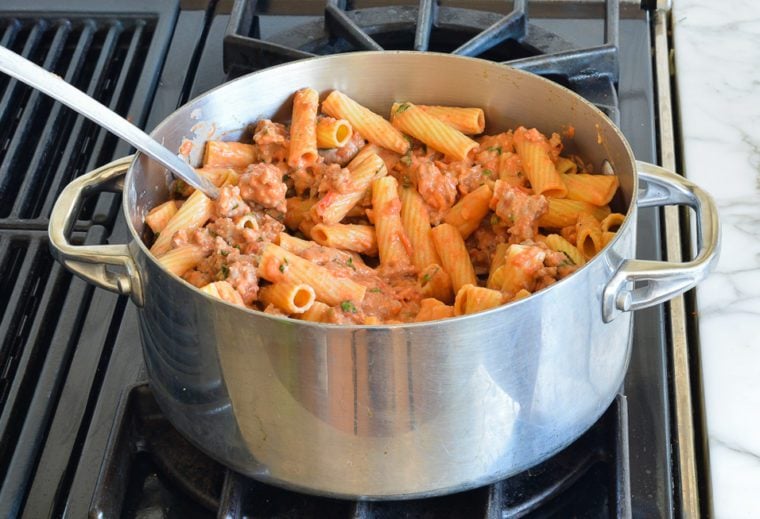
Step 3: Combine the sauce and pasta. Pour the sauce into the pot with the drained pasta and stir gently until every piece is coated—this is what keeps the ziti from baking up dry in spots.
Step 4: Assemble and bake. Spread half of the pasta mixture in the baking dish, then sprinkle with half of the mozzarella and pecorino. Top with the remaining pasta mixture and the rest of the cheese. Layering it this way—rather than stirring all the cheese in at once—gives you a stretchy, melted layer running through the middle of the dish, not just on top. Bake until bubbling and browned.
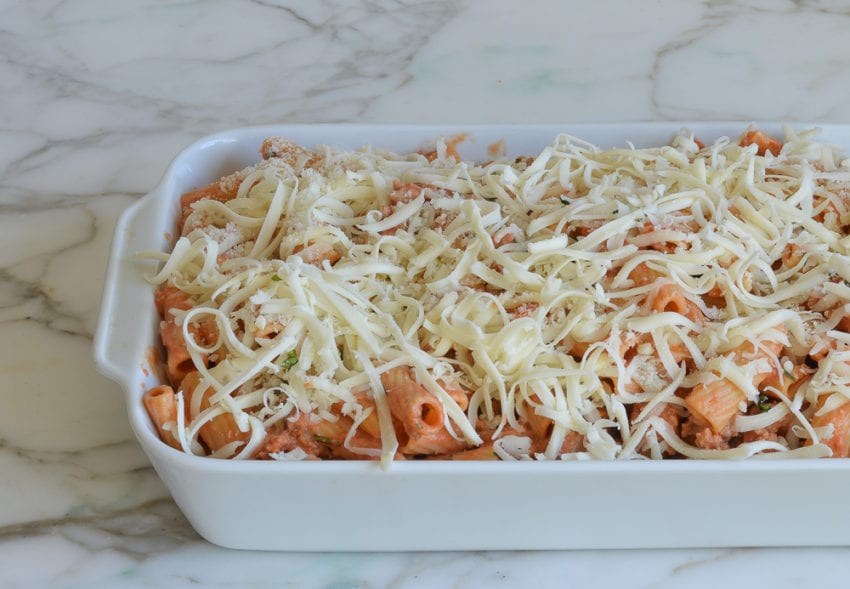
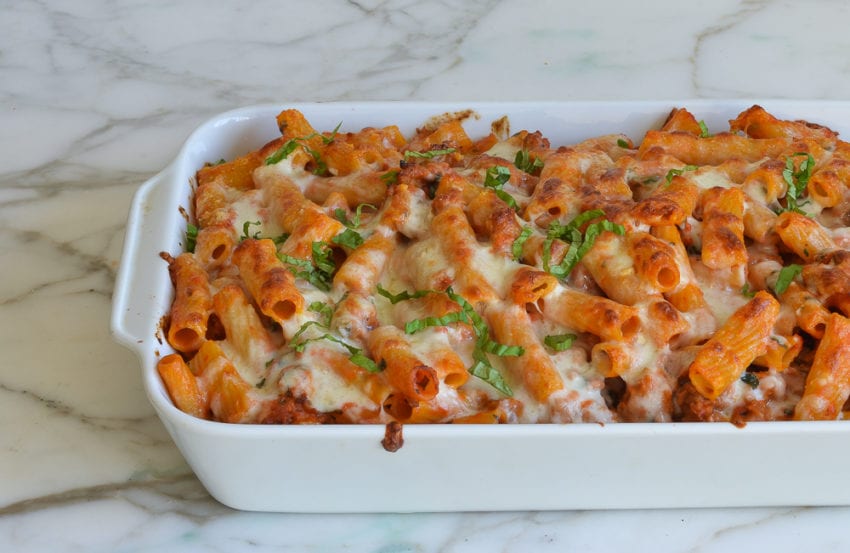
Baked ziti can be assembled, covered, and refrigerated for up to 2 days before baking. It can also be frozen before or after baking, for up to 3 months. See the recipe card notes below for freezing and reheating instructions.
More Classic Italian Dishes You’ll Love

Video Tutorial
Baked Ziti
Ingredients
- 1 lb ziti noodles
- 1½ lbs ground spicy or sweet Italian sausage (or removed from casings)
- 4 cloves garlic, minced
- 1 (28-oz) can crushed tomatoes
- 1 teaspoon salt
- 1½ teaspoons sugar
- ¼ teaspoon crushed red pepper flakes
- 1 cup heavy cream
- ⅓ cup plus 3 tablespoons grated pecorino Romano (or Parmigiano Reggiano cheese), divided
- ⅓ cup chopped fresh basil, plus more for serving
- 8 oz whole milk mozzarella cheese, shredded (about 2 cups)
Instructions
- Bring a large pot of salted water to a boil. Add the ziti noodles and cook according to the package directions for very al dente, about 7 minutes. (It will continue to cook in the oven, so you want to undercook it just a bit.) Drain and add the pasta back to the pot. Set aside.
- Preheat the oven to 425°F (220°C) and set the oven rack in the middle position.
- Heat a large sauté pan (preferably nonstick) over medium-high heat. Crumble the sausage into the pan and cook, breaking apart with a wooden spoon, until lightly browned and just cooked through, 5 to 6 minutes. Use a slotted spoon to transfer the cooked sausage to a plate. Drain all but 1 tablespoon of the fat from the pan and set over low heat (if you don't have enough fat in the pan, add a tablespoon of olive oil). Add the 4 cloves of minced garlic and cook, stirring constantly with a wooden spoon, until soft but not browned, about 1 minute. Add the can of crushed tomatoes, 1 teaspoon salt, 1½ teaspoons sugar, and ¼ teaspoon red pepper flakes and simmer, uncovered, for 10 minutes.
- Add the cream, ⅓ cup (33 g) of the pecorino Romano, cooked sausage, and basil to the pan; stir until evenly combined. Carefully pour the contents of the sauté pan into the large pot with the pasta and gently stir to combine. Spoon half of the mixture into a 9 x 13-inch (23 x 33-cm) baking dish. Sprinkle with half of the shredded mozzarella (1 cup/113 g) and half the remaining pecorino Romano (1½ tablespoons). Spoon the remaining pasta mixture on top and sprinkle with the remaining mozzarella (1 cup/113 g) and pecorino Romano (1½ tablespoons). Transfer to the oven and bake, uncovered, until the cheese has melted and browned, 15 to 20 minutes. Sprinkle with more basil and serve.
Notes
Pair with
Nutrition Information
This website is written and produced for informational purposes only. I am not a certified nutritionist and the nutritional data on this site has not been evaluated or approved by a nutritionist or the Food and Drug Administration. Nutritional information is offered as a courtesy and should not be construed as a guarantee. The data is calculated through an online nutritional calculator, Edamam.com. Although I do my best to provide accurate nutritional information, these figures should be considered estimates only. Varying factors such as product types or brands purchased, natural fluctuations in fresh produce, and the way ingredients are processed change the effective nutritional information in any given recipe. Furthermore, different online calculators provide different results depending on their own nutrition fact sources and algorithms. To obtain the most accurate nutritional information in a given recipe, you should calculate the nutritional information with the actual ingredients used in your recipe, using your preferred nutrition calculator.
This is by far the BEST baked ziti I’ve ever had! Bursting with flavor
I’m sorry to be the naysayer here, I wanted to love this, but I thought it was just ok. Good flavor but it’s very loose on the plate, not cohesive like I’d expect from a baked ziti. It’s also not as saucy or cheesy as I’d hoped — I knew the ricotta was missing but it doesn’t really have enough other cheese to compensate. I think it would be a good pasta if I didn’t expect it to taste like baked ziti. I wouldn’t make this version again.
This is my go to recipe when having guests over, Amazing! I do have a question…
After it is assembled OK to leave it out for two hours before cooking and follow
the same cooking directions?
Hi Steve, so glad you like this! From a food safety standpoint, I’d err on the side of not letting it sit out for two hours before putting it in the oven. I’d pop it in the fridge instead.
Hi Jen! I turned my daughter on to your emails and website a while back and now as I sit with her and her 2 day old baby boy, we are enjoying this dish for dinner. She did a great job of meal prepping! Anyway we have a question about the 3 different cook times. At the top you have 50 mins. In the last paragraph you have 15-20 and in the make-ahead there’s a 3rd version of cook time with foil. I eended up (after thawing) placing in cold oven and when it had come to temp I did 20 mins loosely covered. Kind of winged it. Anyway it did great. But just letting you know there might be some confusion there. Thanks for the great, easy, delicious recipes! We love & appreciate you, Jen!
Hi Mel, thanks for your kind words and congratulations on the addition to your family (also, I’m very impressed that your daughter was serving dinner with a two-day-old)!! The 50 minutes you see at the top of the recipe includes the amount of time you’re cooking the pasta and the sauce. The different time in the make-ahead/freezing instructions accounts for the fact that the dish will be chilled when you put it in the oven, versus if you put it in the oven immediately after assembling it. Hope that clarifies!
I also added ground beef with the ground italian sausage with addition of fennel. It has the wow factor.
Delicious. I love the swap out of ricotta for the cream. Genius.
Jen, this dish is amazing! I made it for guests and we all loved it. I used sweet italian sausage and it was perfection. The only thing I did differently was add extra noodles and then I had extra sauce on the side for those who like it really “saucy”. This will be a keeper for me and I can’t wait to make it for my family when they visit! Easy & delicious!!!!
Always a hit! It’s easy and delivers big on flavor and can be doubled to feed an army. We always get requests for the recipe and my family just loves it.
If I want to freeze this, do I bake it first and then freeze before refrigerating overnight and re-heating when we want to eat it? Or do I skip the last baking step and bake it for the first time after freezing and refrigerating overnight?
Hi Maria, I’d assemble and freeze it before baking. Hope you enjoy it when you eventually eat it!
This waas delicious. Thanks so much for sharing.
Made this, but added ‘gamey’ reindeer meatballs into the layers. Was the absolute bomb, will make this again.