
Homemade Pasta

This post may contain affiliate links. Read my full disclosure policy.
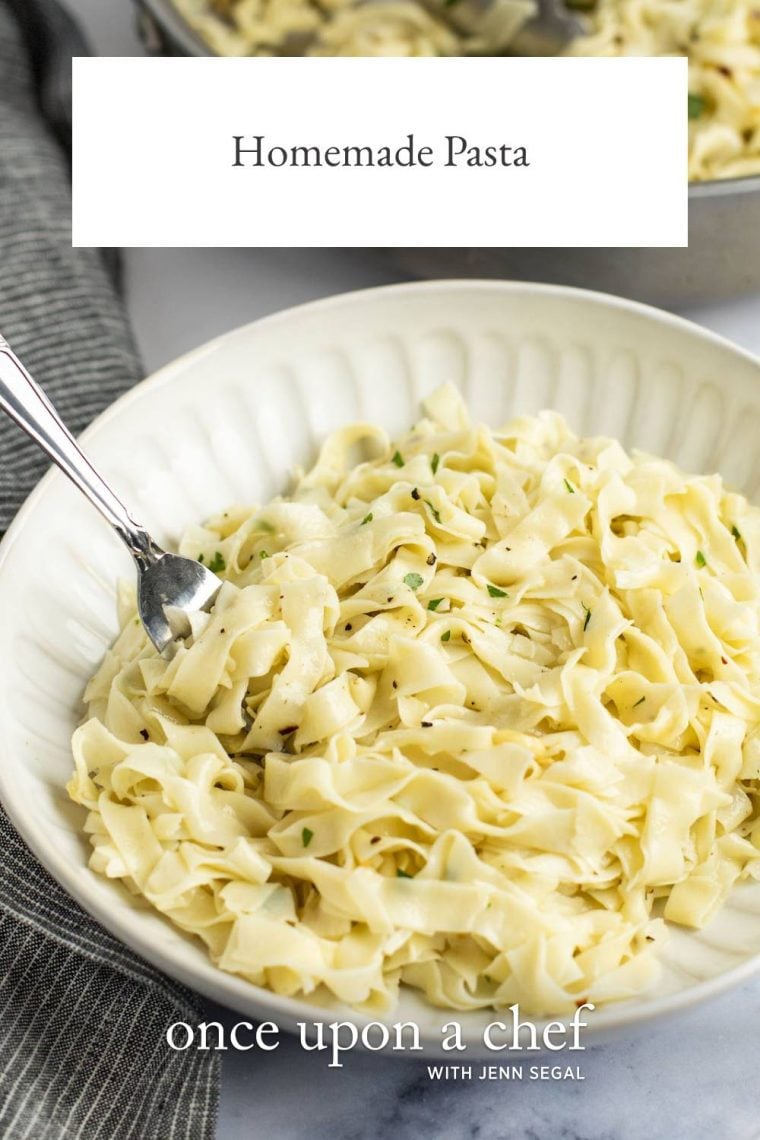
Channel your inner Italian grandma and learn to make homemade pasta from scratch. With just a few simple ingredients and foolproof techniques, you’ll be cranking out perfect noodles in no time.
I first learned to make homemade pasta in culinary school over 25 years ago, and it quickly became a bit of an obsession. For weeks, I took over my parents’ kitchen, hanging pasta sheets from hangers to dry and covering every inch of counter space with homemade ravioli. My parents were a little baffled by my pasta-making phase, but they were more than happy to serve as my official taste-testers.
Making homemade pasta might seem intimidating, but it’s easier than you’d think—and so rewarding. With just a few pantry staples, you can create fresh pasta with a texture and quality that’s impossible to get from dried pasta.
When it comes to kneading the dough, you can use a stand mixer to make things easier or go the traditional route and do it by hand. As for rolling and cutting, there are plenty of options. A hand-crank pasta machine is my go-to—it’s easy to use and produces consistently even sheets. If you want to speed things up, an electric pasta machine, like the KitchenAid pasta attachment, makes the process even simpler. And if you’re feeling traditional, rolling the dough out with a rolling pin and cutting it by hand with a knife or pizza cutter gives you a more rustic feel.
“I’ve always wanted to make homemade pasta, but felt intimidated…it’s so much simpler than I thought!”
What You’ll Need To Make Homemade Pasta
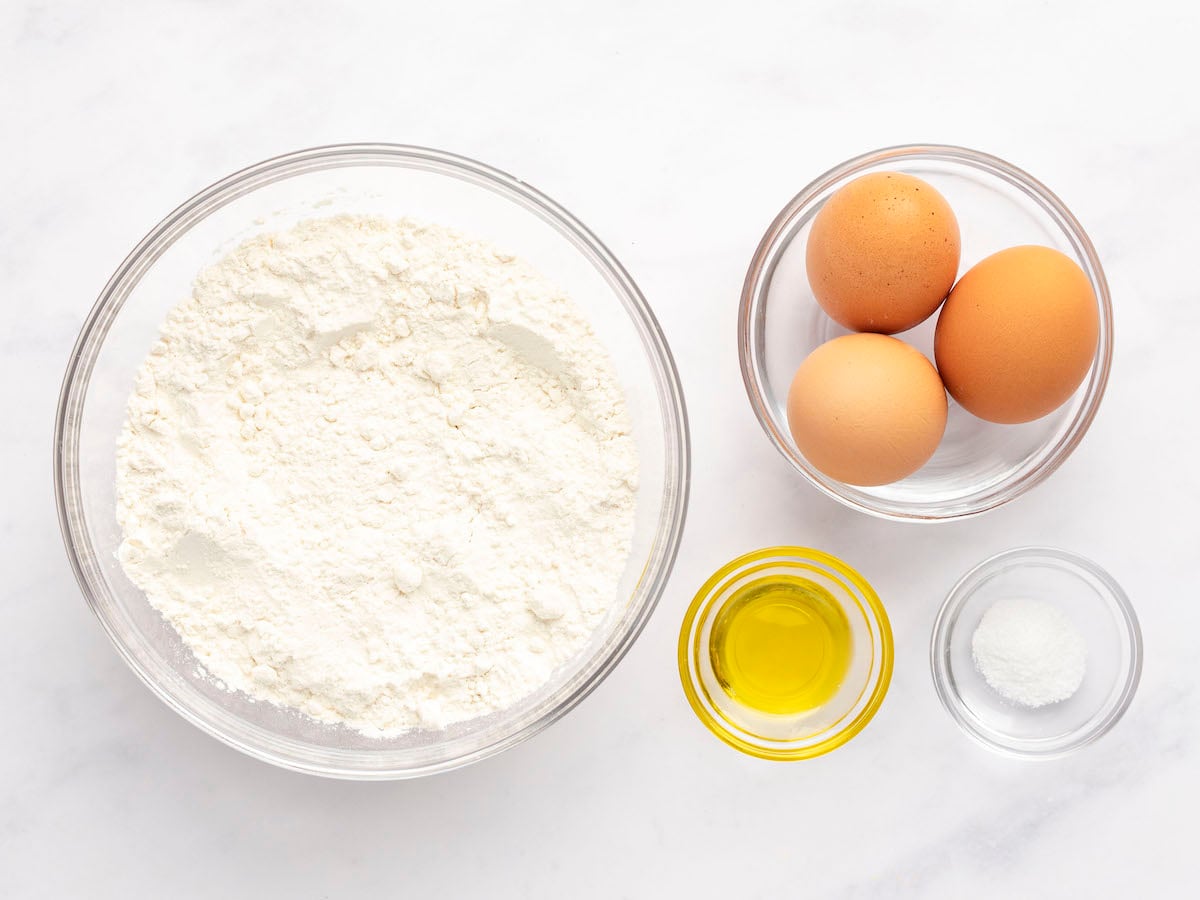
- All-Purpose Flour or Tipo “00” Flour: Provides the base for the dough. All-purpose flour yields a slightly heartier texture, while tipo “00” flour—milled extra fine—creates a smoother, more tender pasta. Semolina flour is another option if you want a firmer, more toothsome bite, closer to dried pasta texture, though it’s a bit trickier to roll thin. For the noodles in this recipe, all-purpose or 00 both work perfectly well, so use whatever you have on hand.
- Eggs: The key ingredient that binds the dough, adding richness and color while ensuring a smooth, pliable consistency.
- Extra-Virgin Olive Oil: Adds a touch of richness and helps to keep the dough supple during kneading.
- Salt: Enhances the flavor of the dough, ensuring the pasta is well-seasoned before it’s cooked.
- Jump to the printable recipe for precise measurements
Step-by-Step Instructions
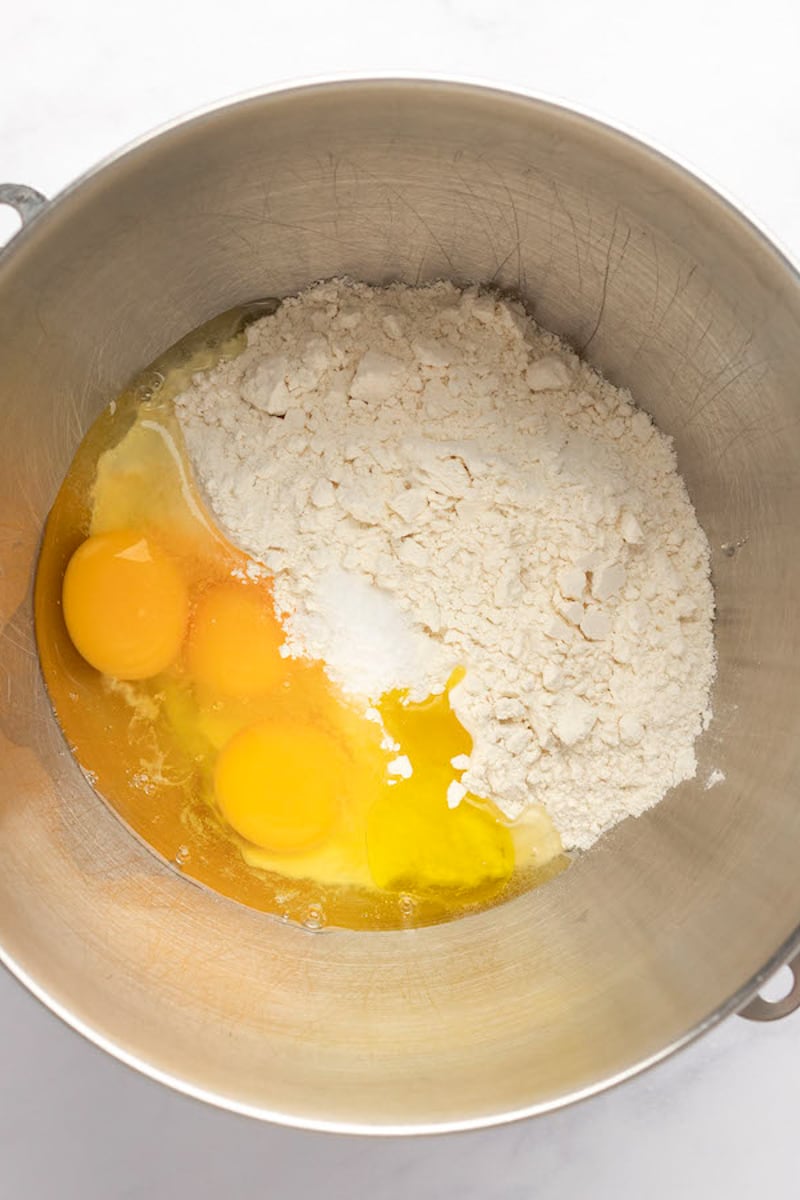
Step 1: Make the dough. Toss the flour, eggs, oil, and salt into the stand mixer and let the paddle attachment do the work. Don’t be alarmed by what you see in the first minute or so; it’ll look like wet sand, not dough, and it’s tempting to think something’s gone wrong. Just let it keep going. Within a few minutes it pulls itself into a rough, cohesive ball, and that’s your cue to switch gears.
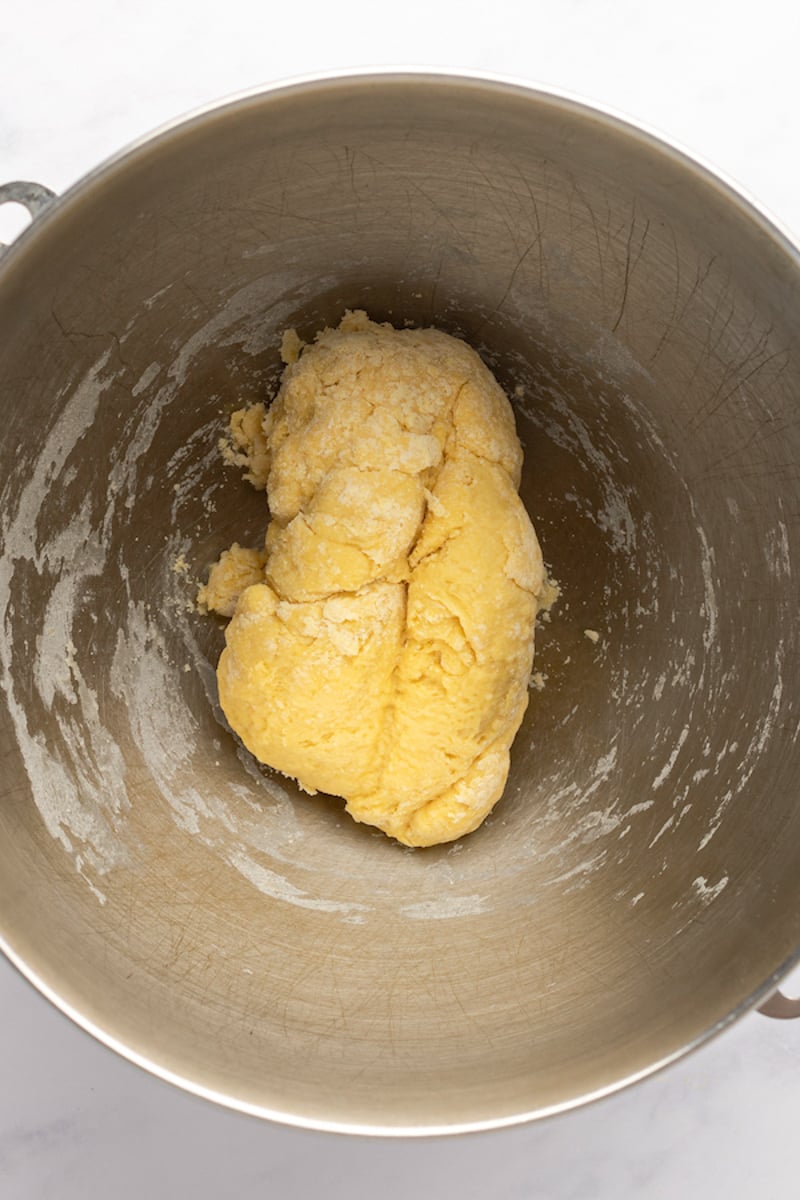
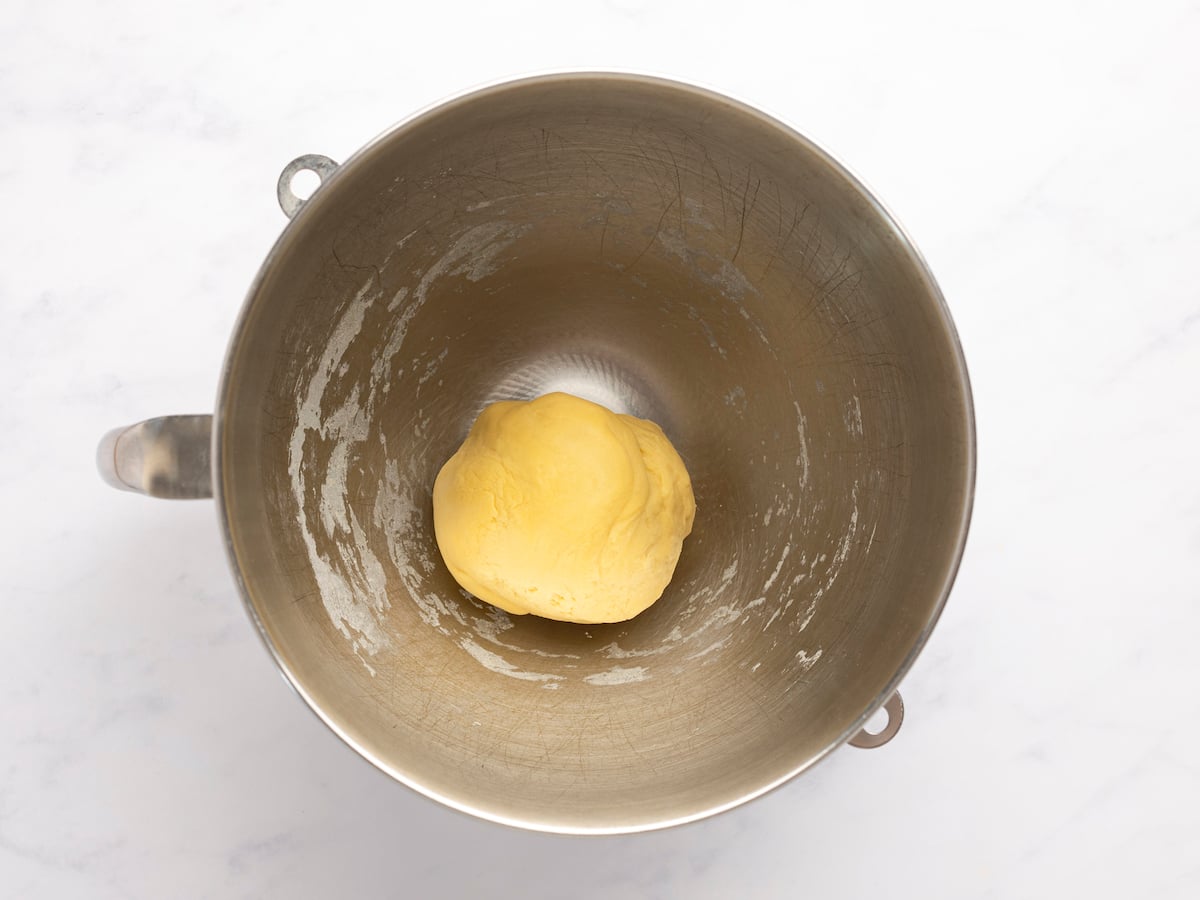
Step 2: Knead it smooth. Swap in the dough hook and let it knead. You’re looking for a specific transformation here: the dough goes from rough and matte to smooth and almost satiny, and it should clear the sides of the bowl on its own. If it’s clinging to the bottom instead, that’s your dough telling you it wants a bit more flour. Add it gradually rather than all at once, since it’s much easier to add flour than take it away.
No stand mixer? No problem. Make a well in a mound of flour and salt, crack the eggs and oil into the center, and start whisking with a fork right in that well—resist pulling in flour too fast, or you’ll end up with lumpy pockets instead of a smooth batter. Once it gets too thick for the fork, your hands take over. This is genuinely a workout; if your arms are tired, you’re doing it right.
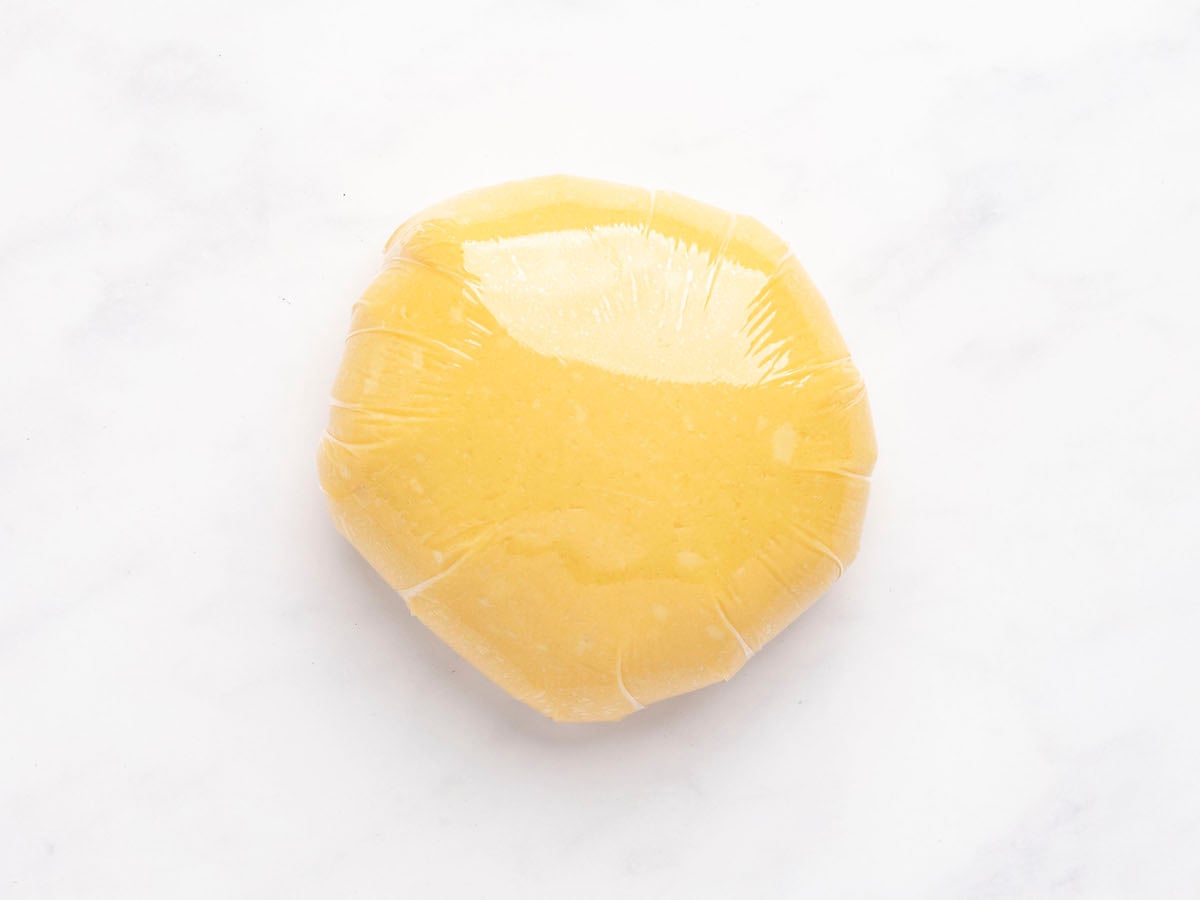
Step 3: Let it rest. This is the step people are most tempted to skip, and the one that matters most. Fresh dough is stubborn and springs back the moment you try to roll it—resting relaxes the gluten so it’ll cooperate later. Wrap it up and walk away. It’s a good moment to clean your workspace or get your pasta machine set up.
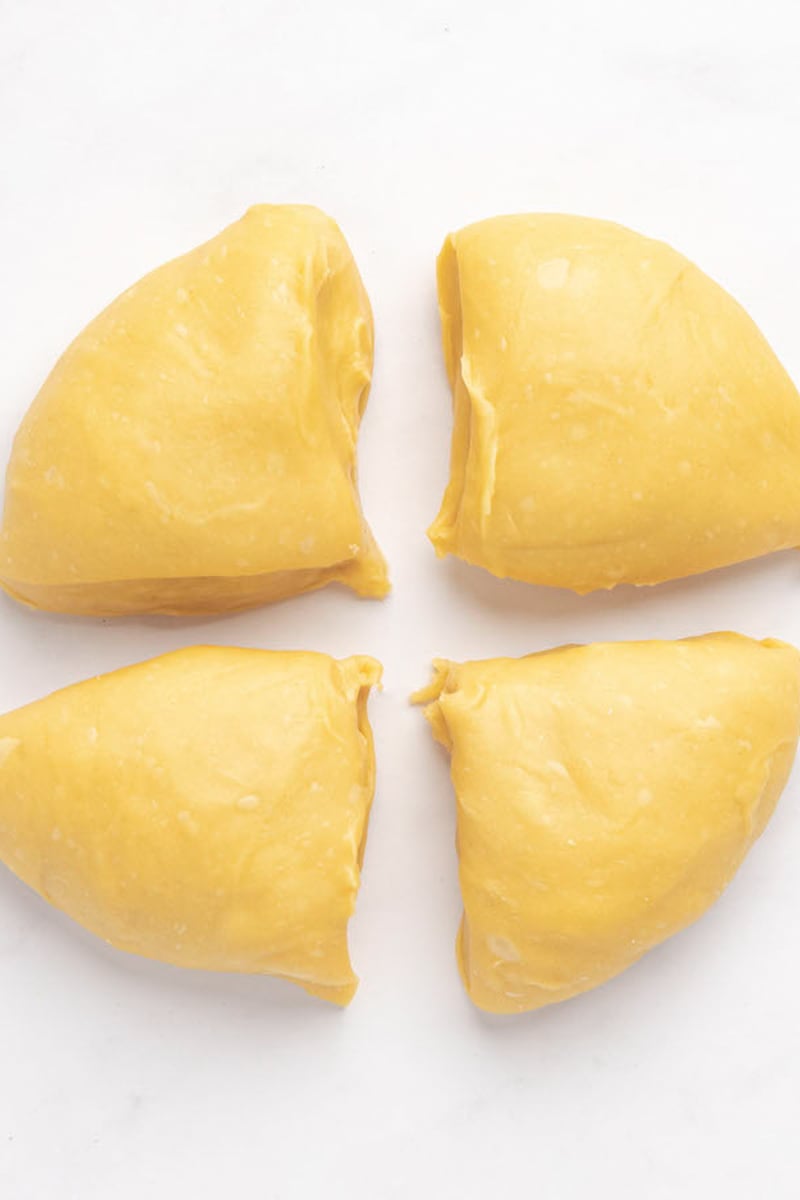
Step 4: Divide and flatten. Cut the rested dough into quarters; working with smaller pieces keeps things manageable and stops the rest of the dough from drying out while you work. Flatten each piece into a rough rectangle by hand before it ever touches the machine; this saves you from feeding an awkward blob through the widest setting and having it squirt out sideways.
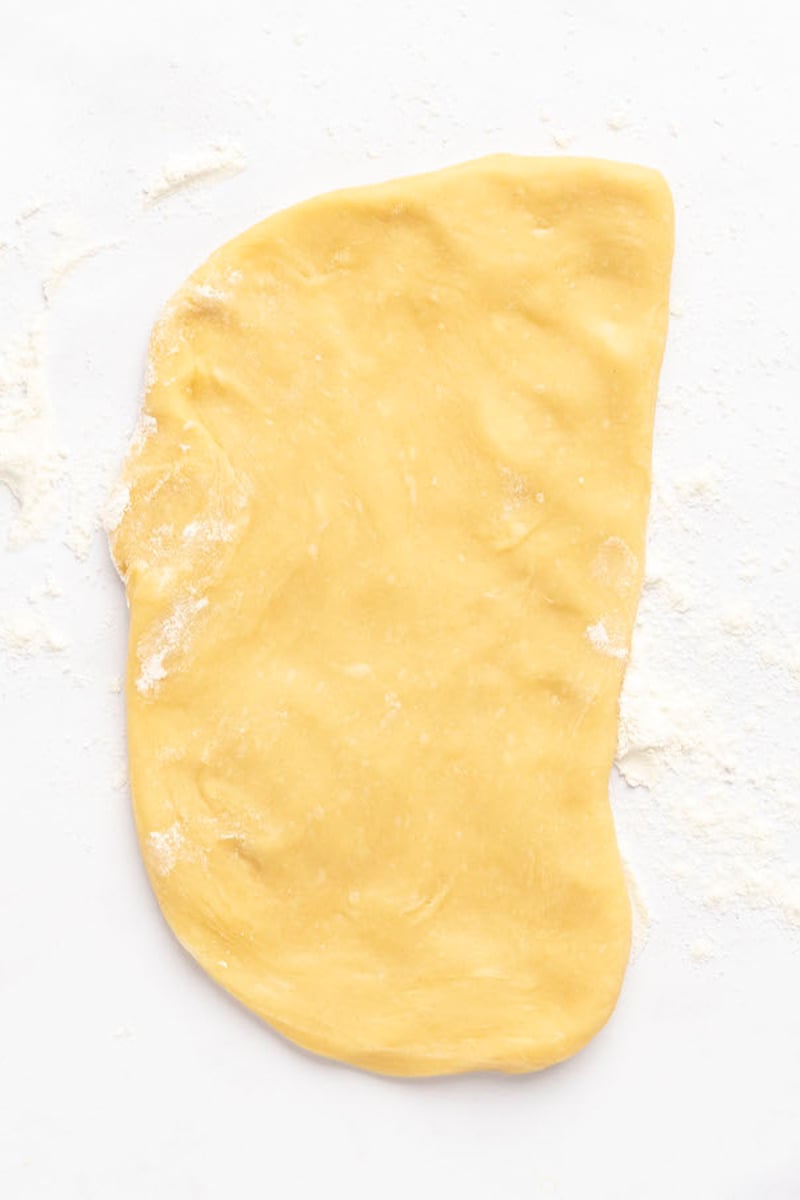
Step 5: Start rolling. Start wide and run it through. The first couple of passes are less about thinning it out and more about training the dough into an even, cooperative sheet. Folding it letter-style and running it through again smooths out any weak spots or air pockets.
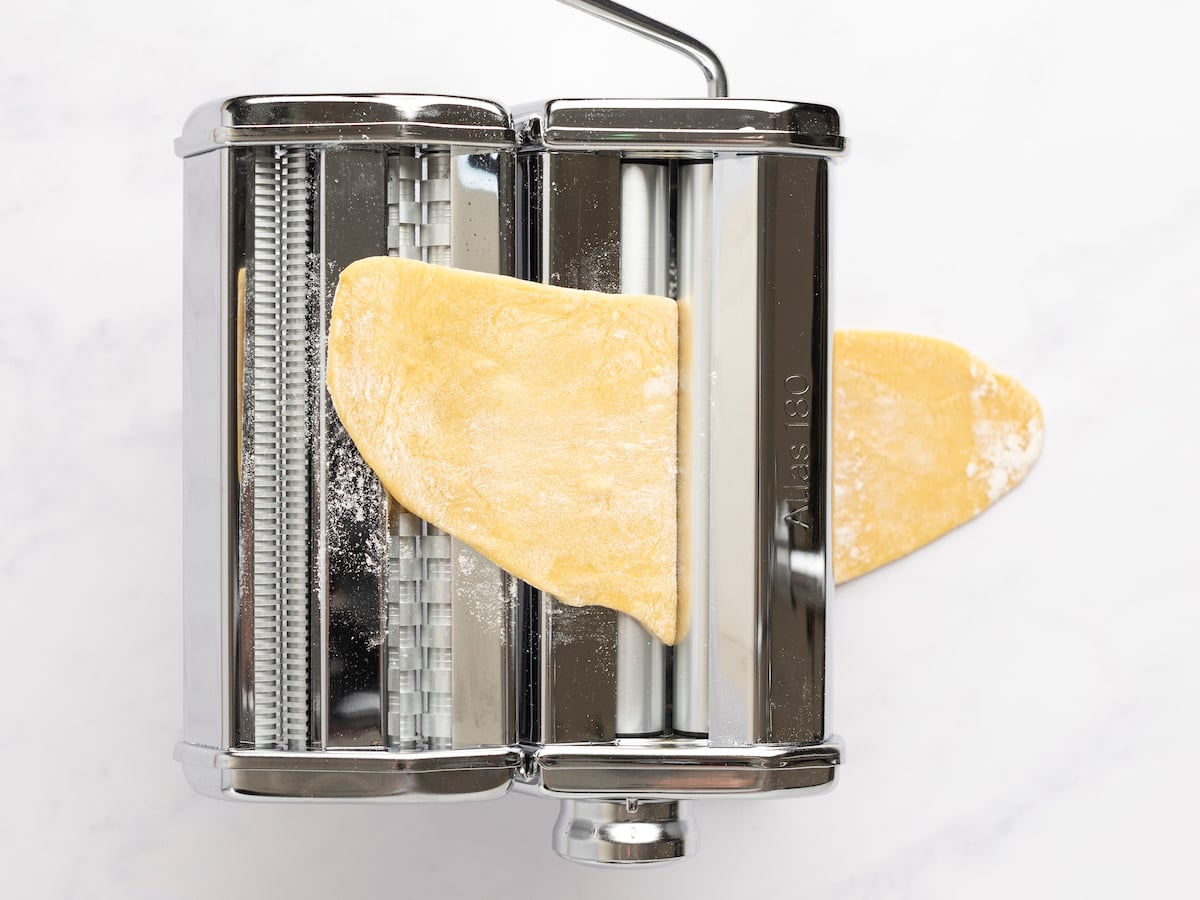
Step 6: Work down to your final thickness. From here, work your way down through the settings gradually rather than jumping straight to thin. The dough needs to adjust in stages, or it tends to tear. Keep a light dusting of flour nearby; you want just enough that nothing sticks, not so much that the sheets turn dry and cracked. You’ll feel it shift from doughy and thick to silky and thin as you go.
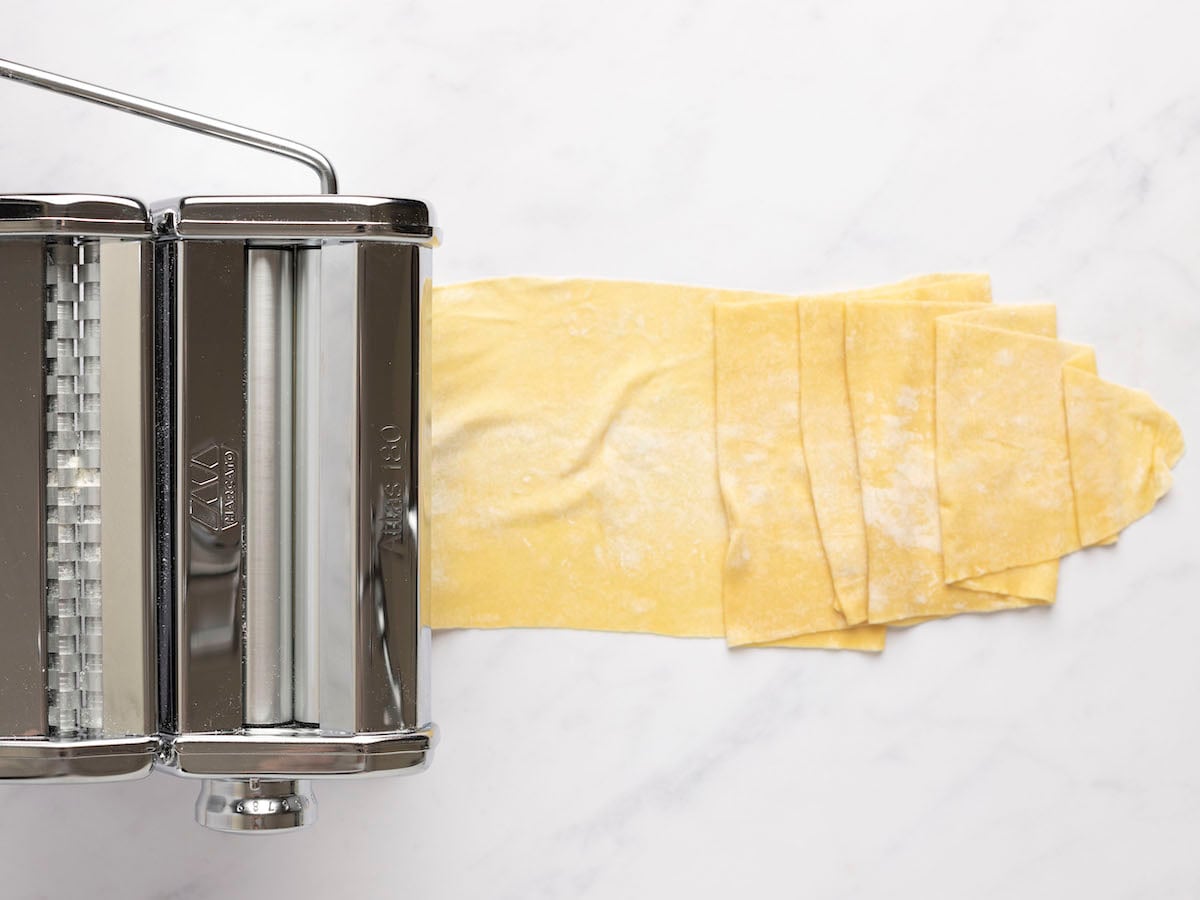
Step 7: Cut and shape. Once you’ve hit the thickness you’re after, cut it into whatever shape you’re making. The machine attachment, a knife, or a pizza cutter all work.
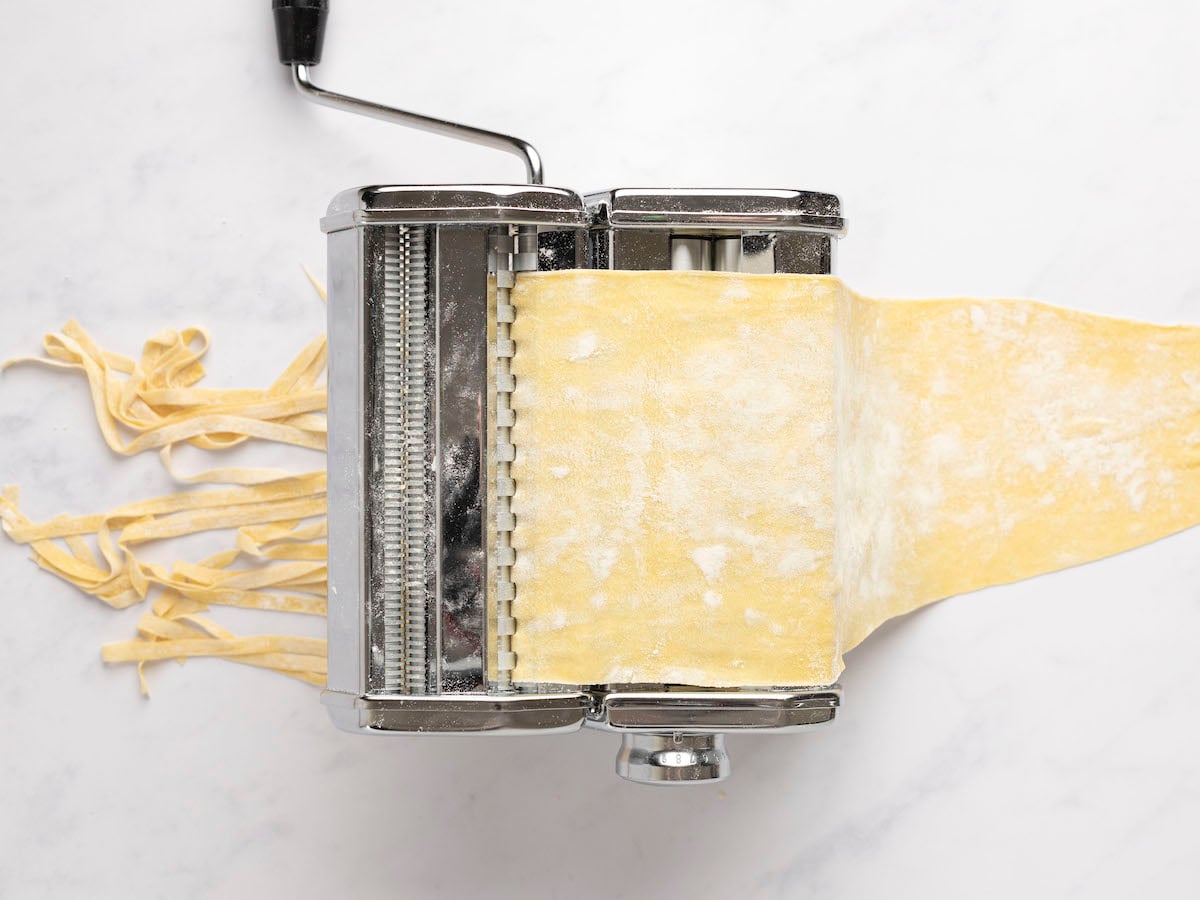
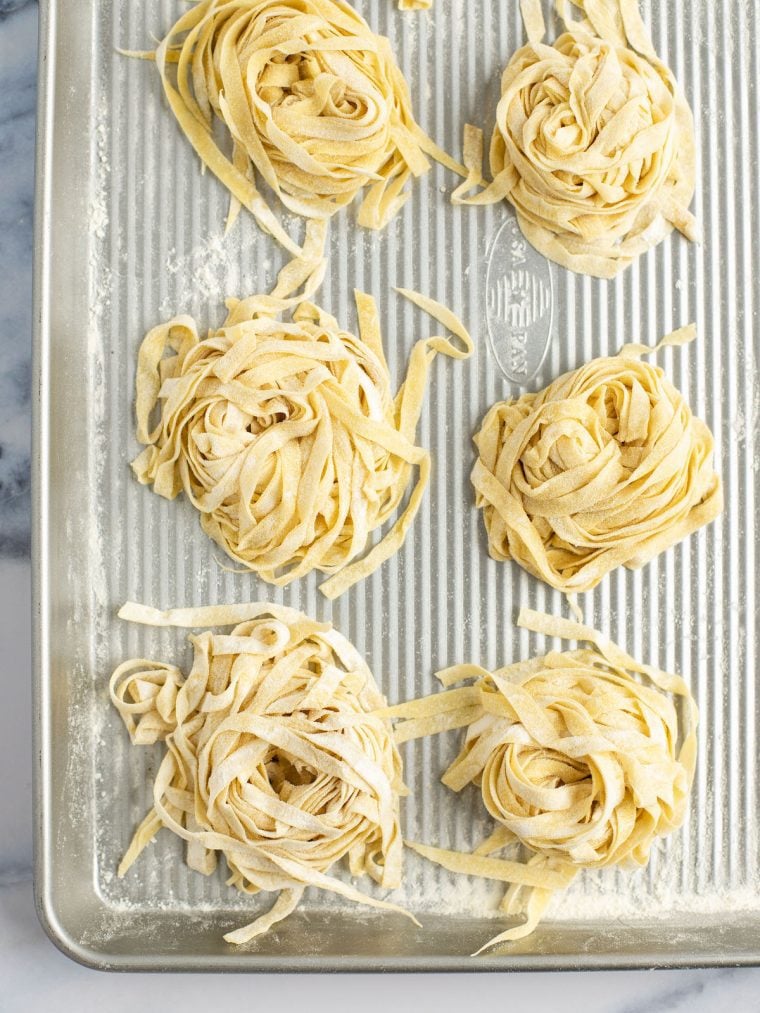
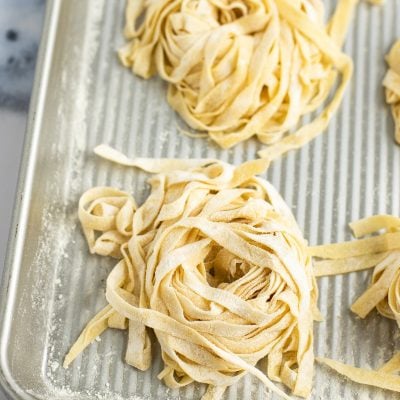
Toss the cut noodles with a bit more flour so they don’t fuse into one mass, and if you’re making longer strands, twisting them into loose nests keeps them organized and easy to grab later.
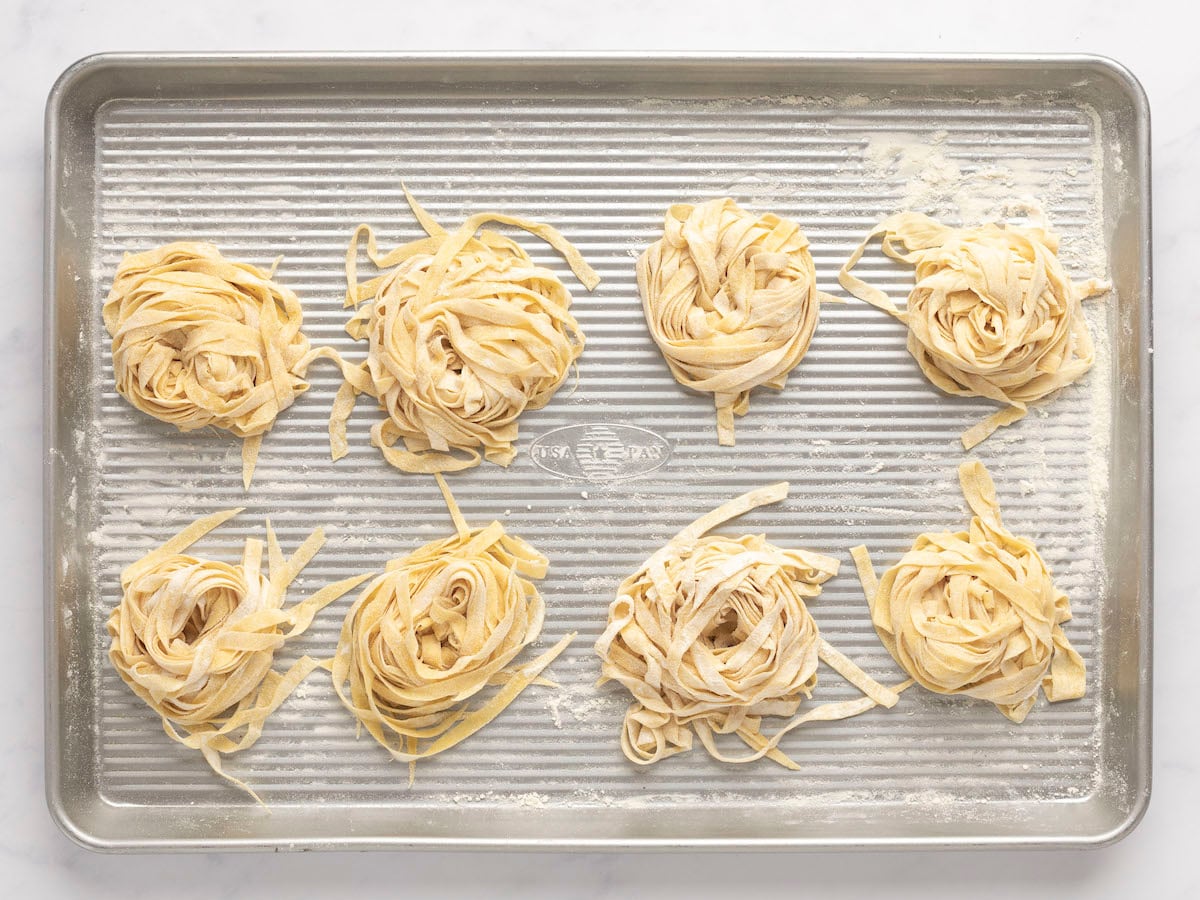
Fresh pasta is at its best soon after it’s cut, so plan your sauce around it rather than the other way around. If it needs to wait, it holds up fine in the fridge or freezer. Don’t be alarmed if refrigerated pasta takes on a faint greenish cast after a day; that’s just oxidation, not spoilage.
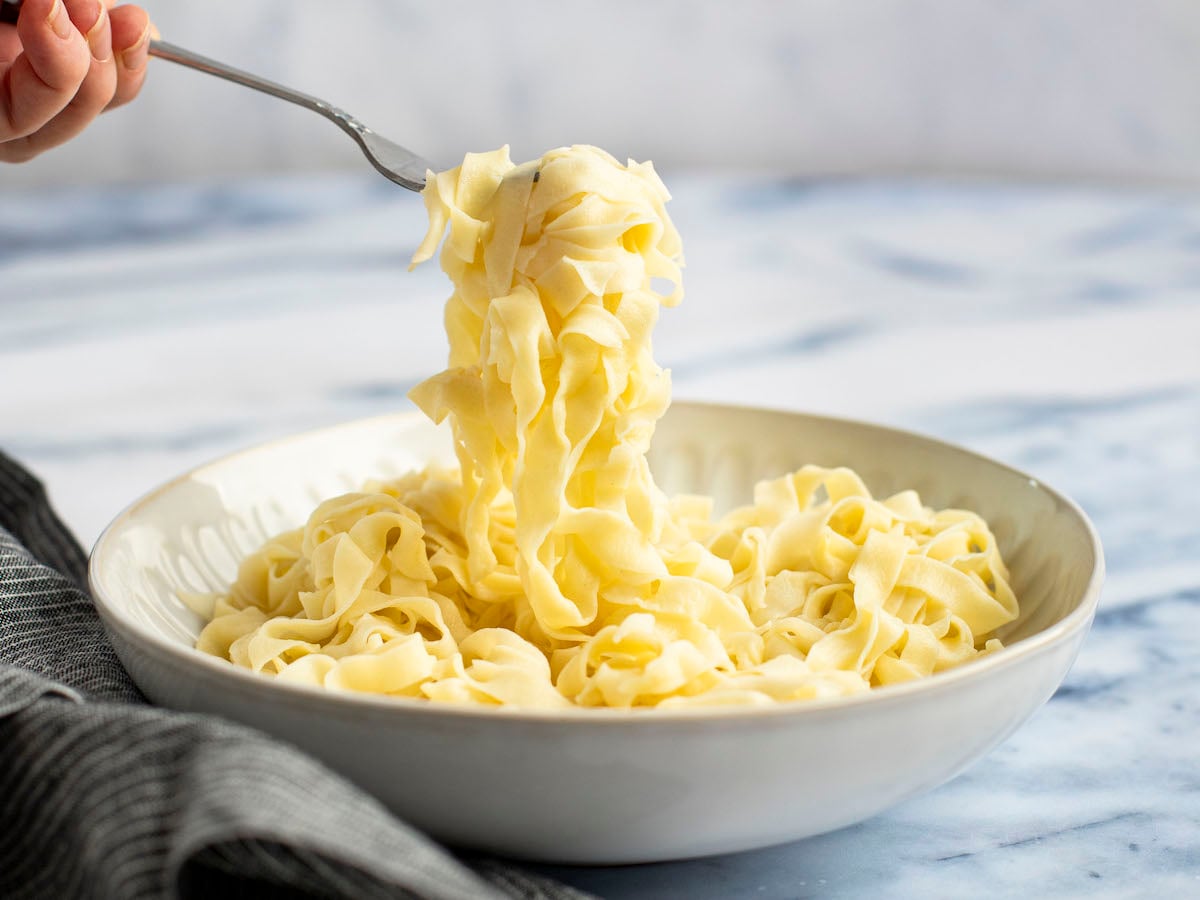
Step 8: Cook it. Fresh pasta cooks fast enough that it’s easy to blink and miss the window; start tasting early rather than trusting the clock. Once it’s got a slight bite left, pull it, and save a splash of the starchy cooking water before you drain; it’s the secret to getting sauce to cling instead of pool at the bottom of the bowl.
Best Sauces With Fresh Pasta
Now that you’ve made fresh pasta, all that’s left is the sauce. Keep it simple with my homemade tomato sauce or dress it up with bolognese, pesto, or vodka sauce. Fresh pasta also pairs beautifully with brown butter and sage or a creamy alfredo sauce.
You May Also Like

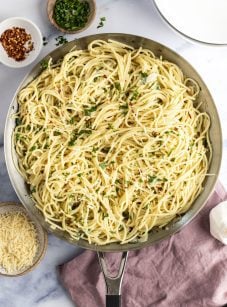
Homemade Pasta
Ingredients
- 2 cups all-purpose flour or tipo “00” flour, spooned into measuring cup and leveled off
- 3 large eggs
- 1 teaspoon extra-virgin olive oil
- ½ teaspoon salt
Instructions
- Stand-Mixer Method: In the bowl of a stand mixer fitted with the paddle attachment, combine the flour, eggs, oil, and salt. Mix on medium-low speed (setting 2) for 2 to 3 minutes until the dough comes together. It will seem dry at first, but it should eventually come together into a cohesive mass. If it seems dry, you can add another teaspoon of oil but give it a chance to mix for the full 3 minutes before deciding if it's needed. If the dough seems wet, you can add more flour 1 tablespoon at a time. Once the dough has come together, switch to the dough hook attachment and knead it on medium-low speed (setting 2) for 10 minutes until the dough is smooth and elastic. If the dough is sticking to the bottom of the bowl during kneading, add more flour, little by little, until it no longer sticks.By-Hand Method: In a large bowl, mix the flour and salt. Make a well in the center, and add the eggs and oil. Using a fork, beat together the eggs and oil, then incorporate the flour, starting with the inner rim of the well, until a shaggy dough forms. Turn the dough out onto a clean, lightly floured surface and knead it for about 10 minutes, adding more flour as needed to prevent sticking, until it becomes smooth and elastic. This process requires some effort, but it’s essential for developing the gluten and creating a chewy, resilient pasta.
- After kneading, wrap the dough in plastic wrap and let it rest at room temperature for 30 minutes. This rest period allows the gluten to relax, making it easier to roll out. If you need to store the dough for longer, you can refrigerate it for up to 2 days, but let it sit at room temperature for about 30 minutes before rolling.
- Divide the rested dough into four pieces. Flour your work surface lightly to prevent sticking. Take one piece at a time and flatten it into a rough rectangle with your hands. Set your pasta machine to its widest setting and pass the dough through the rollers two times. Fold the dough into thirds, like a letter you’re mailing, and pass it through the widest setting again. Repeat this process again, lightly dusting with flour to prevent sticking. Gradually decrease the roller setting, passing the dough through each setting twice and dusting with flour each time, until it reaches your desired thickness. (For fettuccine and other longer noodles, aim for a thickness of about 1/16 inch.)*If you don’t have a pasta machine, you can roll the dough out by hand. Working on a clean, well-floured surface, use a rolling pin to roll the dough to your desired thickness, turning and dusting it with flour to prevent sticking.
- Once rolled into sheets, cut the pasta into your desired shape. You can use the attachments on your pasta machine, a knife, or a pizza cutter. Dust the cut pasta with flour to prevent it from sticking together, and store on a baking sheet. For longer noodles, like fettuccine or tagliatelle, form them into nests. It's best to cook the pasta within 30 minutes of making it. If you need to store it, cover it tightly with plastic wrap and refrigerate for up to 2 days or freeze for up to 2 months.
- To Cook: Bring a large pot of salted water to a rolling boil. Add the pasta, stir gently with a wooden spoon, and cook, tasting at regular intervals until the noodles are just cooked with a little bite, 1 to 2 minutes for thin noodles and 2 to 3 minutes for thicker noodles. Drain, reserving some of the pasta cooking water; toss with the sauce, adding a bit of the starchy cooking water to achieve the desired consistency, and serve.
Notes
Nutrition Information
This website is written and produced for informational purposes only. I am not a certified nutritionist and the nutritional data on this site has not been evaluated or approved by a nutritionist or the Food and Drug Administration. Nutritional information is offered as a courtesy and should not be construed as a guarantee. The data is calculated through an online nutritional calculator, Edamam.com. Although I do my best to provide accurate nutritional information, these figures should be considered estimates only. Varying factors such as product types or brands purchased, natural fluctuations in fresh produce, and the way ingredients are processed change the effective nutritional information in any given recipe. Furthermore, different online calculators provide different results depending on their own nutrition fact sources and algorithms. To obtain the most accurate nutritional information in a given recipe, you should calculate the nutritional information with the actual ingredients used in your recipe, using your preferred nutrition calculator.
Loved this pasta recipe. I used the kitchenaid and followed directions exactly as written. Came together so easy. I made fettuccine noodles and served it with a creamy salmon sauce. My noodles did stick somewhat upon cooking. Next time I’ll try dusting the noodles with rice flour, adding a little oil in the water and stirring more to prevent the sticking. Making homemade pasta is a fun thing to do. Thanks Jenn
I tried this and I loved it so much! Not going to use store bought pastas anymore. Way cheaper (and better) to make my own.
We had a celebratory birthday dinner for one of our friends turning 80. We made the pasta ahead of time but had everyone participate in rolling the pasta dough thru the pasta maker. One person brought the salad and I had made your bolognese sauce the day before so just had to reheat it. It was so much fun and everyone enjoyed pitching in and helping. Old people having fun! Thanks, Jenn.
I’ve always wanted to make homemade pasta, but felt intimidated. I knew if any recipe would work, it would be Jenn’s. Well, I was right, and it’s so much simpler than I thought! I served it with Jenn’s turkey meatballs (also easy and delicious) and couldn’t believe that the pasta we were eating was made by me instead of coming from a box. Such a fun weekend project that I will use often! Thanks Jenn!!
Absolutely amazing. Every single recipe of yours is a family hit, thank you for sharing 🙂
My daughter and I have made pasta many times. I wanted to try your recipe because they are always stellar. We did not have good luck with this at first. We just had dry crumbles in the mixing bowl. Could it have been the type of eggs? Other recipes call for water, so we added 1/4 cup and the dough turned out perfectly. The noodles had a great texture and were delicious. I made your bolognese sauce to go with it… amazing!
Hi Tonya, Glad that ultimately it came out well, but are you struggled with it a bit. The ratios in this recipe are pretty standard. Could it be that you didn’t mix it for long enough? What kind of flour did you use? Do you use the spoon and level method to measure flour? Were your eggs large? Is that enough questions for you? 😂
Hi Jenn,
How can I make this pasta whole wheat.
Thanks
Rose
Hi Rose, I haven’t tested this recipe with whole wheat flour so I’m not sure how it would come out. For the most predictable results, I’d look for a recipe that uses whole wheat flour. Sorry!
my kids helped make this for dinner tonight. best pasta dough recipe i’ve tried yet! my toddler lost almost all the white from one egg she cracked to the floor so i did add an extra egg after 2 mins of mixing (stand mixer method) and it came out perfectly. (meaning we probably used about three eggs plus one yolk). great as always! thanks jenn!
I like your food
Do you think a 2/3 recipe would have enough volume to use the stand mixer?
Unfortunately not. This doesn’t make that much pasta though, so I’d encourage you to make the whole recipe.