
How To Make Hard-Boiled Eggs

This post may contain affiliate links. Read my full disclosure policy.
Perfect hard-boiled eggs, every time! With tender whites and creamy yellow yolks, this foolproof method makes them easy to get just right.
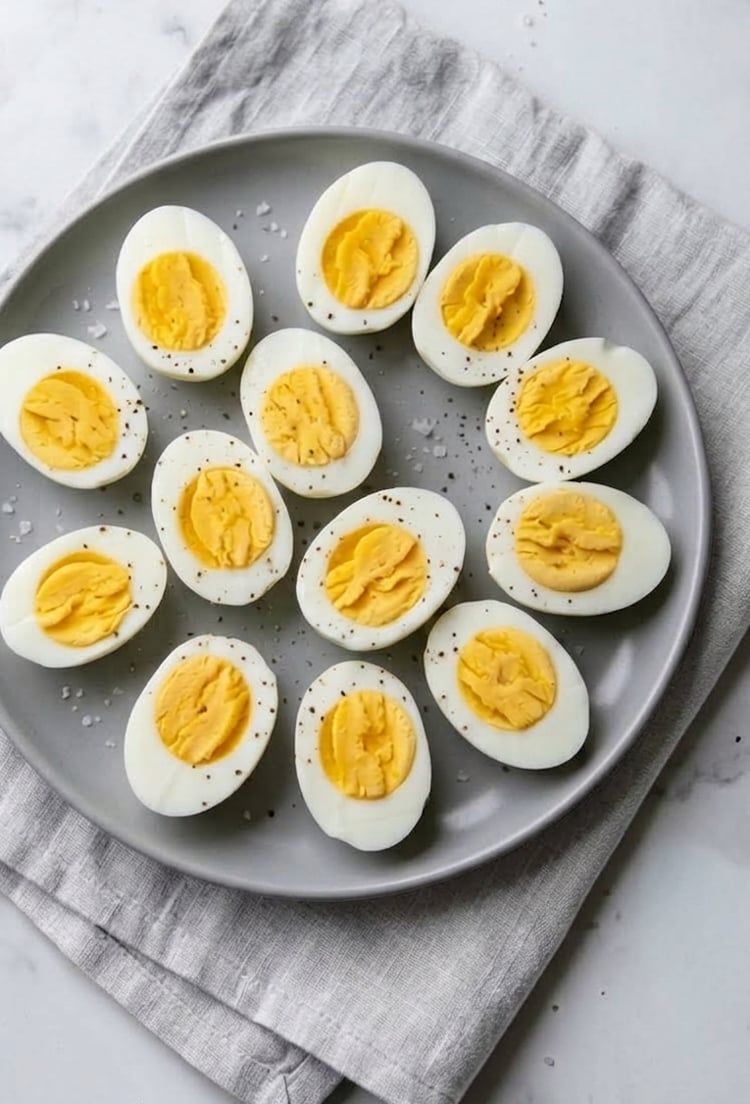
Hard-boiled eggs are one of those kitchen basics that should be simple, but getting them just right can be surprisingly tricky. Cook them too long and the yolks turn dry and chalky (sometimes with that telltale green ring); cook them too little and the centers won’t fully set. This foolproof method starts the eggs in boiling water and cooks them for exactly 11 minutes, giving you tender whites and creamy, fully set yellow yolks. A quick ice bath stops the cooking and cools the eggs for peeling.
Once you’ve got the technique down, you’ll always have a great source of protein at the ready. Use hard-boiled eggs for egg salad, potato salad, deviled eggs, or Cobb salad; add them to avocado toast; or simply sprinkle them with salt and pepper for an easy snack.
If you’re interested in other simple ways to cook eggs, check out my soft-boiled eggs and poached eggs.
“Perfect every time – and I’ve made them many times!”
How To Make Hard-Boiled Eggs
Step 1: Boil the water and add the eggs. Fill a saucepan with enough water to cover the eggs by about 1 inch and bring to a boil over medium-high heat. Using a slotted spoon, gently lower the cold eggs into the boiling water one at a time, taking care not to let them hit the bottom of the pan.
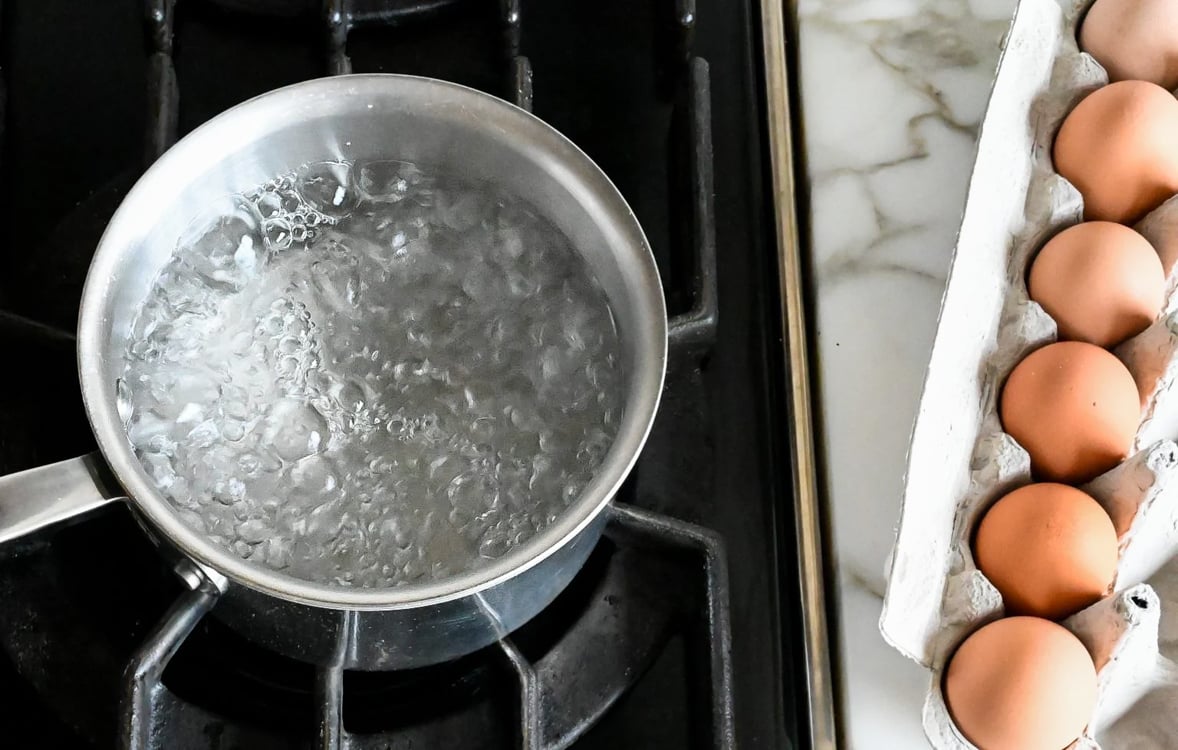
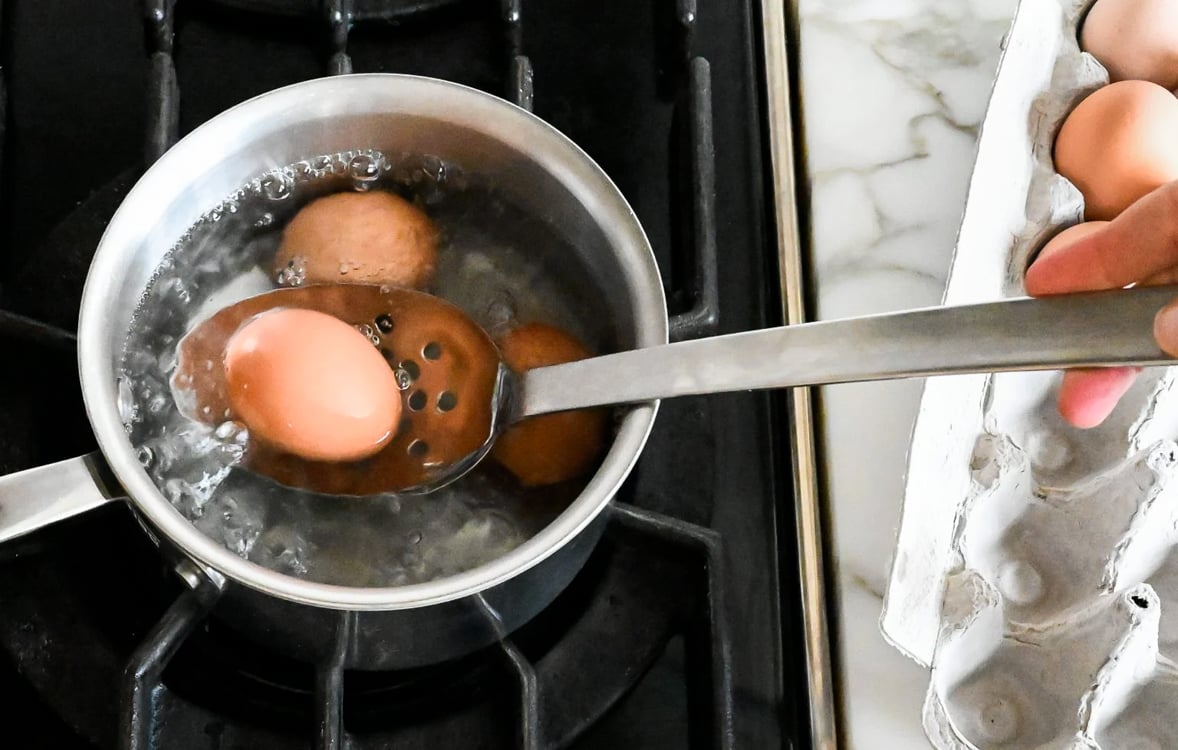
Step 2: Cook the eggs. Adjust the heat as needed to maintain a gentle boil and cook for exactly 11 minutes.
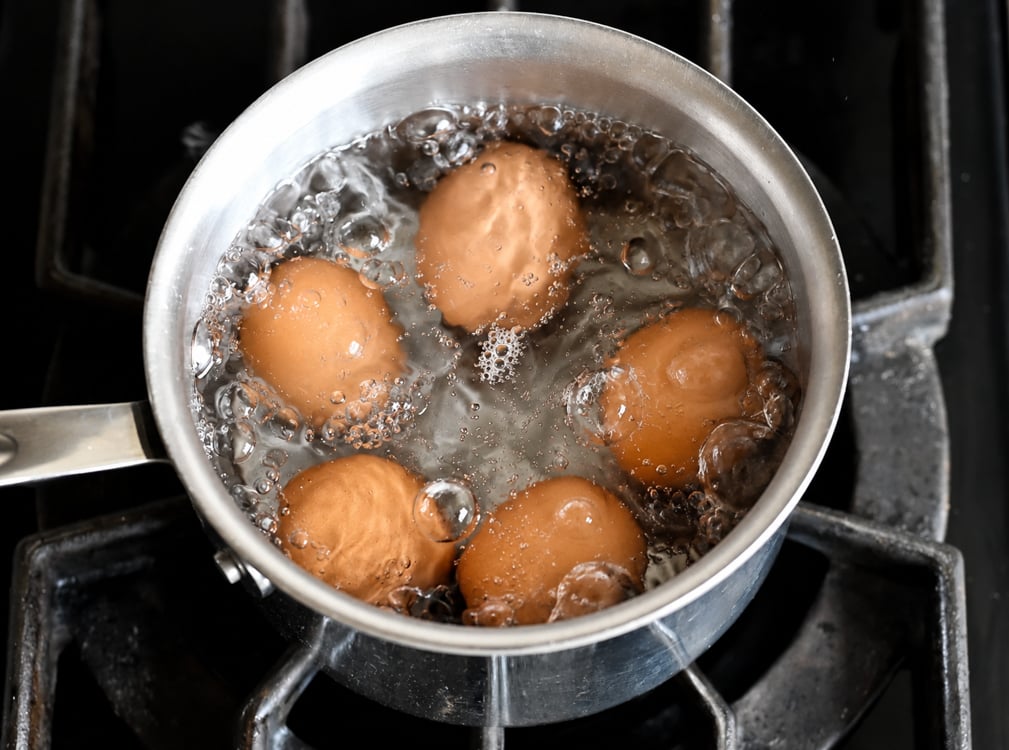
Step 3: Cool the eggs. Transfer the eggs immediately to a bowl of ice water and let stand for about 10 minutes. This stops the cooking and helps prevent a green ring around the yolks. (If you don’t want to bother with an ice bath, simply drain the hot water, run cold water over the eggs until the pan is cool, then refill with cold water and let them stand until cooled.)
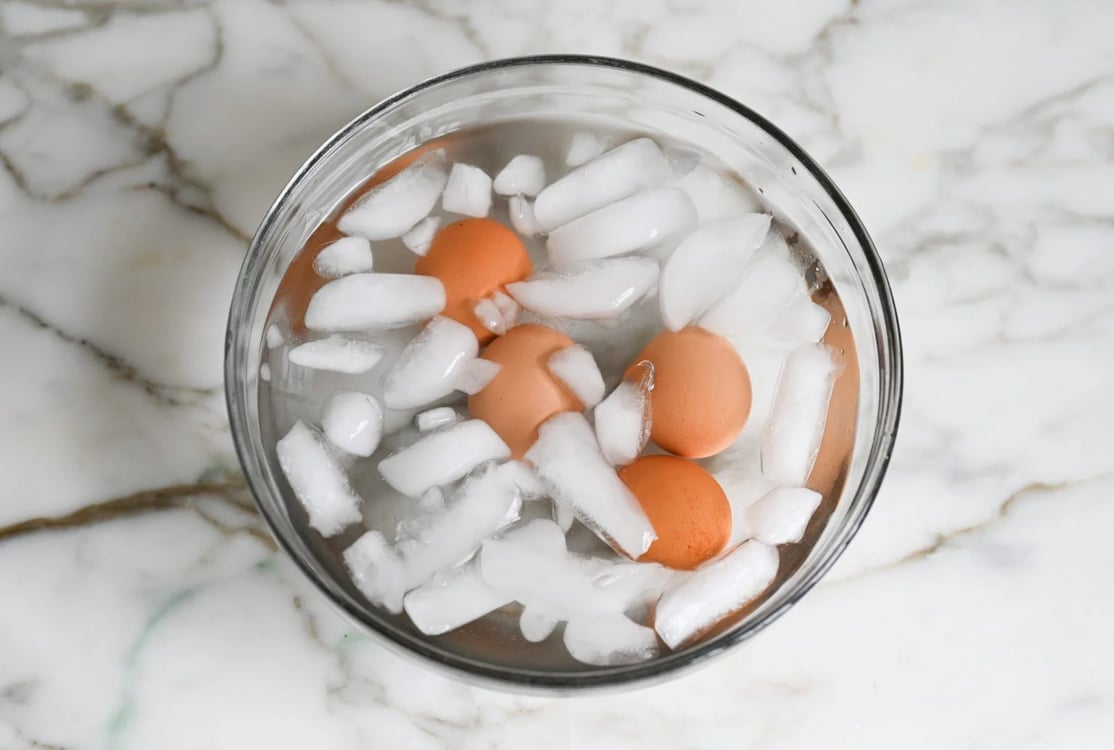
Step 4: Peel and serve. Gently tap the eggs on the counter to crack the shells all over. Start peeling at the wide end, where there’s usually an air pocket, and peel under cool running water. Use the eggs right away or refrigerate in an airtight container. Peeled eggs will keep for up to 3 days; if you leave them in their shells, they’ll keep for up to a week.
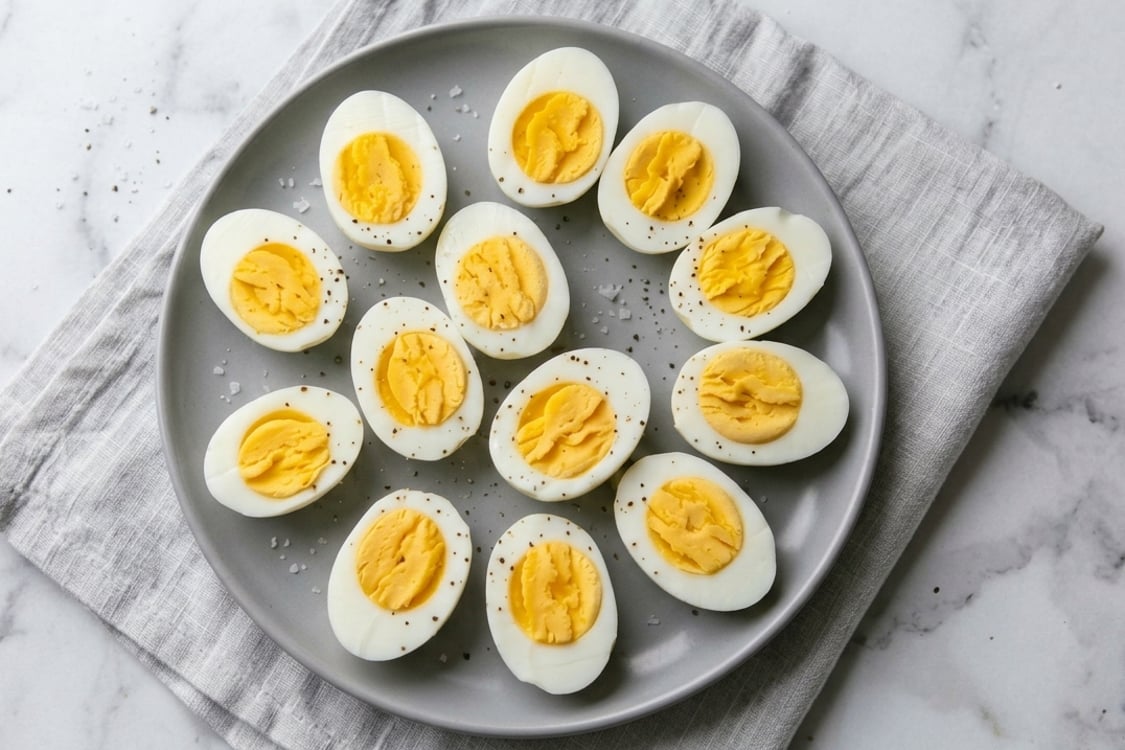
Pro Tips for Hard-Boiled Eggs
- Use slightly older eggs. Eggs that have been in the fridge for a week or two are generally easier to peel than very fresh eggs, so this is a great way to use up a carton that’s been hanging around.
- Try this trick for stubborn shells. Start peeling at the wide end of the egg, where there’s usually a small air pocket. If the shell still won’t cooperate, crack off a small piece to expose the membrane, then pop the egg back into the ice water (or cool water) for a minute or two. The water can seep underneath the shell and help loosen it.
- For easier peeling, try the Negg. I tried this little egg-peeling gadget and was amazed by how well it worked. Add a little water, shake the cooked egg inside, and the shell comes off remarkably easily.
- Don’t worry about a green ring. A greenish-gray ring around the yolk is harmless—it simply means the egg was cooked a little too long or at too high a temperature. It may not look as pretty, but the egg is perfectly safe to eat.
Update: After more testing, I updated this recipe in 2026 to use a boiling-water start, which I’ve found gives more consistent results.
More Egg Recipes You May Like



Hard-Boiled Eggs
Ingredients
- 6 large eggs (or as many as you like)
Instructions
- Fill a medium saucepan with enough water to cover the eggs by about 1 inch. Bring to a boil over high heat.
- Using a slotted spoon, gently lower the cold eggs into the boiling water one at a time, taking care not to let them hit the bottom of the pan, which can crack the shells. Adjust the heat as needed to maintain a gentle boil and cook for 11 minutes; this gives you fully set but still tender, creamy yellow yolks.
- Meanwhile, fill a medium bowl with ice and cold water. As soon as the eggs are done, use a slotted spoon to transfer them to the ice bath. Let cool for 10 minutes. (Alternatively, carefully drain the hot water, then run cold water over the eggs for 1 to 2 minutes. Drain, refill the pan with cold water, and let the eggs stand until completely cool, about 10 minutes.)
- Gently crack the eggs all over, then peel under cool running water, starting at the wide end. Serve immediately or refrigerate until ready to use.
Notes
- The 11-minute cooking time is for large eggs straight from the refrigerator. Smaller eggs may need slightly less time and extra-large eggs slightly more.
- Peeling Hack: Start peeling at the wide end of the egg, where there’s usually an air pocket. Peel off a small piece of shell at the bottom to expose the membrane, then slip the egg back into the water (ice water or room temperature water both work) for a minute or two. The water seeps under the shell and helps release it more easily.
- Make-Ahead Instructions: Eggs can be cooked and peeled 3 days ahead. If you keep the eggs in their shell, they can last for up to a week. Store in an airtight container in the refrigerator.
Nutrition Information
This website is written and produced for informational purposes only. I am not a certified nutritionist and the nutritional data on this site has not been evaluated or approved by a nutritionist or the Food and Drug Administration. Nutritional information is offered as a courtesy and should not be construed as a guarantee. The data is calculated through an online nutritional calculator, Edamam.com. Although I do my best to provide accurate nutritional information, these figures should be considered estimates only. Varying factors such as product types or brands purchased, natural fluctuations in fresh produce, and the way ingredients are processed change the effective nutritional information in any given recipe. Furthermore, different online calculators provide different results depending on their own nutrition fact sources and algorithms. To obtain the most accurate nutritional information in a given recipe, you should calculate the nutritional information with the actual ingredients used in your recipe, using your preferred nutrition calculator.
I’ve made deviled eggs like this for years, but I have a couple more tips:
First, don’t use super fresh eggs. Eggs that are 2-3 days old from your purchase seem to work best.
Second, I invert the egg carton in the fridge, which makes the yolk settle up to the center of the wide part of the egg. (Ever cut the egg in half after boiling only to find the yolk is next to the edge?) This totally works!😉
I also cool them down and add lots of ice to the water. Jenn’s tip on poking a small hole and letting them sit is great!
Hope you find these tips helpful.
yummy good
Thanks Jenn, perfect eggs every time.
Hi Jennifer
Love all your recipes.
Learned a trick from a student recently to roll the egg around on the counter before peeling so it’s cracked all over. I then use the side of my thumb to peel. So much faster! Try it!
Perfect every time – and I’ve made them many times!
I live at an altitude of 6700 feet so the timing has to be adjusted. I found I have to let the eggs cool for 18 minutes in order to have fully cooked eggs. Otherwise, this works well. Older eggs peel the best.
I gave this a try, but still had trouble removing the shell. I wonder if it depends on how fresh the eggs are? (Mine were fresh.) Going back to steaming.
I make hard boiled eggs weekly I have always had trouble with the shells sticking to the egg causing a portion of the egg to be destroyed I followed these instructions to a tee and they came out perfectly Going forward this is how I will cook them.
I peeled half, & weirdly every other was almost perfect (for me) with only a few small chunks stuck to the shell.
I’ve never been a great cook, liking egg salad because it made the best of all my peeled uglies!
You have no idea how much this hard-boiled egg thing has meant to me. I bookmarked this “lesson”, so that I can easily find it because now I’m jazzed to do this more often! Who knows which of your incredible recipes I will conquer next! 😂😂😂
These turned out great! I see from other comments that some people have struggled to peel the eggs. I use a little gadget that works beautifully. I’m typically not big on extra gadgets in the kitchen, but this has changed my egg peeling game, and I make hard-boiled eggs a lot more now. It’s called the Negg egg peeler if you want to check it out.