
Best Brownie Recipe

This post may contain affiliate links. Read my full disclosure policy.
The search for the very best brownie recipe ends here. These brownies are fudgy, deeply chocolaty, and absolutely worth making from scratch.
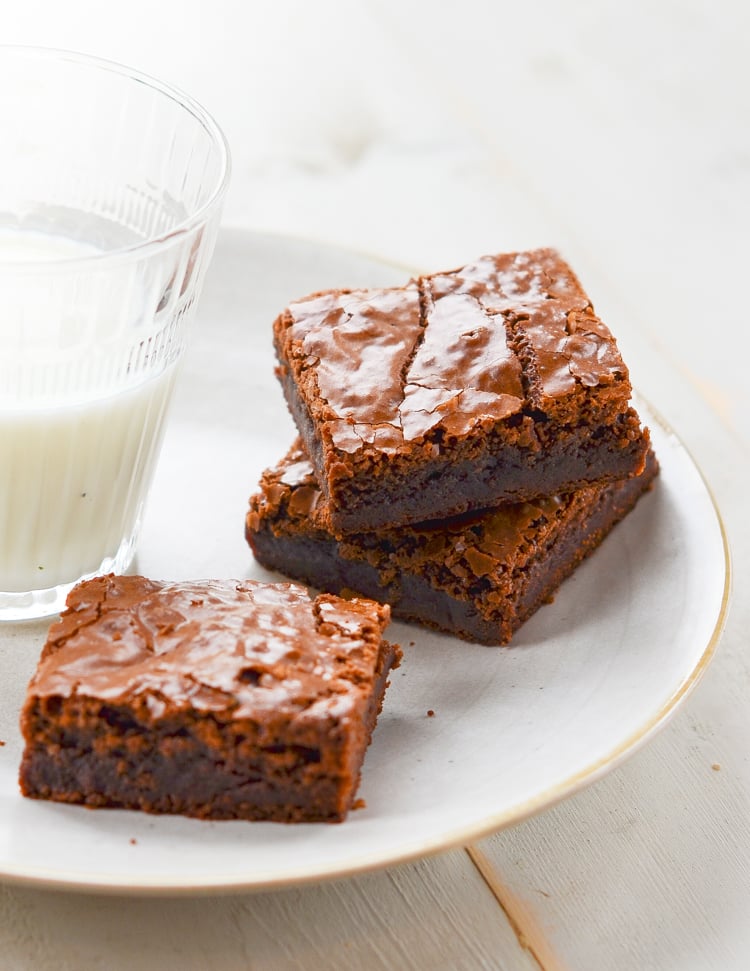
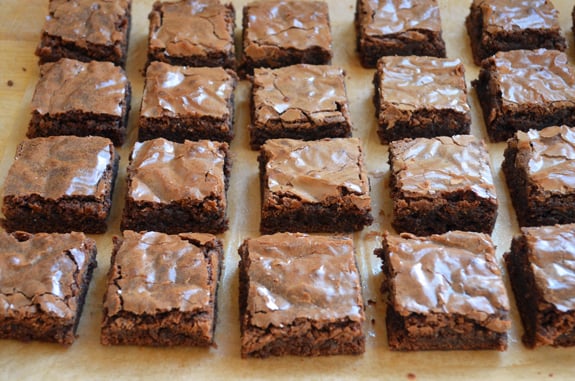
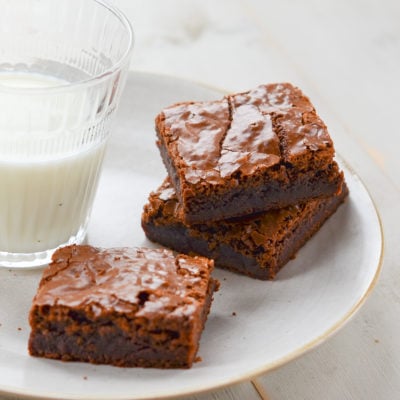
I’ve made a lot of brownie recipes over the years, but I always come back to this one. The brownies are thick, deeply chocolatey, irresistibly fudgy in the center, and topped with a paper-thin, crackly crust. The secret? While most brownie recipes—and nearly all boxed mixes—rely solely on cocoa powder, this one is made with real melted chocolate for exceptional richness and flavor.
The recipe originally comes from pastry chef Nick Malgieri’s Chocolate cookbook. It’s been around for decades and featured in numerous cooking publications, such as The New York Times, Saveur, and The Splendid Table. Try it for yourself and see why people have been making it for so long.
Why You’ll Love This Brownie Recipe
- One bowl and no mixer required
- Perfectly fudgy with crackly tops
- Made with simple ingredients
- Easy to make ahead and freeze
- Perfect for parties, bake sales, and gifting
- A time-tested recipe that’s been loved for decades
“The name does not lie!! These are hands-down the BEST brownies I have made!!! My entire family devoured them.”
What You’ll Need To Make Homemade Brownies
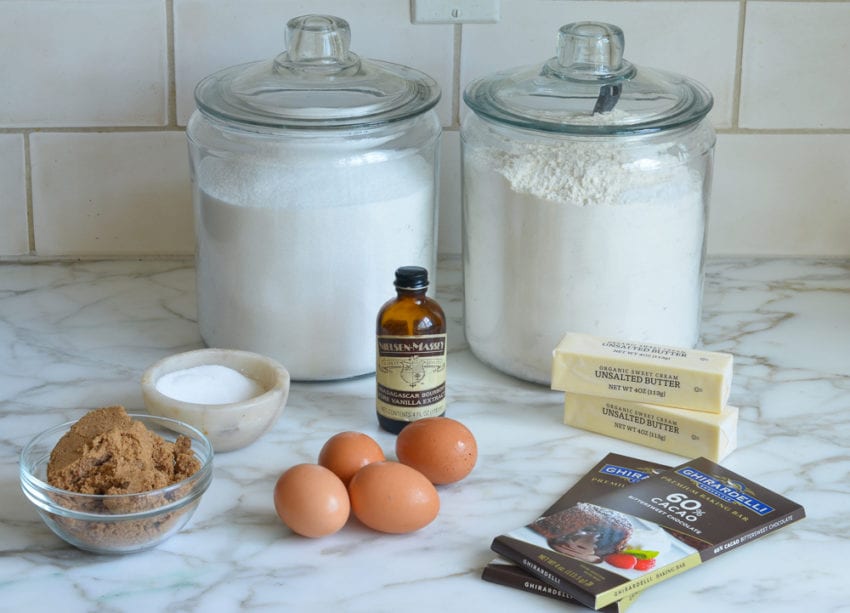
- Unsalted butter: Adds richness and moisture, creating the brownies’ signature fudgy texture. Using unsalted butter lets you control the amount of salt in the recipe.
- Bittersweet or semisweet chocolate: Since chocolate is the star here, use a good-quality chocolate bar, such as Ghirardelli or Guittard. I recommend bars instead of chocolate chips, which contain stabilizers that prevent them from melting as smoothly.
- Eggs: Provide structure while keeping the brownies rich and chewy. Use large eggs, and let them come to room temperature if possible so they blend more easily into the batter.
- Granulated sugar: Helps create the brownies’ signature shiny, crackly top while adding sweetness.
- Dark brown sugar: Adds moisture along with a subtle molasses flavor that makes the brownies even richer and fudgier. Light brown sugar will work in a pinch, but you’ll get a milder flavor and slightly less moisture.
- Vanilla extract: Enhances the chocolate flavor without overpowering it.
- Salt: Balances the sweetness and makes the chocolate taste even richer.
- All-purpose flour: Just enough flour gives the brownies structure while keeping them dense and fudgy instead of cakey. Measure using the spoon-and-level method for the best results—packing the cup or scooping straight from the bag adds too much flour and dries out the brownies.
- Jump to the printable recipe for precise measurements
Step-by-Step Instructions
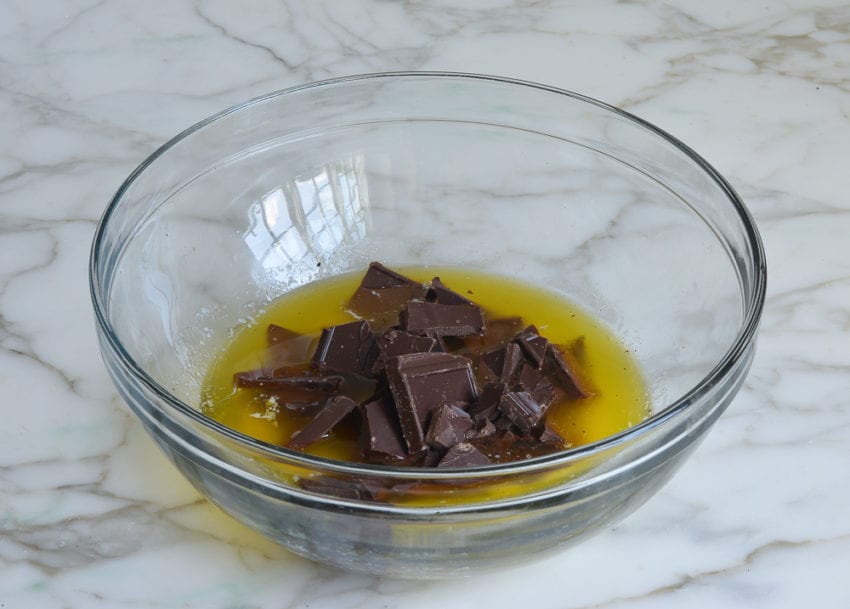
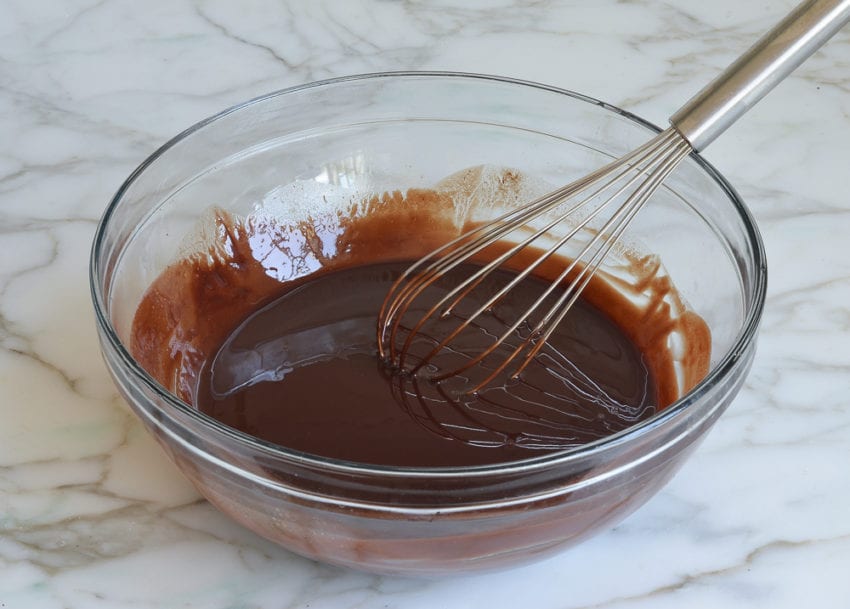
Step 1: Melt the butter and chocolate. Melt the butter until it’s hot and bubbling, then add the chopped chocolate. Let it sit for about a minute before whisking; the residual heat from the butter is usually enough to melt the chocolate completely. If a few pieces remain, microwave the mixture briefly and whisk again until smooth and glossy.
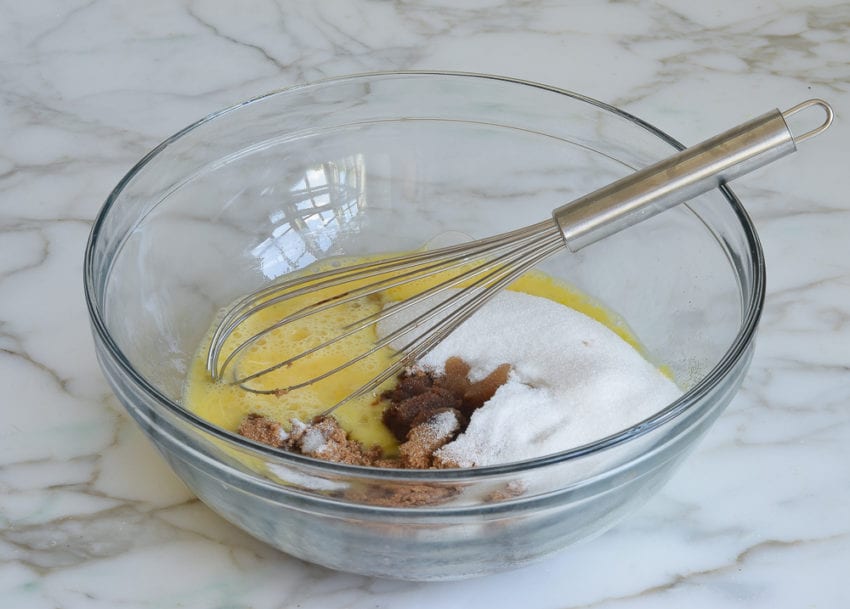
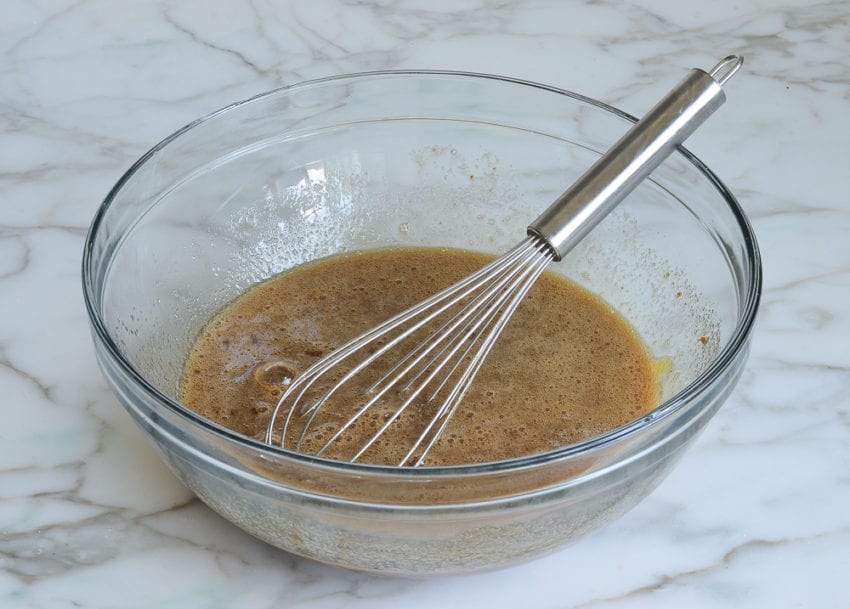
Step 2: Mix the eggs, sugars, and flavoring. Whisk the eggs with the sugars, vanilla, and salt until smooth, making sure there are no lumps of brown sugar. You don’t need to whip a lot of air into the mixture—just whisk until everything is evenly combined.
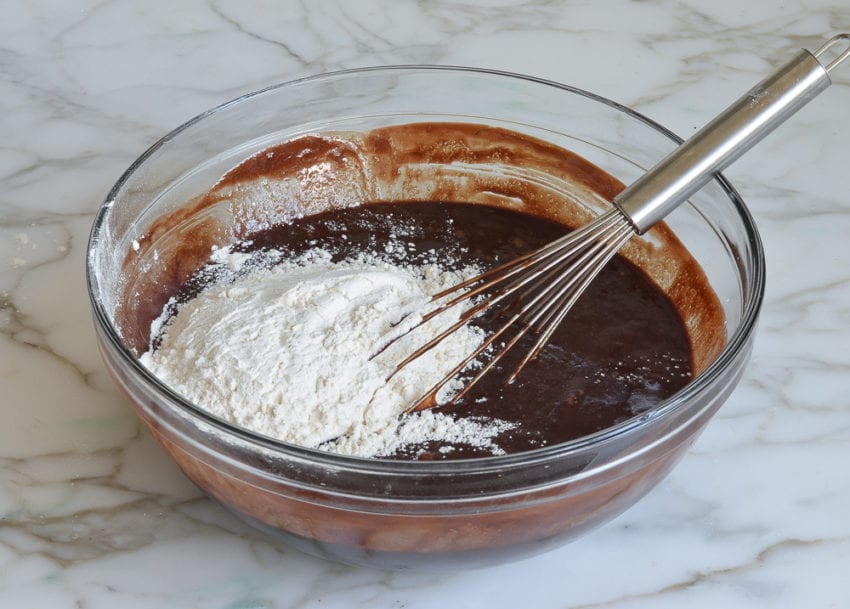
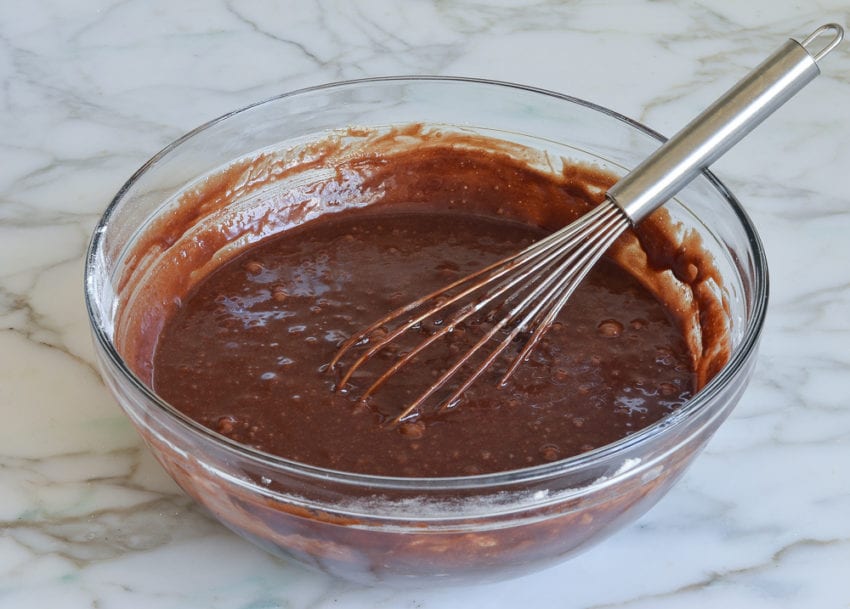
Step 3: Finish the batter. Whisk the melted chocolate into the egg mixture, then stir in the flour just until no streaks remain. The batter will be thick and glossy. Avoid overmixing at this stage, which can make the brownies a bit tougher.
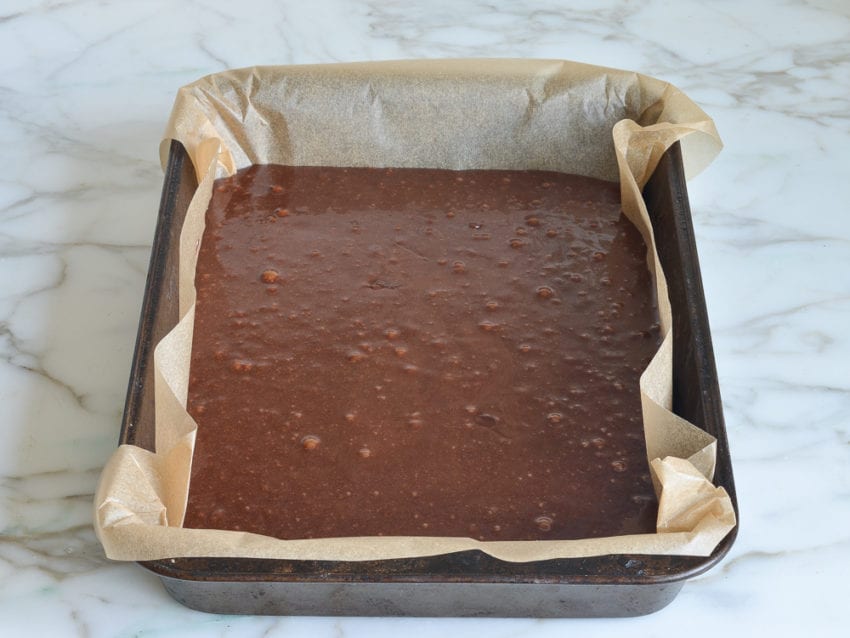
Step 4: Bake. Line the pan with parchment paper, leaving an overhang on two sides so you can easily lift the brownies out after baking. Spray the paper with nonstick cooking spray, then spread the batter evenly into the corners and bake until the top is shiny and set. If you’re unsure whether they’re done, it’s better to err on the side of slightly underbaked than overbaked. The brownies will continue to set as they cool.
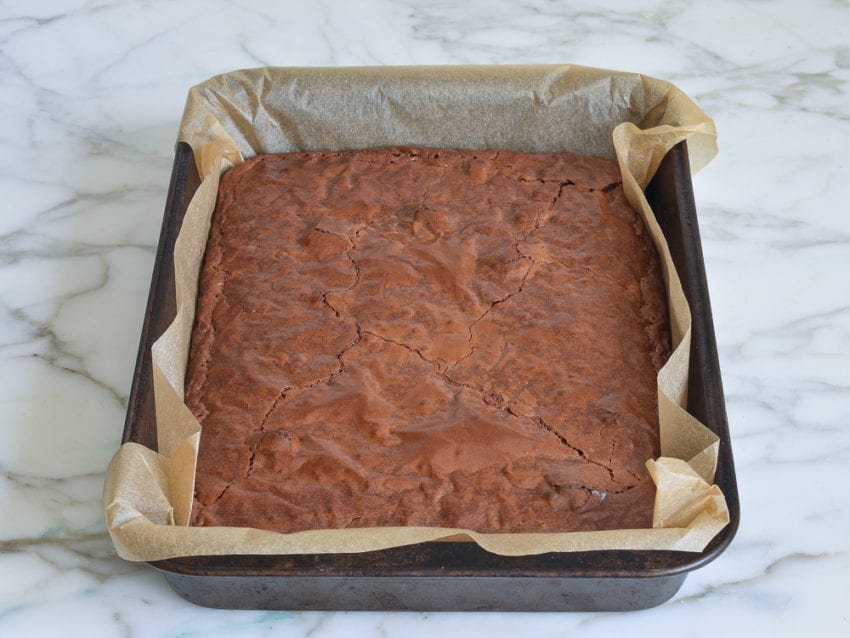
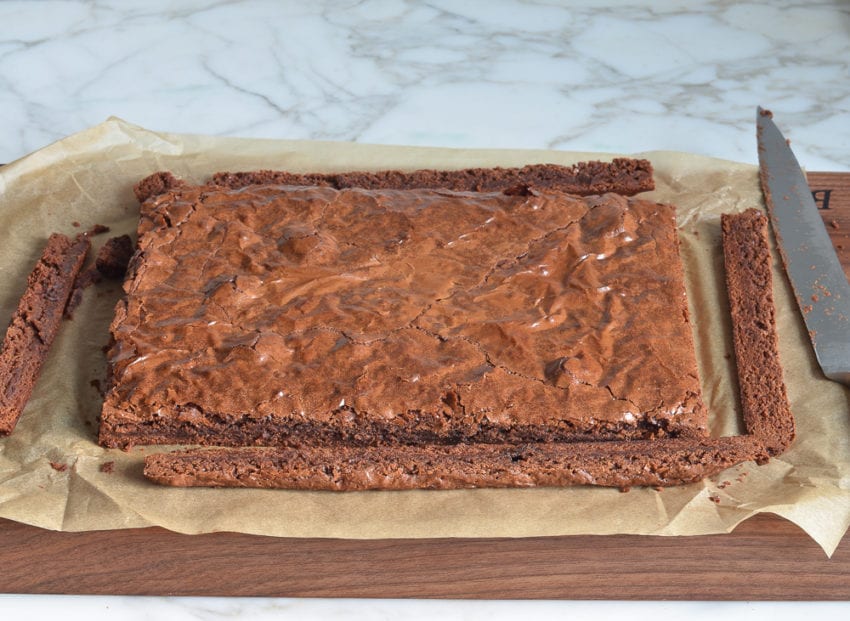
Step 5: Cool and cut. As tempting as it is to cut into warm brownies, letting them cool completely gives them time to finish setting, making them easier. Once cool, use the parchment overhang to lift them from the pan, then trim the crispy edges (chef’s treat!) and cut into squares. Store in an airtight container for up to 4 days, or freeze for longer storage.
Choosing Your Pan
This recipe is written for a 9×13-inch metal pan (24 brownies). Some helpful adjustments:
- 8×8 or 9×9 pan: Halve the recipe. Start checking for doneness around 30 minutes.
- Two 8×8 pans: Keep the full recipe and split the batter between two pans (great for trying different mix-ins). Bake about 30 minutes.
- Glass or ceramic instead of metal: Drop the oven to 325°F rather than adding time at 350°F. Both retain heat more than metal and can burn at the edges before the center’s done. Glass is the more stubborn of the two; ceramic tends to be a bit more forgiving.
Variations and Mix-Ins
- Add nuts: Fold in ½ to 1 cup of chopped toasted walnuts or pecans along with the batter for crunch.
- Deepen the chocolate flavor: Add 1 teaspoon of instant espresso powder to the melted chocolate-butter mixture. You won’t taste coffee; it just intensifies the chocolate.
- Go extra chocolatey: Fold in ½ to 1 cup of chocolate chips along with the flour for pockets of melted chocolate throughout.
Video Tutorial
More Brownie Recipes You’ll Love
Best Brownie Recipe
Ingredients
- 1 cup (2 sticks) unsalted butter
- 8 oz bittersweet or semisweet chocolate, roughly chopped (I use Ghirardelli bars)
- 4 large eggs
- ½ teaspoon salt
- 1 cup granulated sugar
- 1 cup (packed) dark brown sugar
- 2 teaspoons vanilla extract
- 1 cup all-purpose flour, spooned into measuring cup and leveled-off
Instructions
- Preheat the oven to 350°F (175°C) and set a rack in the middle position. Line a 9 x 13-in (23 x 33-cm) pan with parchment paper (bring parchment up sides of pan so there is a slight overhang) and grease with butter or nonstick cooking spray.
- Place the butter in a medium microwave-safe bowl and melt in the microwave until bubbling. Add the chocolate and whisk until the chocolate is completely melted. The heat from the butter should be enough to melt the chocolate completely, but if not, place the chocolate-butter mixture in the microwave and heat for 20 seconds or so, then whisk again. (Alternatively, combine the butter and chocolate in a heat proof bowl and set over a pan of simmering water. Stir occasionally until melted.)
- Whisk the eggs in a large bowl. Add the salt, granulated sugar, brown sugar, and vanilla; whisk until smooth (be sure no lumps of brown sugar remain). Whisk in the chocolate-butter mixture, then add the flour and whisk until the batter is uniform.
- Pour the batter into the prepared pan and spread evenly. Bake for about 45 minutes, until the top has formed a shiny crust and the batter is moderately firm. Cool completely in the pan on a rack.
- Use the parchment overhang to lift the brownies out of the pan, transfer them to a cutting board, and separate the parchment from the edges. Using a sharp knife, trim away the edges and cut the brownies into 24 (2-in) squares.
Notes
Nutrition Information
This website is written and produced for informational purposes only. I am not a certified nutritionist and the nutritional data on this site has not been evaluated or approved by a nutritionist or the Food and Drug Administration. Nutritional information is offered as a courtesy and should not be construed as a guarantee. The data is calculated through an online nutritional calculator, Edamam.com. Although I do my best to provide accurate nutritional information, these figures should be considered estimates only. Varying factors such as product types or brands purchased, natural fluctuations in fresh produce, and the way ingredients are processed change the effective nutritional information in any given recipe. Furthermore, different online calculators provide different results depending on their own nutrition fact sources and algorithms. To obtain the most accurate nutritional information in a given recipe, you should calculate the nutritional information with the actual ingredients used in your recipe, using your preferred nutrition calculator.
My brownies didn’t set up after 45 minutes so I put them a little longer, 10 minutes at a time then 15 minutes. They tasted great but were extremely soft and fell apart. We mixed them in with vanilla ice cream and feasted. Anyone else have this problem? Seems like too much butter?
Any advice Jen? Many thanks!
Hi Marianne, that’s definitely strange considering you baked them for significantly longer than the recipe indicates. Is there a chance you may have mismeasured something? Did you use a 13 x 9-inch baking dish?
Jen, these brownies are perfect! I realized my mistake…IMPATIENCE!! I made these with my grandkids and we couldn’t wait until they were completely cool which is a must for firm brownies! This is my first attempt at homemade brownies and now they’re my only go to!! Thanks for your reply and patience! ~M
LOL – glad you enjoyed them nevertheless! 😊
The absolute best brownies. Have been searching high and low for a
recipe like this one and have finally found it! These are a definite 5+.
Anyone try making it gluten free?
A number of readers have commented that they’ve made these gluten-free and have been happy with the results. Hope you enjoy if you make them!
I make these gf all the time and they’re fantastic! Use 1:1 gf flour (I use Bob’s Red Mill)
I made a batch of brownies using the recipe, and although the flavor is delicious, they came out excessively oily. So much so that I had to drain them on paper towels. I might try making another batch, but cut back some of the fat maybe 🤔
I made them and they were delicious. But instead of cooking for about 45 minutes, it only took about a half hour.
Over the years I’ve switched to using mostly glass Pyrex. When I see you baking with metal pans I wonder if I should invest in some myself. What are your thoughts? Do I need to adjust time or temperature when baking with glass pans? Thank you so much!
Hi Sarah, metal pans are my favorite for baking based on how they distribute heat. That said, glass works. If the recipe specifically calls for a metal pan though, I’d reduce the oven temp by 25°F. If a metal pan isn’t specified, glass is fine — just always keep an eye on it and reduce the heat by 25°F if it looks like it’s starting to brown around the edges.
Hands down the BEST and easiest brownie recipe ever! I have been baking brownies for over 40 years and have tried so many different recipes, including my beloved King Arthur (and they are wonderful, but a bit of work) and this recipe is by far the best. And so easy! I used Trader Joe’s pound plus bittersweet chocolate and they came out incredible. My entire family loves them and they have become our “go to” recipe for brownies. Thank you Jenn for another amazing recipe!
Hi Jenn, I love all your recipes 🙂
Quick question: Is the trend of parchment paper or foil lined pans a matter of preference? Would I be ok just greasing the pan, if, say I intend only to serve the goodies out of the pan, among family members?
Hi Karen, what you’re suggesting should be fine (and so glad you like the recipes)!
I made these for a chocolate-loving friend, who invited us to a spontaneous party.
I had to make 1.5x the amount to fit my large baking sheet and used a little less sugar.
Mine were done a few minutes sooner.
The result? We cut them and ate them straight from the sheet 😀
Made these for the Super Bowl yesterday – AMAZING!! And even better the next day! Thank you for another great recipe!!