
Key Lime Pie


This post may contain affiliate links. Read my full disclosure policy.
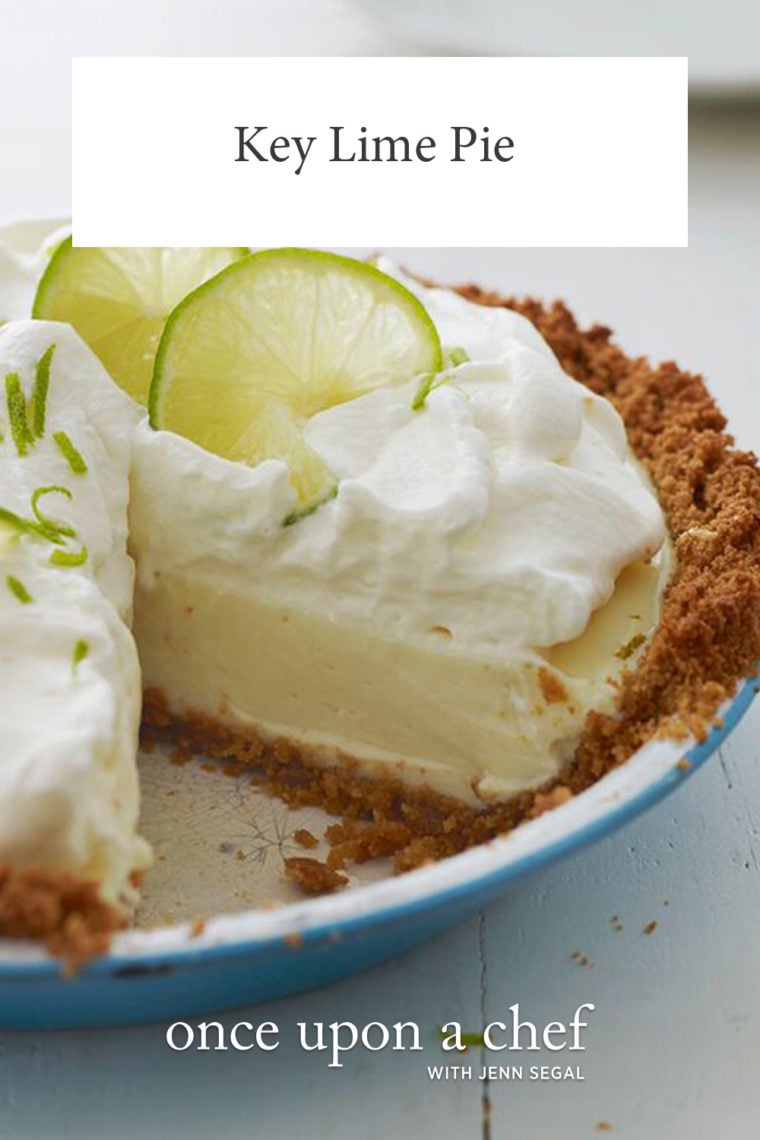
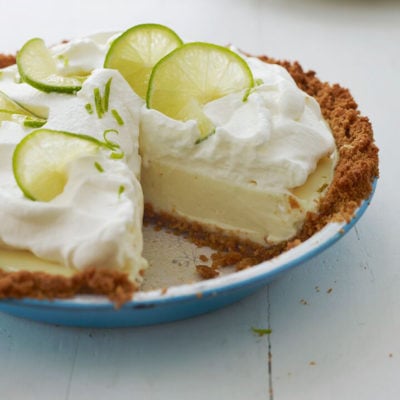
Bright, tangy, and ultra-creamy, this key lime pie has just the right balance of sweet and tart—perfect for warm days and easy entertaining.
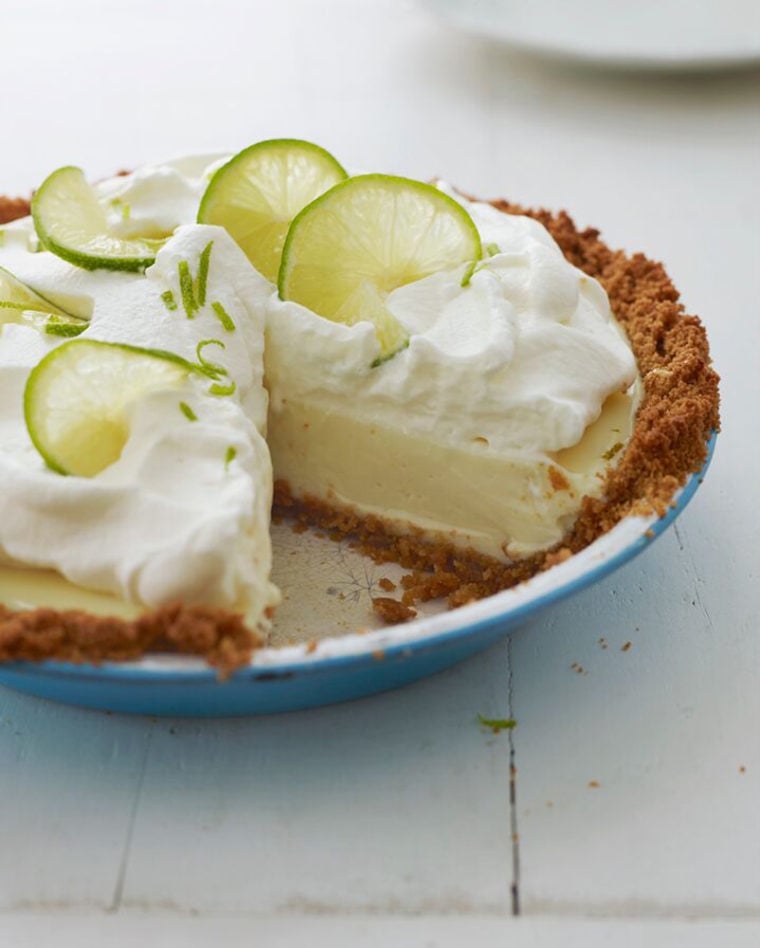
I’ve been making this Key lime pie for years, and it’s one of my favorite desserts to serve when the weather warms up. Inspired by the classic pie made famous in the Florida Keys, it has a buttery graham cracker crust and a cool, creamy filling that’s the perfect balance of sweet and tart. Best of all, it’s easy to make with just a handful of ingredients—you can use regular limes from the grocery store, and Greek yogurt stands in for the usual egg yolks (trust me, it works). I’ve served this pie everywhere from summer barbecues to holiday dinners, and it’s always a crowd-pleaser.
“The best key lime pie I’ve ever had!! Tart, sweet, fresh but rich.”
Do You Really Need Key Limes?
Despite the name, you don’t need Key limes to make an outstanding Key lime pie. Over the years, I’ve made this pie with bottled Key lime juice (such as Nellie & Joe’s), fresh Key limes, and regular limes (also called Persian limes), and I actually prefer regular limes. They’re easy to find year-round and have a bright, fresh flavor that makes an exceptional pie. If you have access to fresh Key limes, though, they’re delicious too, lending the pie a slightly more floral, aromatic flavor.
What You’ll Need To Make Key Lime Pie
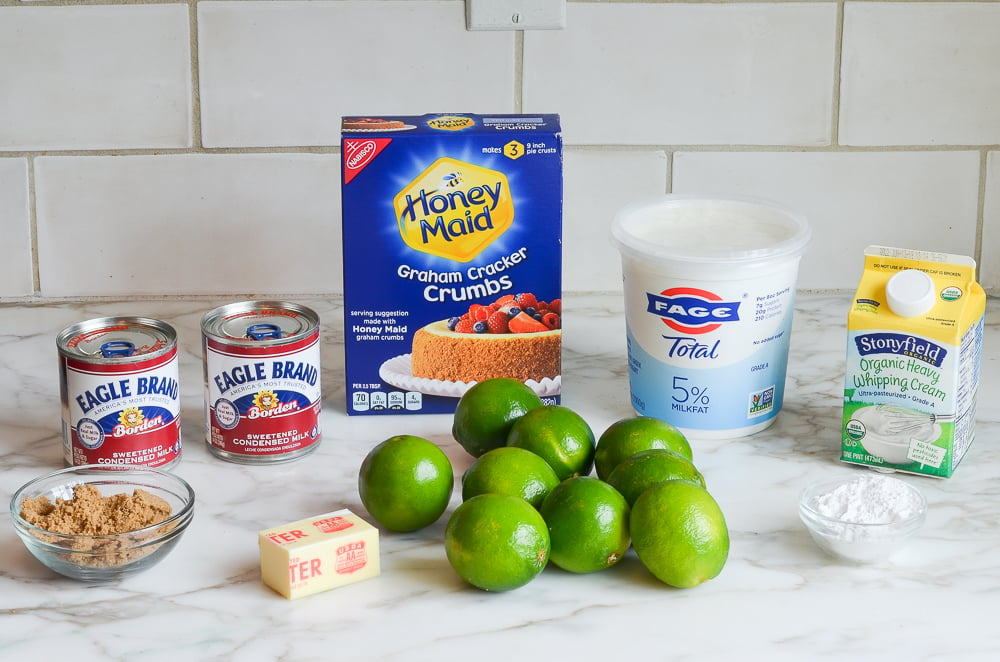
For the crust, you’ll need finely crushed graham cracker crumbs, light brown sugar, and melted butter. For the filling, you’ll need sweetened condensed milk, Greek yogurt, fresh lime juice and lime zest. For the topping, you’ll need heavy cream and confectioners’ sugar.
You’ll notice this recipe doesn’t call for egg yolks, like many traditional Key lime pie recipes. After testing it both ways, I found they simply weren’t necessary. The pie sets beautifully because the lime juice’s acidity reacts with the proteins in the yogurt and sweetened condensed milk, thickening the filling as it bakes (the same basic reaction that turns milk into cheese). And from a taste standpoint, I actually prefer the cleaner, brighter lime flavor that comes from leaving the yolks out. As a bonus, there’s no separating eggs, making the recipe even easier to prepare.
“Outstanding! Sets up beautifully and has the most perfect lime flavor.”
Step-by-Step Instructions
Step 1: Mix the crust. Combine the graham cracker crumbs, brown sugar, and melted butter, stirring first with a fork, then finishing with your hands until the mixture looks like damp sand and holds together when you squeeze a bit in your palm.
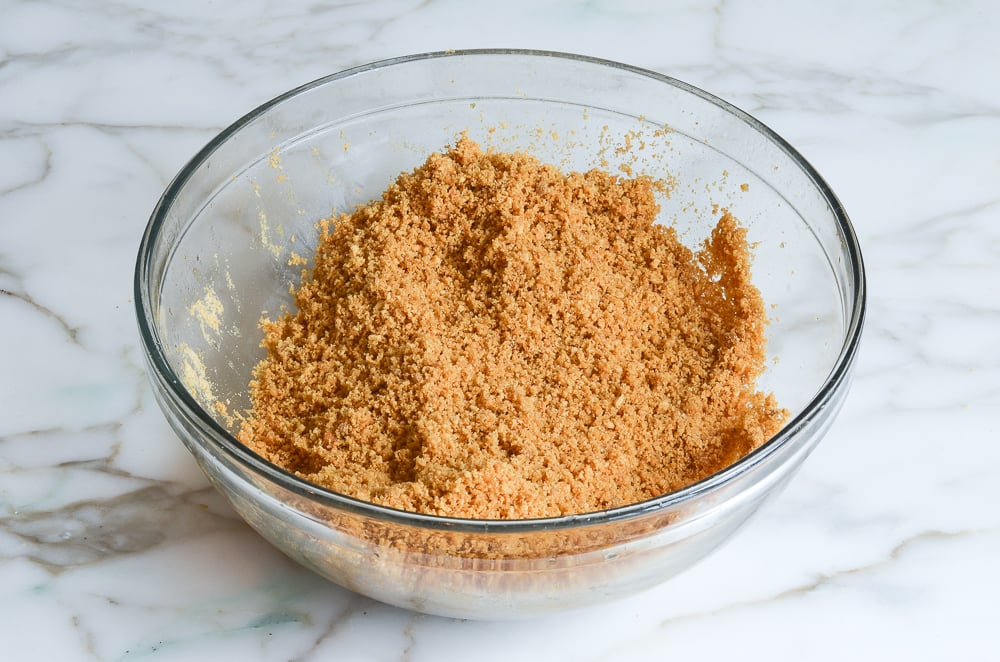
Step 2: Press the crust into the pan. Work the crumbs up the sides of the pan first, then press the bottom—it’s easier this way. Press firmly; a loosely packed crust tends to crumble when you slice the pie later.
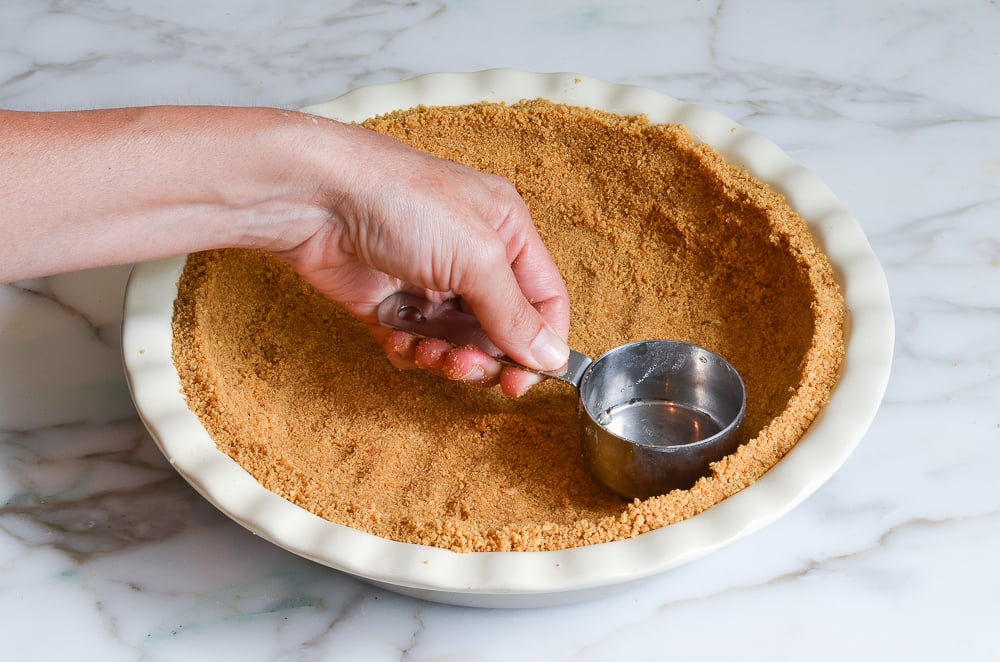
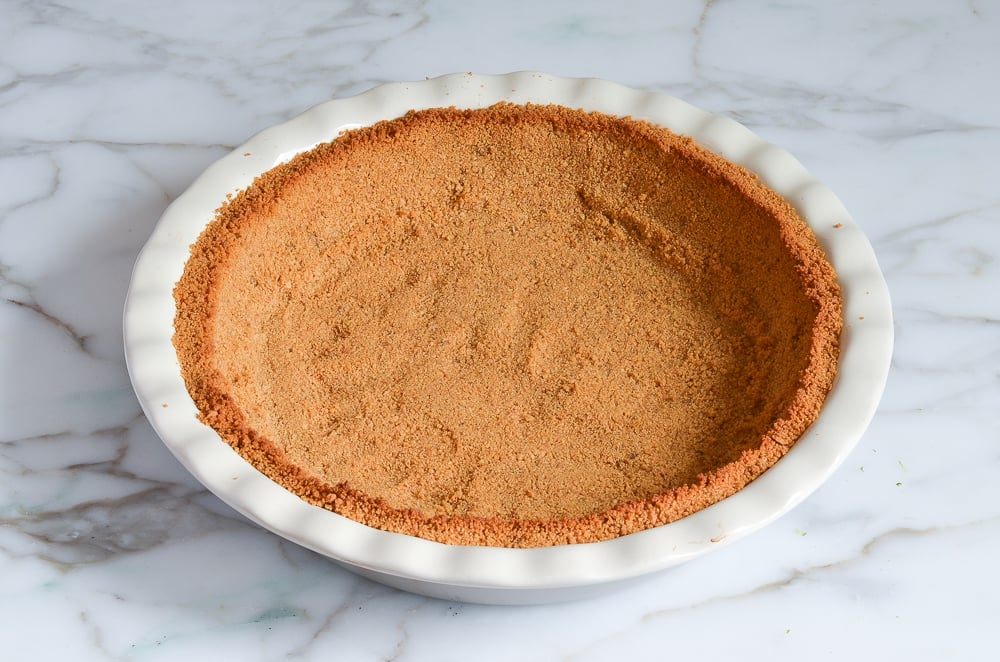
Step 3: Blind bake. Bake just until the edges turn a shade darker and it smells toasty. This short bake deepens the flavor of the crust and keeps the crust from turning soggy once the filling goes in, but it doesn’t need to brown deeply.
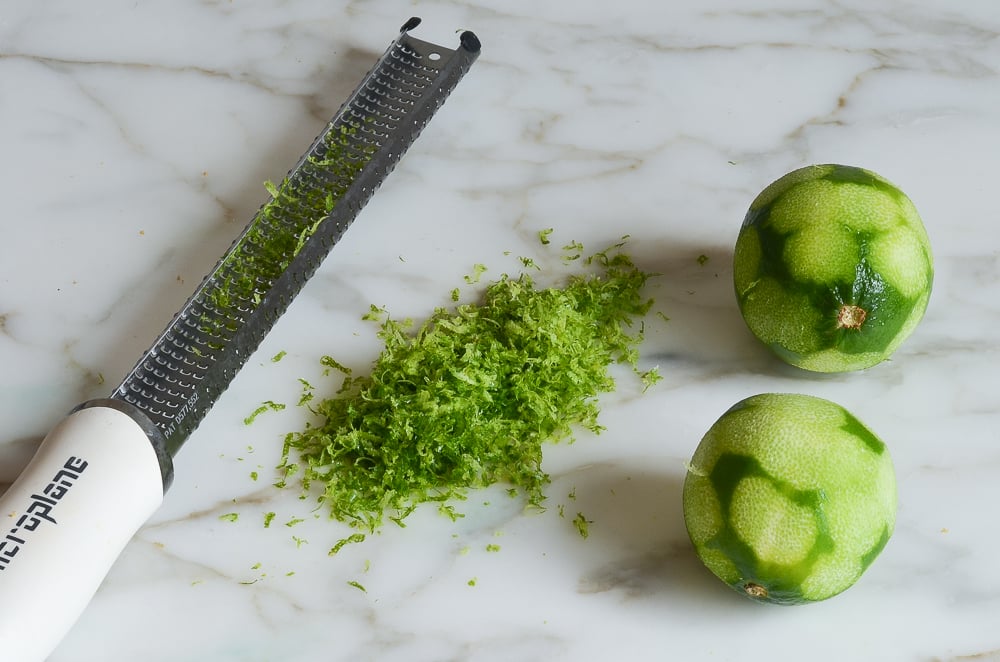
Step 4: Zest, then juice. Zest every lime you plan to juice before you cut into them—it’s nearly impossible to zest a lime once it’s been squeezed. A rasp grater makes this fast; a reamer or your hands work fine for juicing.
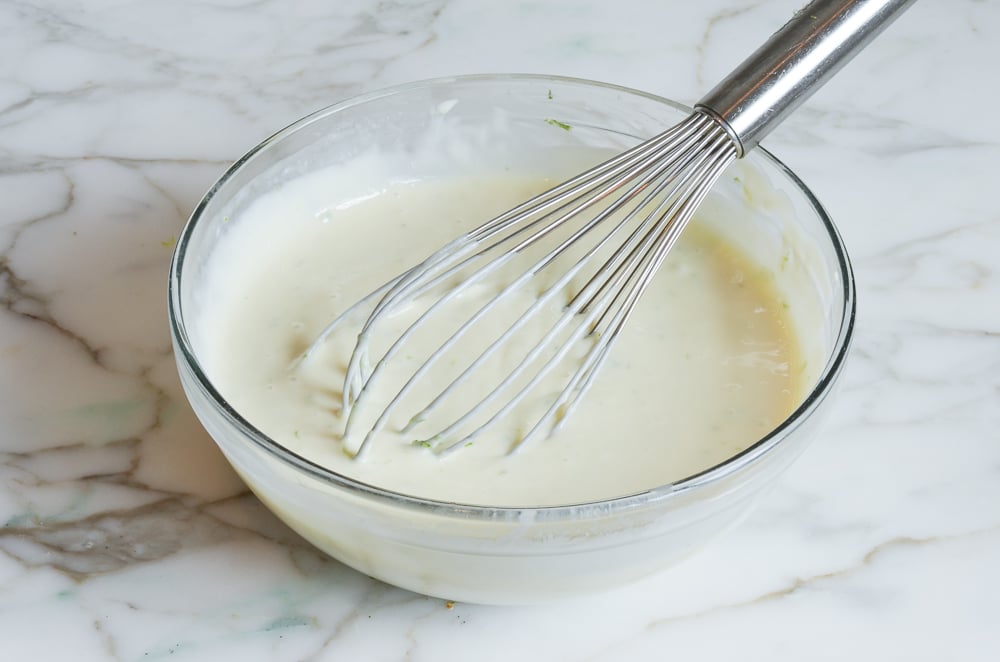
Step 5: Whisk the filling. Whisk the condensed milk, yogurt, zest, and juice together until completely smooth. The mixture will look thick, almost like a pudding.
Step 6: Bake and chill. Pour the filling into the warm crust and bake until the center looks just set. Let it cool for a bit on the counter, then pop it in the fridge for at least 3 hours to set completely. It’ll firm up further as it cools and chills.
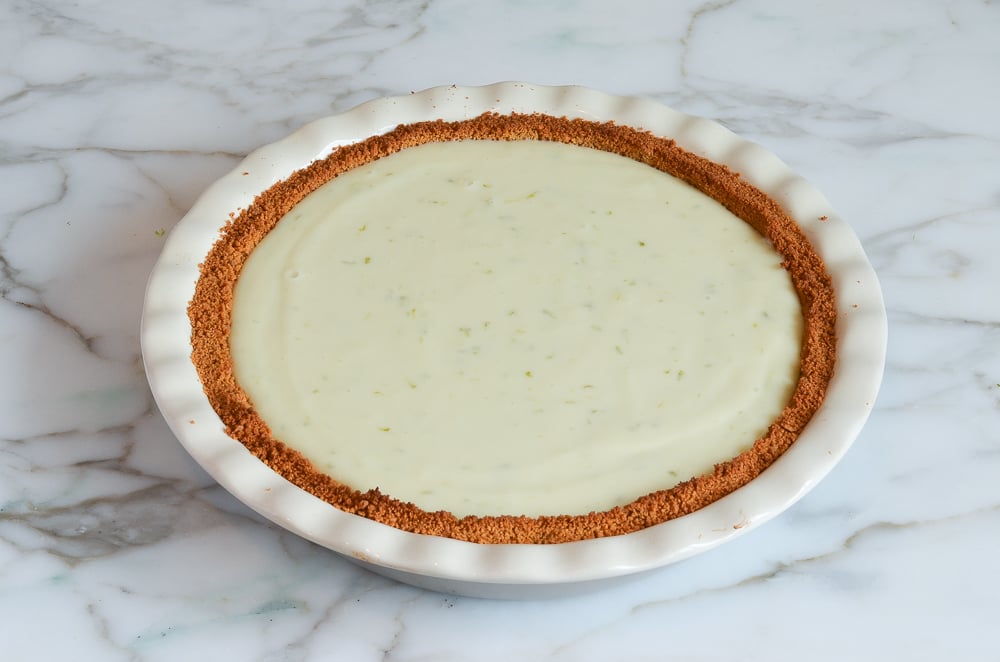
Step 7: Whip the cream. Beat the heavy cream until it just starts to hold soft peaks, then add the confectioners’ sugar and continue beating until it’s thick enough to hold its shape when you lift the whisk. Don’t take it too far past this point—overwhipped cream turns grainy and starts to look more like butter than a topping.
Pro Tip: A hand whisk works fine here too if you don’t feel like pulling out the mixer—it just takes a bit more elbow grease.
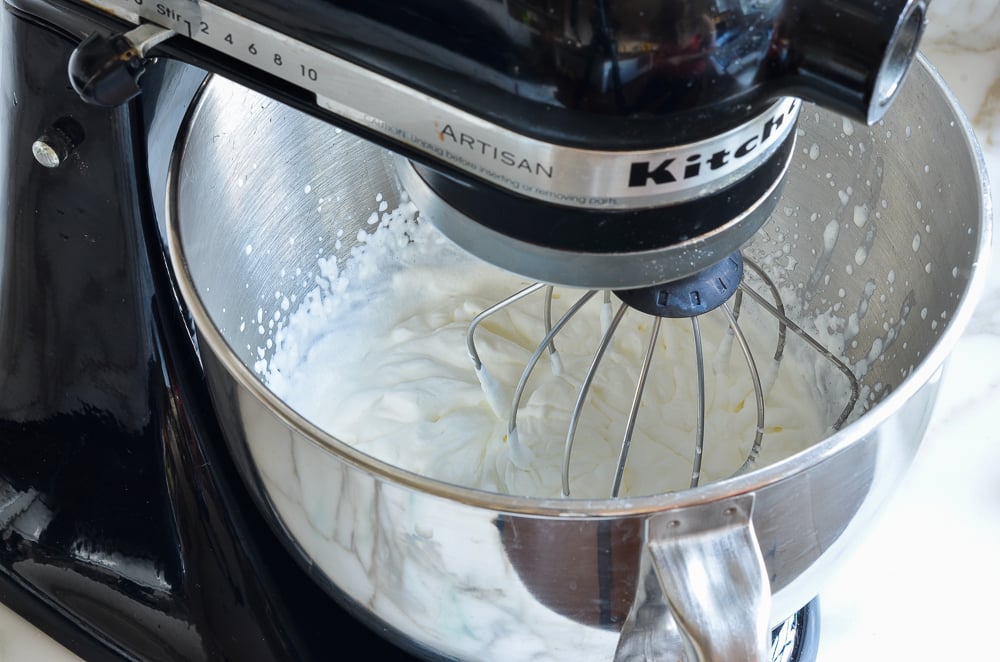
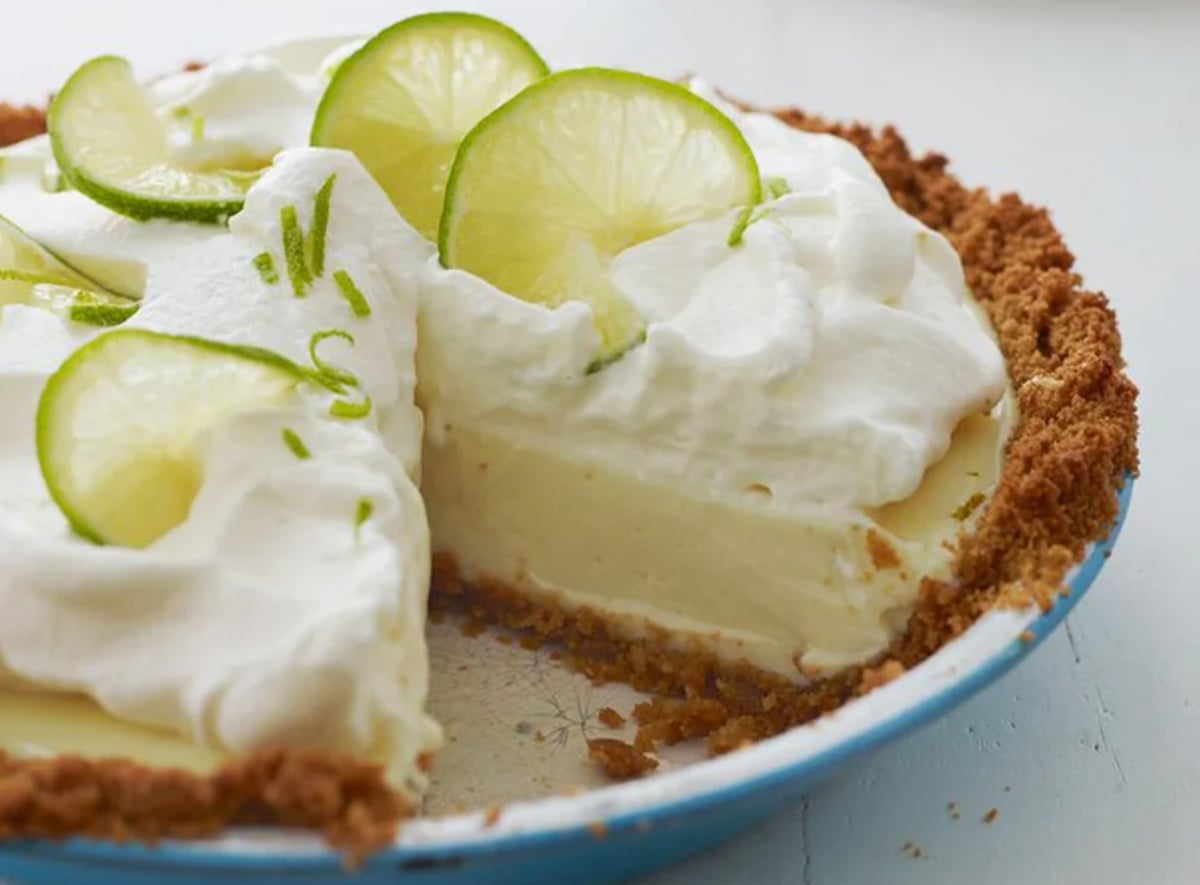
Step 8: Top and serve. Top with the whipped cream shortly before serving rather than hours ahead, since cream loses its shape sitting on a cold pie for too long. A knife wiped clean between cuts will give you the neatest slices.
Key Lime Pie Video Tutorial
More Cool, Creamy Pie Recipes You’ll Love

Key Lime Pie
Ingredients
For the Crust
- 1½ cups finely crushed graham cracker crumbs, from about 12 whole graham crackers
- ⅓ cup (packed) light brown sugar
- 4 tablespoons unsalted butter, melted
For the Filling
- Two 14-oz cans sweetened condensed milk
- 1 cup plain Greek yogurt (2% or whole milk)
- 1 tablespoon grated lime zest
- ¾ cup fresh lime juice
For the Topping
- 1 cup cold heavy cream
- 2 tablespoons confectioners' sugar
- 1 teaspoon grated lime zest
- 8 to 10 thin lime slices
Instructions
- Make the Crust: Preheat oven to 375°F (190°C) and set an oven rack in the middle position.
- In a medium bowl, combine the graham cracker crumbs, brown sugar, and melted butter; stir with a fork first, and then your hands until the mixture is well combined. Using your fingers and the bottom of a glass or dry measuring cup, press the crumbs firmly into the bottom and up the sides of a 9 x 1½-in (23 x 4-cm) pie pan. The crust should be about ¼-in (6-mm) thick. (Tip: do the sides first.)
- Bake for 10 minutes, until just slightly browned. Let the crust cool on a wire rack.
- Make the Filling: Lower the oven temperature to 350°F (180°C). In a large bowl, whisk together the sweetened condensed milk, yogurt, lime zest, and lime juice. Pour the thick mixture into the warm graham cracker crust. Bake for 15 minutes, until the filling is almost set; it should wobble a bit. Let cool at room temperature for 30 minutes, then place in the refrigerator to chill thoroughly, about 3 hours.
- Make the Topping: In the bowl of an electric mixer, beat the heavy cream until soft peaks form. Add the confectioners’ sugar and beat until medium peaks form. Top the pie with the whipped cream. Decorate with the lime zest and lime slices. Store the pie in the refrigerator until ready to serve. Slice the pie into wedges, wiping your knife clean between slices, and serve cold.
Notes
- Make-Ahead Instructions: You can make the crust a day ahead of time, but the filling should be added on the day of serving, otherwise the crust will get soggy.
- The nutritional information was calculated using 2% Greek yogurt.
Nutrition Information
This website is written and produced for informational purposes only. I am not a certified nutritionist and the nutritional data on this site has not been evaluated or approved by a nutritionist or the Food and Drug Administration. Nutritional information is offered as a courtesy and should not be construed as a guarantee. The data is calculated through an online nutritional calculator, Edamam.com. Although I do my best to provide accurate nutritional information, these figures should be considered estimates only. Varying factors such as product types or brands purchased, natural fluctuations in fresh produce, and the way ingredients are processed change the effective nutritional information in any given recipe. Furthermore, different online calculators provide different results depending on their own nutrition fact sources and algorithms. To obtain the most accurate nutritional information in a given recipe, you should calculate the nutritional information with the actual ingredients used in your recipe, using your preferred nutrition calculator.
This “key lime” pie makes me look way better in the kitchen than I deserve! It has become my signature (😉) dessert! Question – as I perused some of the earlier reviews but couldn’t quite find an answer to mine: I’m thinking of making individual key lime pies in a cupcake pan. Do you think this would translate well? I plan to use cupcake wrappers to keep each mini pie together. Anyway, just curious if you’ve tried or if anyone else has. Thank you so much!!! Love all of your recipes!!
Glad you like this enough that it’s become your “signature!” 🙂 Yes, I do think this would work in a cupcake pan and the wrappers will make them easier to handle and remove from the pan. Please LMK how they turn out!
This time, (love this recipe!) I divided this recipe into 11 four oz Mason Jars. Crust used about 1.5 T per jar; baked as directed; used about 4 oz. of filling (2 muffin scoops) per jar; baked for 11 mins. Will dollop with the whipped cream at serving time. With the lids, they are easy to transport too!
Follow-up post in case anyone is curious about the “tart/cupcake tin” version: my revised “go-to!” Translated perfectly into little cupcake holders. I would say for both the crust setting phase and the filling phase, I probably shaved 2-3 minutes off the time in the oven. Other than that, absolutely perfect & my new method of serving. Thank you thank you!!!!
So glad they came out well — thanks for reporting back!
What oven temp
Hi Lauryn, the crust should bake at 375°F/190°C, and then the oven temperature should be lowered to 350°F/180°C for the filling. Hope that helps!
This is one of the best Key Lime Pies that I have ever had and so easy to make!!!!!!!!
This is the best key lime pie ever. Everyone raved about it. Thank you for this recipe.
I loved this pie, so easy and everyone in the family loved it.
I have made this several times, the recipe is easy and the flavor is spot on. My son in law is from North Carolina and said it was the best he ever had.
Made with non-fat Greek yogurt and couldn’t tell. My guests – including a very experienced cook/baker – all agreed this was the best key lime pie they’ve ever tasted! I have to concur. And realized it’s a big win for those with egg allergies, like my niece.
OMG, this is by far the best Keylime pie ever- I used to think “the original keylime house” in Florida had the best but no more.
I made this in the pie form and it was fantastic, I was wondering can you make this into a tart??
Glad you liked it (and I think this will also work in a tart pan). 🙂
My first key lime pie. I admitted I was skeptical at first as I tasted the filling before baking and felt the yogurt flavor was too strong. Well, that changed when I served it after dinner. The whole family loved it! They said it was the best they’ve ever had! I agree!!
I am making this tomorrow (Friday) night for my dads birthday the following day, Saturday. Two questions, I bought non fat Greek you first because it was on sale, and after reading some reviews, should I go back and get the 2% or whole as said in recipe, or could I substitute some sour cream instead (maybe 1/2 then non fat Greek yogurt and 1/2 sour cream)? Read reviews that sour cream works just as well which is why I ask. Second question, I want to make the entire pie Friday evening and leave in fridge overnight to bring to my dad’s birthday the next afternoon, is that ok? If not, how do you suggest I go about making this so it’s ready to serve Saturday afternoon? It’s an hour drive to my parent’s house and I don’t want to have to get up super early just to make the pie for that afternoon, if I don’t have to!
Hi Amber, I’d just replace the yogurt with sour cream. And to make this ahead, I’d suggest making the crust and the filling a day ahead of time, but storing them separately. (The filling should be added on the day of serving, otherwise, the crust will get soggy.) Hope that helps and that your dad enjoys!
How do I go about making them separately to sit overnight, then assemble in the morning? Do I need to refrigerate the crust and the filling, then put the filling in the crust in the morning, bake, cool down, and re-refrigerate for 3 hours?
Yes, that’s correct, so you’ll still need to leave time for those steps.