
Cheesecake

This post may contain affiliate links. Read my full disclosure policy.
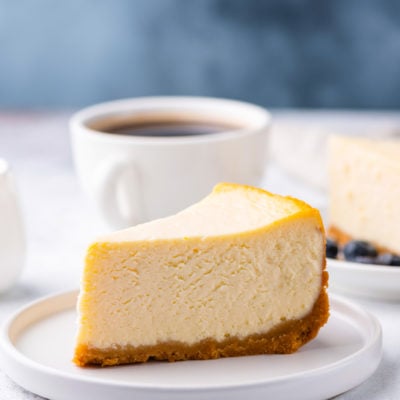
This foolproof cheesecake recipe delivers a rich, creamy New York-style cheesecake that’s surprisingly easy to make at home.
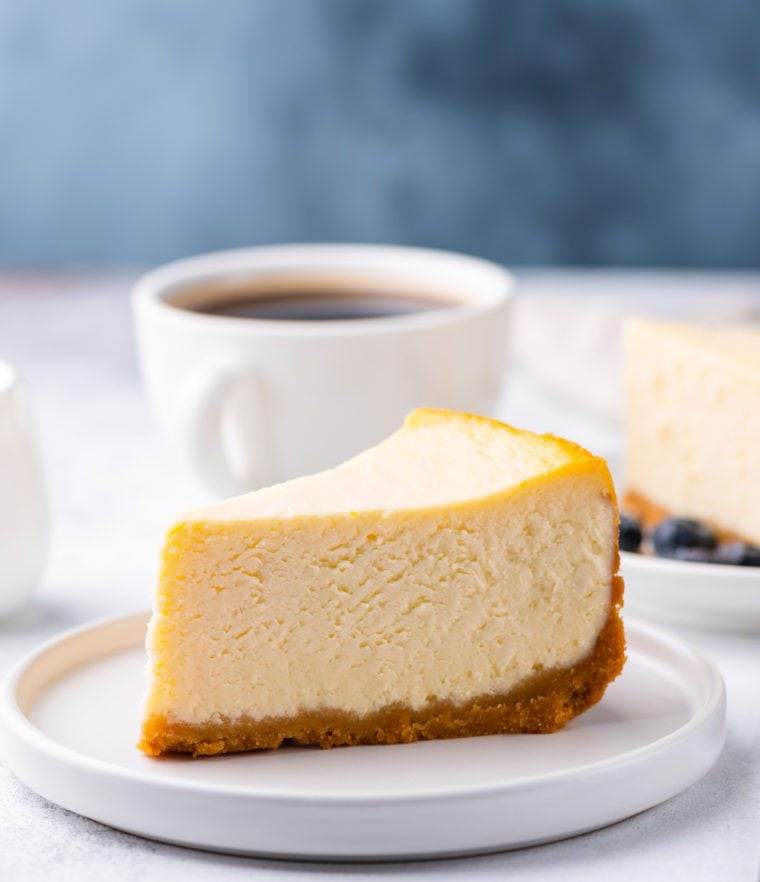
Cheesecake has always been my husband Michael’s favorite dessert. I remember when I first met my future mother-in-law over 20 years ago, she told me the key to her son’s heart was through his stomach—and he could be persuaded to do just about anything for a slice of New York cheesecake. Fortunately, I had just graduated from culinary school, so I had a little advantage in both winning his heart and perfecting my cheesecake recipe!
Rich, creamy, and dense with a buttery graham cracker crust, this classic New York-style cheesecake is everything a great cheesecake should be. I know making cheesecake can seem intimidating. It’s a custard dessert that requires gentle baking in a water bath to achieve its signature silky texture and help prevent cracks. But don’t let that scare you off. With a few pointers and this tried-and-true recipe, you’ll be rewarded with a beautiful cheesecake every time.
“I made this cheesecake for my family at Christmas time and everyone LOVED it!”
What You’ll Need To Make Cheesecake
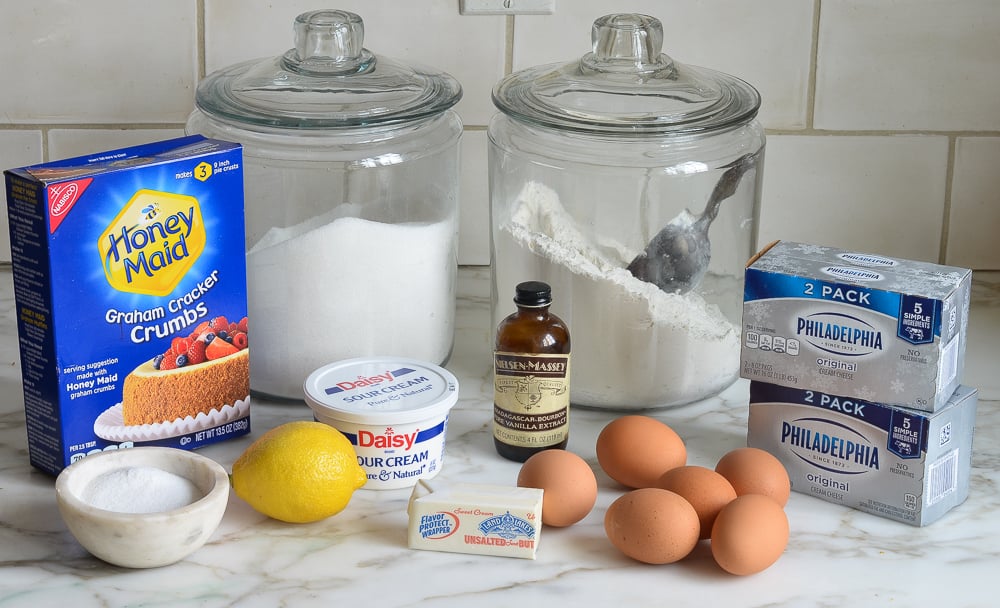
- Graham cracker crumbs: Forms the base of the graham cracker crust, providing a sweet, crumbly texture.
- Butter: Binds the graham cracker crumbs together and adds richness to the crust.
- Sugar: Sweetens the crust and filling.
- Cream cheese: The key ingredient of the filling, it provides the rich, creamy texture and tangy flavor. I recommend using a good brand, like Philadelphia, and be sure it’s completely softened before mixing. Cold cream cheese won’t blend smoothly and can leave lumps in the batter.
- All-purpose flour: While it may seem unusual in a cheesecake, the flour is the secret to success. A little starch helps prevent cracking and makes the filling lighter and fluffier.
- Vanilla extract & lemon zest/juice: Flavorings that add warmth, brightness, and just enough tang to cut through the richness.
- Eggs: Provide structure and stability, helping the cheesecake set.
- Sour cream: Adds tang, moisture, and a silky, creamy texture.
- Jump to the printable recipe for precise measurements
Key Equipment
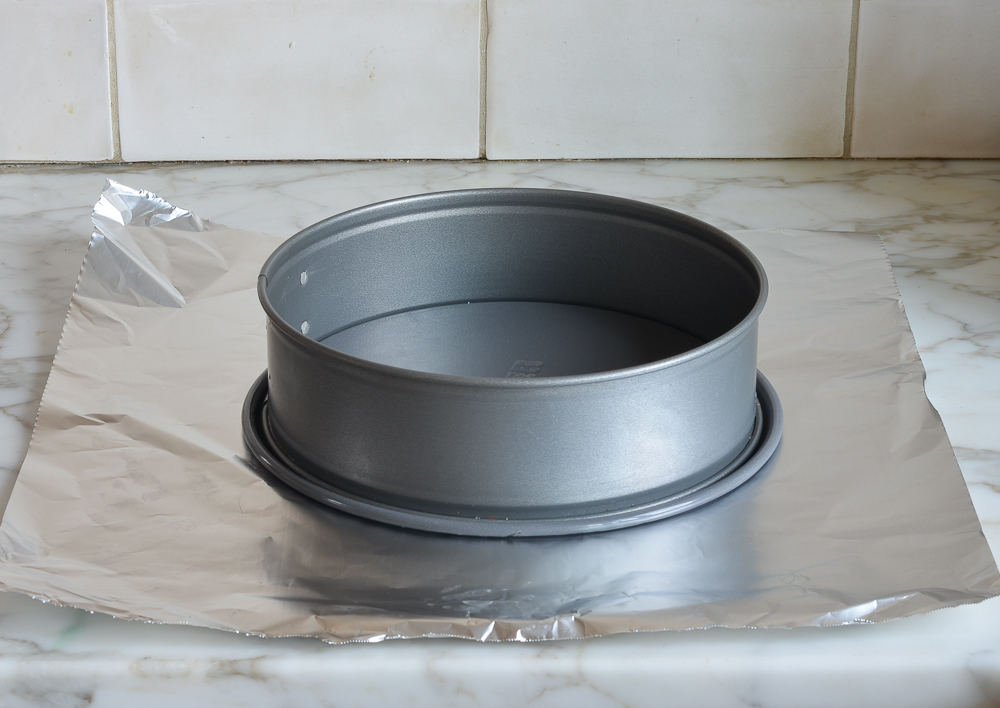
You’ll need a 9- or 10-inch springform pan and heavy-duty aluminum foil. The removable sides make it easy to release the cheesecake, but they often leak. Wrapping the pan in foil prevents water from seeping in during the water bath. Alternatively, place the springform in a larger cake pan to avoid using foil (see how it’s done here) or purchase a silicone wrap for your pan. You will also need an electric mixer for whipping up the batter and a large roasting pan for the water bath.
Video Tutorial
Step-by-Step Instructions
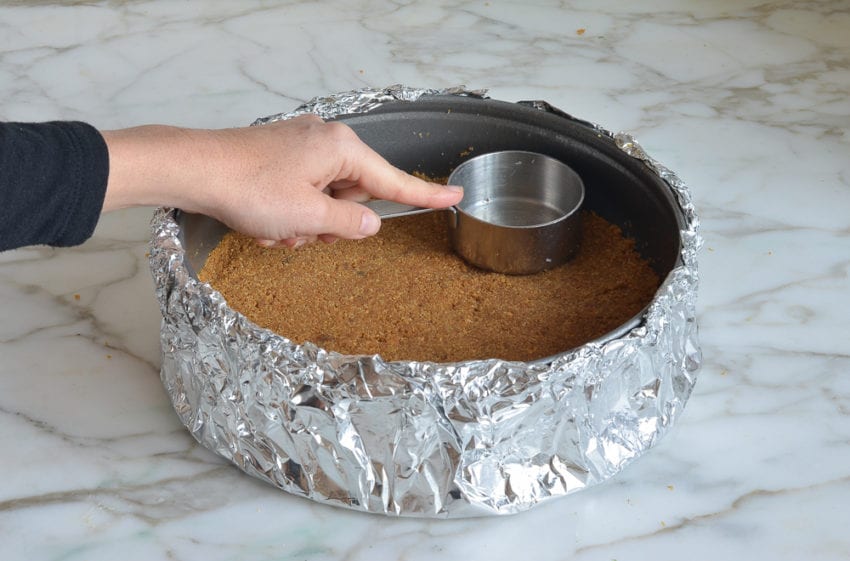
Step 1: Prep the pan. Wrap the springform pan with two layers of heavy-duty foil, covering the bottom and sides. This helps keep water from seeping into the pan during the water bath. Spray the inside with nonstick cooking spray to prevent the cheesecake from sticking.
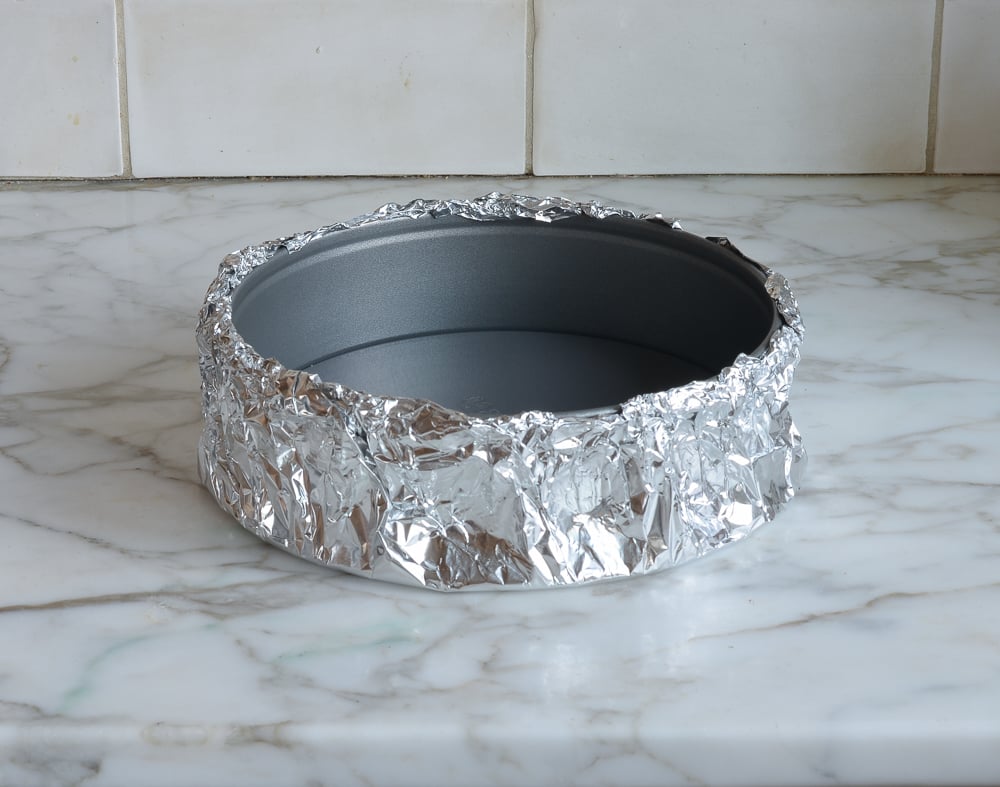
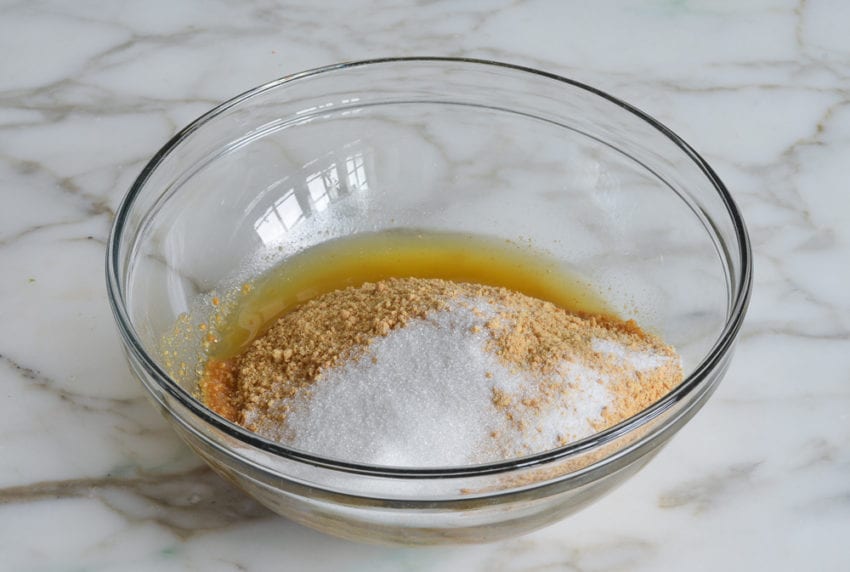
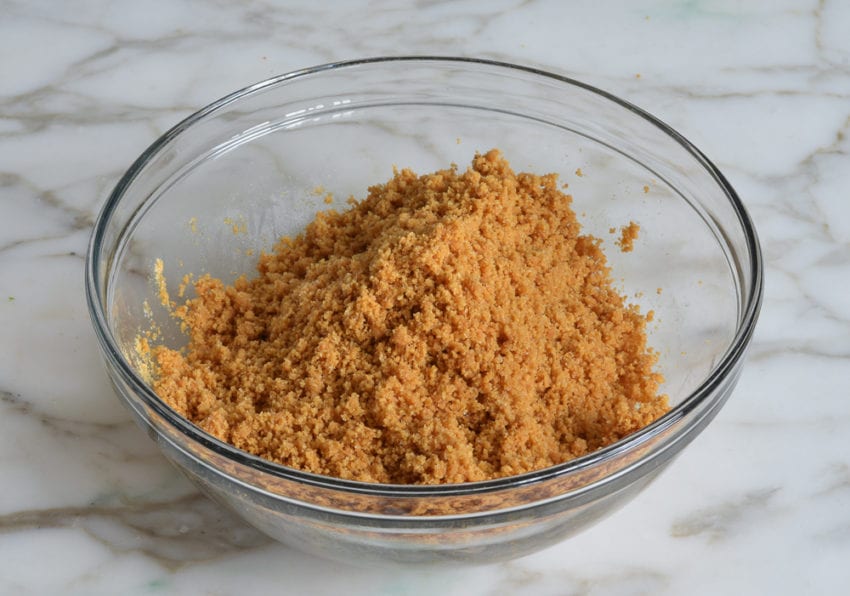
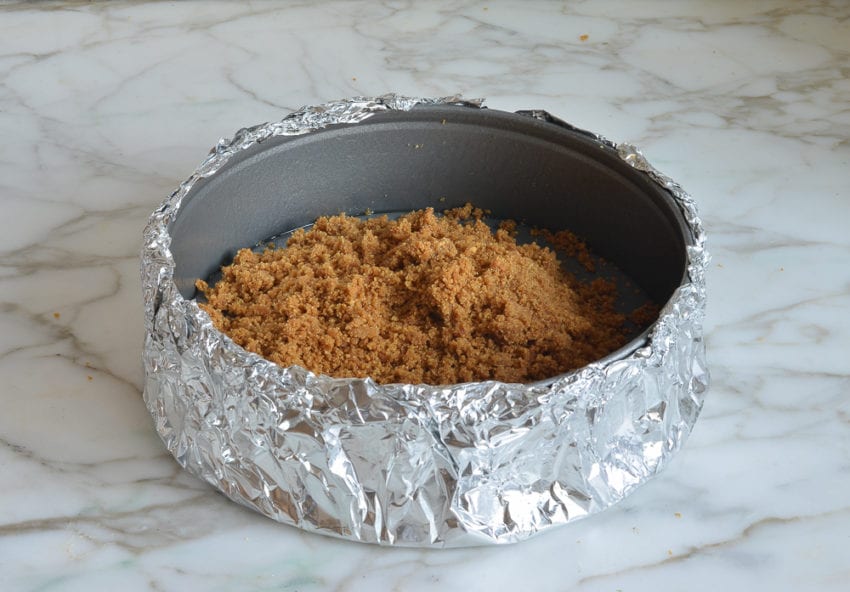
Step 2: Make the graham cracker crust. Combine the graham cracker crumbs, melted butter, sugar, and salt until evenly moistened. Press the mixture firmly into an even layer on the bottom of the prepared pan—I like to use the bottom of a measuring cup to really pack it in. Bake until the crust is lightly golden and set.
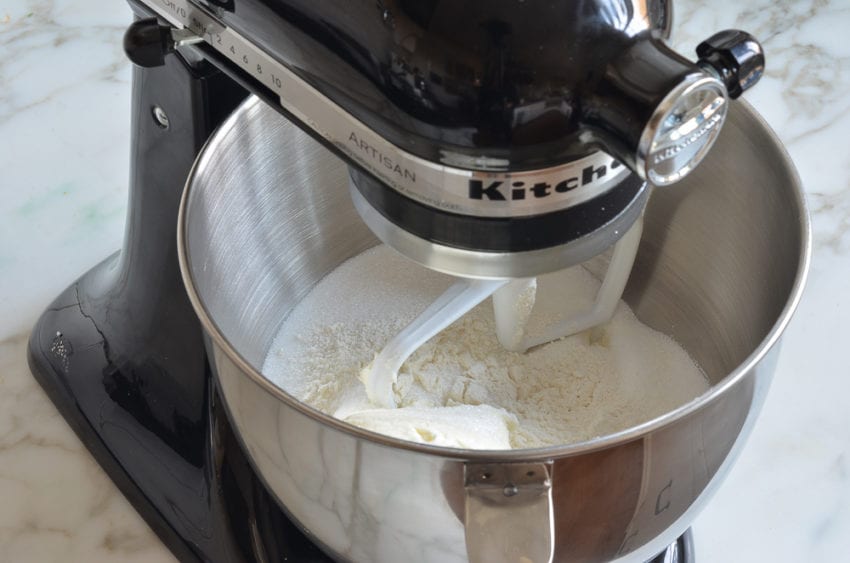
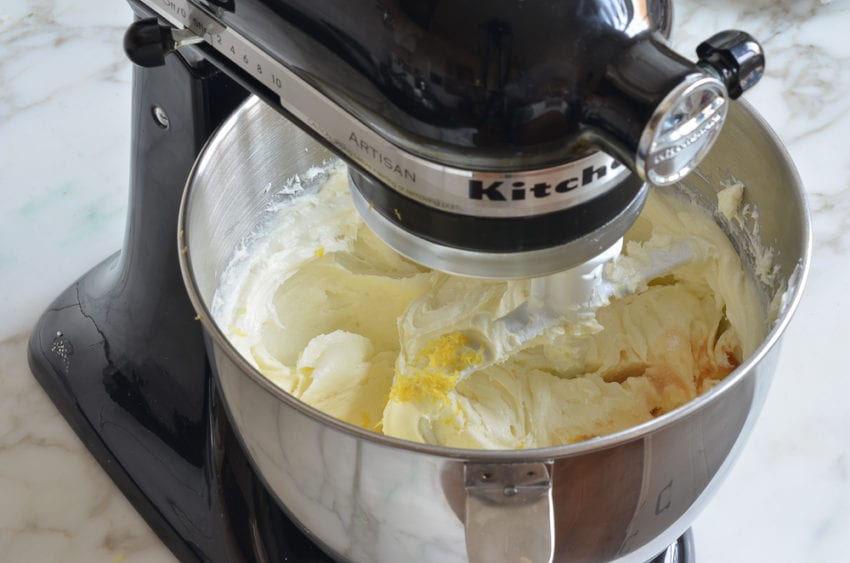
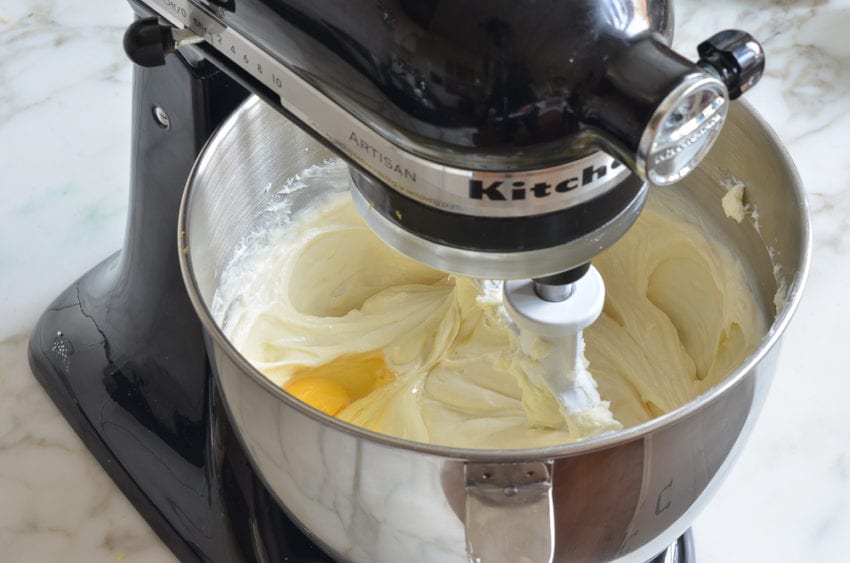
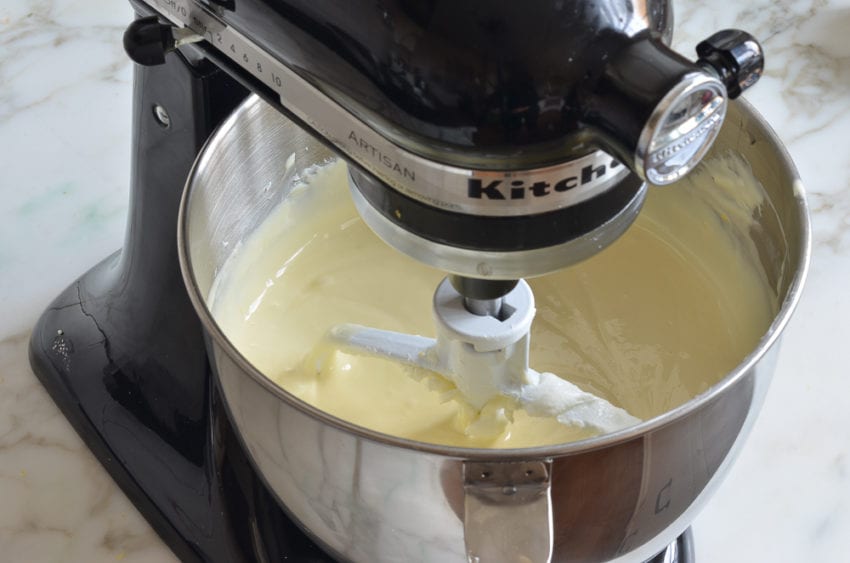
Step 3: Make the cheesecake batter. In the bowl of an electric mixer, beat the cream cheese, sugar, and flour on medium speed until completely smooth and free of lumps, about 1 minute. Mix in the vanilla, lemon zest, lemon juice, and salt. Add the eggs one at a time, mixing just until incorporated and scraping down the bowl as needed. Finally, mix in the sour cream until the batter is smooth and uniform.
Pro Tip: Be careful not to overmix the batter once the eggs are added. Overmixing can incorporate excess air, increasing the chance of cracks as the cheesecake bakes.
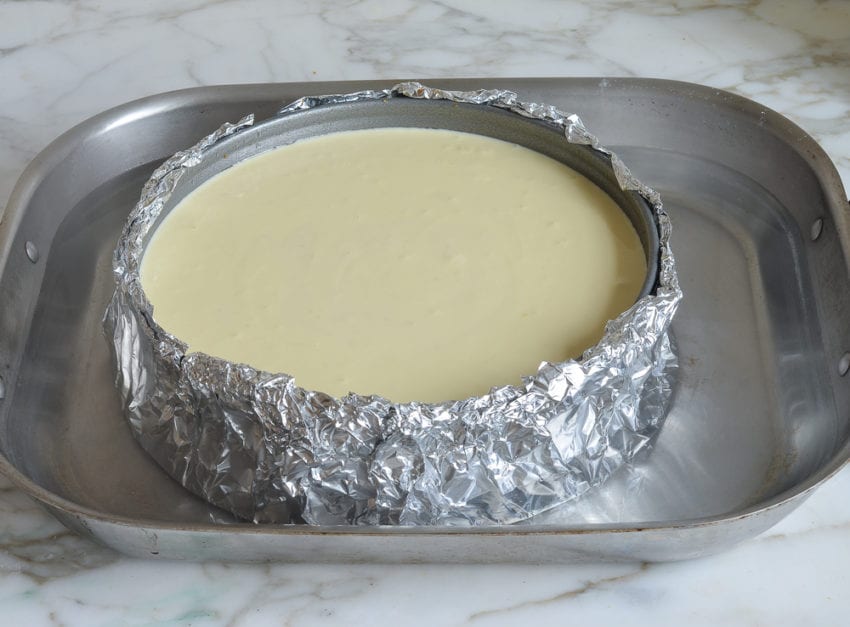
Step 5: Assemble and bake. Pour the batter on top of the baked crust. Place the unbaked cheesecake in a large roasting pan and add boiling water to the pan, about an inch up the sides of the springform. This water bath, or bain marie, ensures even, gentle baking and helps prevent cracking or drying.
Bake until the edges are set but the center still has a slight wobble when gently nudged. It will continue to set as it cools.
Pro Tip: Along with the water bath, baking the cheesecake at 325°F helps the filling cook slowly and evenly, resulting in a creamier texture. If the cheesecake starts to brown more than you’d like before it’s fully baked, loosely tent it with foil for the remainder of the baking time.
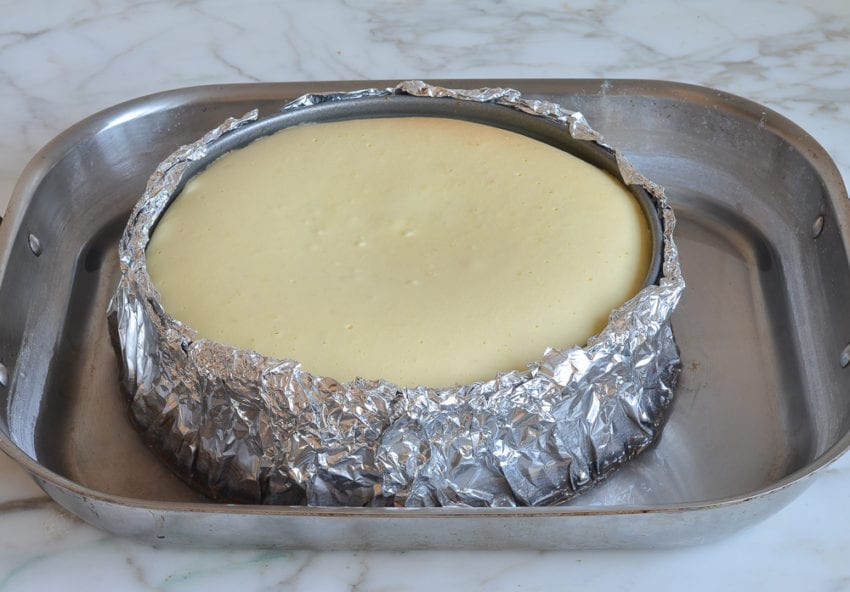
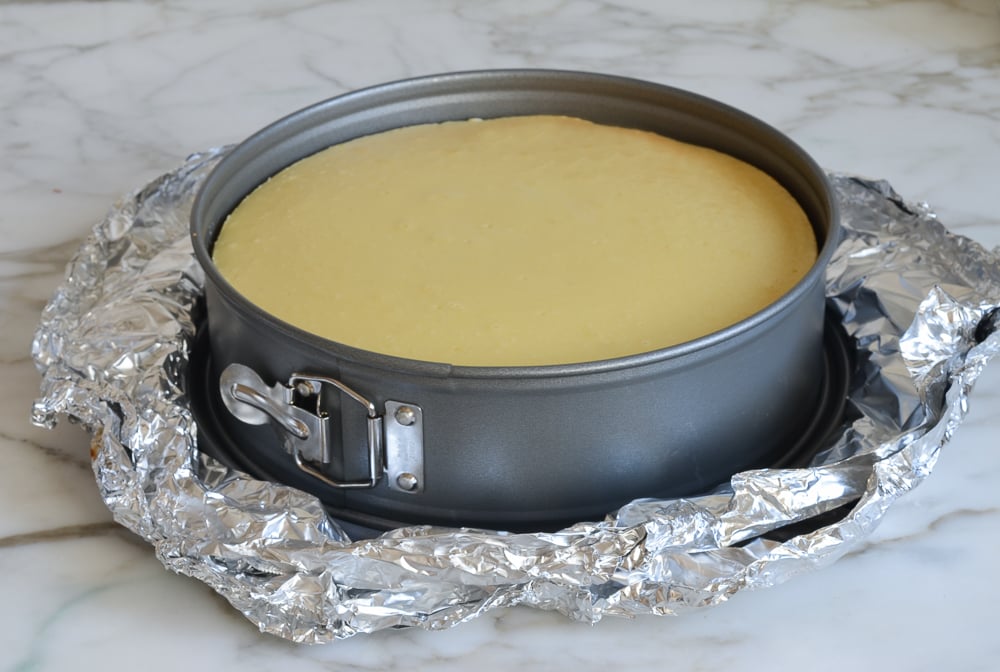
Step 7: Cool, chill, and serve. Let the cheesecake cool in the water bath for 45 minutes. Gradual cooling helps minimize the risk of cracks. Refrigerate for at least 8 hours or overnight so the cheesecake has time to fully set and the flavors can meld.
For the cleanest slices, dip a sharp knife in hot water and wipe it dry between cuts before slicing. Cheesecake is an ideal make-ahead dessert—it can be prepared up to 2 days in advance or frozen for up to 3 months.
How To Serve Cheesecake
This cheesecake is wonderful served plain, but it’s easy to dress up for special occasions. Top it with fresh berries, my easy berry sauce for a bright, tangy contrast, or caramel sauce and whipped cream if you’re in the mood for something a little more indulgent.
More Cheesecake Recipes You’ll Love
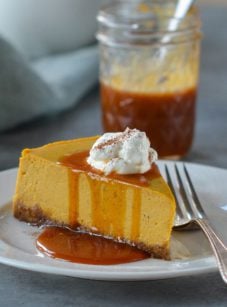
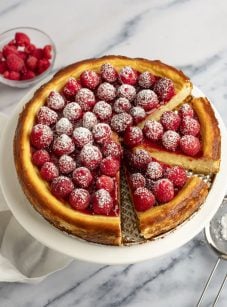
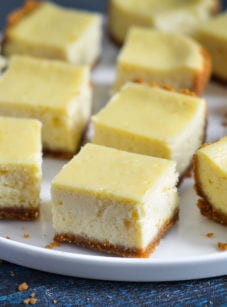
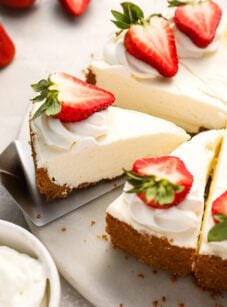
Classic New York Cheesecake
Ingredients
For the Crust
- 1½ cups graham cracker crumbs, from 12 whole crackers
- 5 tablespoons unsalted butter, melted
- 2 tablespoons sugar
- ⅛ teaspoon salt
For the Filling
- 32 oz (four 8-oz blocks) cream cheese, at room temperature
- 2 cups sugar
- 3 tablespoons all-purpose flour
- 4 teaspoons vanilla extract
- 1 teaspoon packed lemon zest, from 1 lemon
- 2 teaspoons fresh lemon juice, from 1 lemon
- ¼ teaspoon salt
- 6 large eggs
- ½ cup sour cream
- Special equipment: 9 or 10-in (23 to 25-cm) springform pan; 18-in (46-cm) heavy-duty aluminum foil (see Pro Tip)
- Berry sauce, for serving (optional)
Instructions
For the Crust
- Preheat the oven to 375°F (190°C) and set an oven rack in the lower middle position. Wrap a 9 or 10-in (23 or 25-cm) springform pan with one large piece of heavy-duty aluminum foil, covering the underside and extending all the way to the top so there are no seams on the bottom or sides of the pan. Repeat with another sheet of foil for insurance. Spray the inside of the pan with nonstick cooking spray.
- Make the crust: In a medium bowl, combine the graham cracker crumbs, melted butter, sugar, and salt. Stir until well combined. Press the crumbs into an even layer on the the bottom of the prepared pan. Bake the crust for 10 minutes, until set. Remove the pan from the oven and set aside.
- Reduce the oven temperature to 325°F (165°C). Set a kettle of water to boil.
- Make the batter: In the bowl of an electric mixer fitted with the paddle attachment or beaters, beat the cream cheese, sugar, and flour together on medium speed until just smooth, about 1 minute. Scrape the bottom and sides of the bowl to be sure the mixture is evenly combined. Add the vanilla, lemon zest, lemon juice, and salt; beat on low speed until just combined. Add the eggs, one at a time, mixing on low speed until incorporated, scraping the bowl as necessary. Mix in the sour cream. Make sure the batter is uniform but do not over-mix.
- Check to make sure your oven has cooled to 325°F (165°C), then set the cheesecake pan in a large roasting pan. Pour the batter on top of the crust. Pour the boiling water into the large roasting pan to come about 1 inch up the side of the cake pan. Bake until the cake is just set, 1 hour and 30 minutes to 1 hour and 45 minutes. (If the cheesecake starts to look too golden on top towards the end, cover it loosely with foil.) The cake should not look liquidy at all, but will wobble just a bit when the pan is nudged; it will continue to cook as it cools. Carefully remove the roasting pan from the oven and set it on a wire rack. Cool the cheesecake in the water bath until the water is just warm, about 45 minutes. Remove the springform pan from the water bath and discard the foil. If necessary, run a thin-bladed knife around the edge of the cake to make sure it's not sticking to the sides (which can cause cracks as it cools), then cover with plastic wrap and transfer to the refrigerator to cool for at least 8 hours or overnight.
- For serving: Remove the sides of the springform pan. Serve the cheesecake right from the base of the pan; or, to transfer it to a serving platter, run a long, thin spatula between the crust and the pan bottom, and then use two large spatulas to carefully transfer the cheesecake to a serving dish. Slice with a sharp knife, wiping the knife clean between slices. Serve with berry sauce, if you like.
Notes
- Make-Ahead/Freezing Instructions: The cheesecake can be stored in the springform pan in the fridge, tightly covered with plastic wrap, for up to two days. It can also be frozen for up to 3 months. To freeze, place the cake in the freezer briefly, unwrapped, to firm it up. Then double-wrap it tightly with aluminum foil or plastic freezer wrap, or place it in a heavy-duty freezer bag. Thaw in the refrigerator the night before you plan to eat it.
- Pro Tip: Springform pans are notorious for leaking. Since a cheesecake bakes in a water bath, the foil prevents the water from seeping in during baking. Please do not attempt to use standard 12-inch (30cm) aluminum foil – you can’t have any foil seams on the bottom or sides of the pan. No matter how well (or how many times) you wrap the pan, if there are seams exposed to the water, the water will find a way in. Even when wrapped properly, you can occasionally get some condensation inside the foil. If this happens, don’t worry – the crust is likely just a bit moist around the edges. Simply remove the sides of the springform pan before refrigerating and let it dry out in the refrigerator.
Nutrition Information
This website is written and produced for informational purposes only. I am not a certified nutritionist and the nutritional data on this site has not been evaluated or approved by a nutritionist or the Food and Drug Administration. Nutritional information is offered as a courtesy and should not be construed as a guarantee. The data is calculated through an online nutritional calculator, Edamam.com. Although I do my best to provide accurate nutritional information, these figures should be considered estimates only. Varying factors such as product types or brands purchased, natural fluctuations in fresh produce, and the way ingredients are processed change the effective nutritional information in any given recipe. Furthermore, different online calculators provide different results depending on their own nutrition fact sources and algorithms. To obtain the most accurate nutritional information in a given recipe, you should calculate the nutritional information with the actual ingredients used in your recipe, using your preferred nutrition calculator.
Made this for my son’s birthday. I consider myself a good baker, but cheesecake had always eluded me. This recipe was a game changer for me: easy and foolproof. Thank you for the great recipe and instructions! Our family loved it. I served it with a blackberry sauce on the side.
The instructions were easy to follow and resulted in the best home-baked cheesecake I’ve ever had, and even better than most restaurants as well.
Can I make this cheesecake ahead of time and freeze it ? .. has anyone tried it. Thanks
Yes — see the freezer-friendly instructions at the bottom of the recipe. Enjoy!
I’m 13 and for my science fair project I am doing which baking method (New York or Water Bath) produces a cheesecake with the greatest rise and the least amount of cracks. Would this recipe work for testing both methods? This recipe looks very good! Thanks!
Hi AJ, That sounds like a yummy project! 🙂 Sure, you could use this recipe. I think you’ll find that you’ll likely have cracks in the version that does not use the water bath. Good luck!
Thank you so much!
This recipe looks great but does seem to have a high sugar ratio. Has anyone found it to be too sweet? Keen to give it a try.
Hi Jenn, I made your cheesecake a few months ago for the first time and it was perfect, I took it to a party and everyone loved it and I felt like some sort of baking goddess! So today I attempted to make it again, but I can’t get it right and I’m not sure why. I’ve made it 3 times today and it’s badly cracked each time and they were all much darker in colour than my first one. I want to give one as a gift tomorrow and I’ve also committed to making one for dessert on Christmas Day, so I need to master it!
The only difference between the previous bake and today’s is that the cheese was from the fridge and not at room temperature. Could this be making it crack?
For the 3rd bake today, I put the roasting tray on the bottom oven rack, and put foil over it when I saw it start to brown on top but it still cracked.
Can you help this amateur baker get her cheesecake back on track? xx
Hi Monica, It’s very important that the cream cheese be at room temperature, so I think that’s likely the issue. Sometimes the top turns golden — it doesn’t bother me, but you can cover it with loosely foil towards the end if you like.
Thanks so much Jenn, I’ve got my cheese at room temp, so I’m off to try it again. 🤞
Hi Jenn, success! The cheesecake turned out perfect thanks to your advice, the room temperature cheese definitely made a difference. I also reduced the temp in my oven to 150 as the other one started to crack quite early in the bake. My reputation as a cheesecake goddess among my friends has been saved. 😂
That’s great — so glad it worked out! 🙂
First time making a baked cheesecake, and wow, did this recipe not disappoint! The only change I made to the recipe was to use Digestive Biscuits, as in Australia we don’t have Graham Crackers. My cheesecake was cooked in exactly 1 hour 30 minutes. It was slightly browned on the top, but I liked the look – it gave it that baked cheese tart look.
Highly recommend this recipe!
OH MY! First time making it, I used a spatula to stir everything in ( I do not own a a self mixer) and used a turkey roasting bag around the springform pan for the water bath…. other than that, I followed the recipe to a T and everyone couldn’t stop talking about it, came out PERFECT!!! Highly recommend!
I absolutely love this recipe, I make it every holiday and have now been deemed the “cheesecake queen” by relatives and their friends. Dessert is now my automatic thing to bring to meals, thank goodness I love any reason to bake.
For this recipe I will say that I only add about 3/4 cup sugar as with the addition of a fruit topping it is sweet enough. I have never made this recipe with the 2 cups suggested so I cannot comment on if it’s too much.
This year I will be using it to make an apple pie cheesecake.
Best Cheesecake Ever!
We bake this fantastic cheesecake for all our Birthdays and Holidays! It’s that great! Took me a while to get the hang of the foil wrapping but now it comes easily. Makes it a better cheesecake because of the water bath. I give this recipe 5 stars! I like it even better than Junior’s cheesecake in NYC! Thanks for such a great recipe and a new family tradition. Even my sons want to learn how to make this one!
I made this for Thanksgiving dessert and it was a hit! One of the best cheesecakes I have ever had – restaurant or otherwise. I was afraid the lemon or vanilla would be overpowering but it was the perfect meld of flavors!