
Pumpkin Bread

This post may contain affiliate links. Read my full disclosure policy.
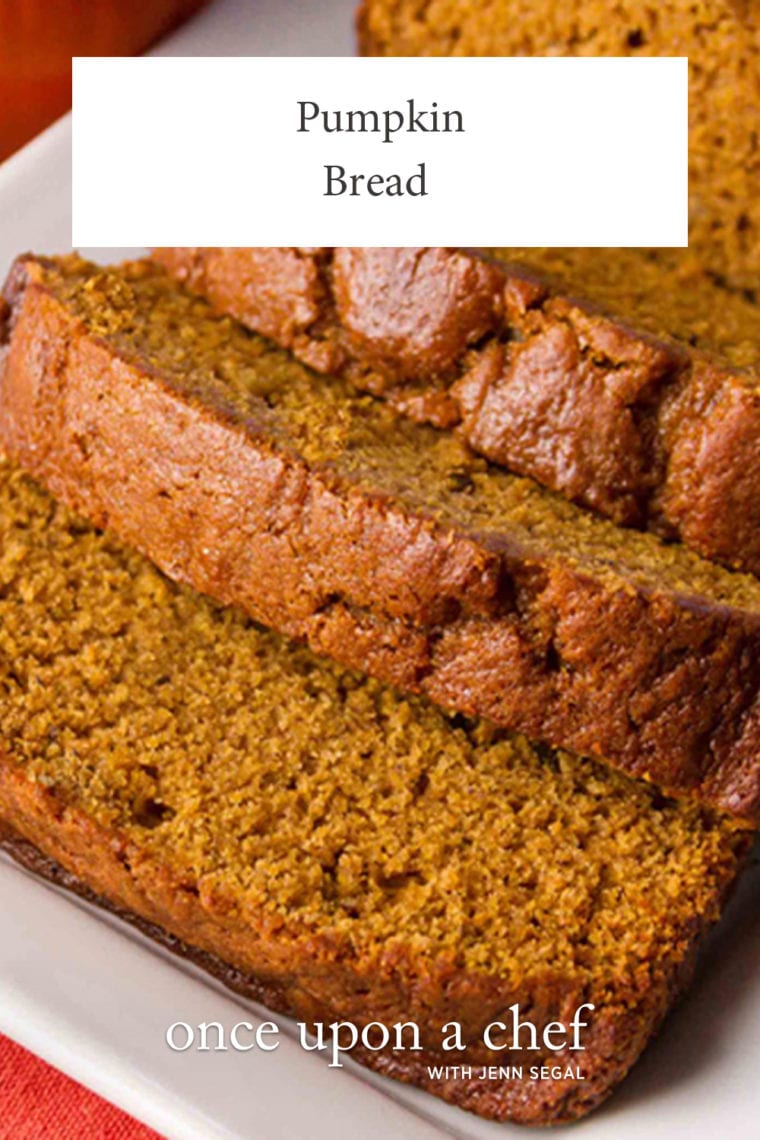
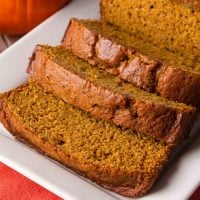
My family’s treasured pumpkin bread recipe is incredibly moist, perfectly spiced, and easy to make with canned pumpkin. It’s been a reader favorite for years—and for good reason.
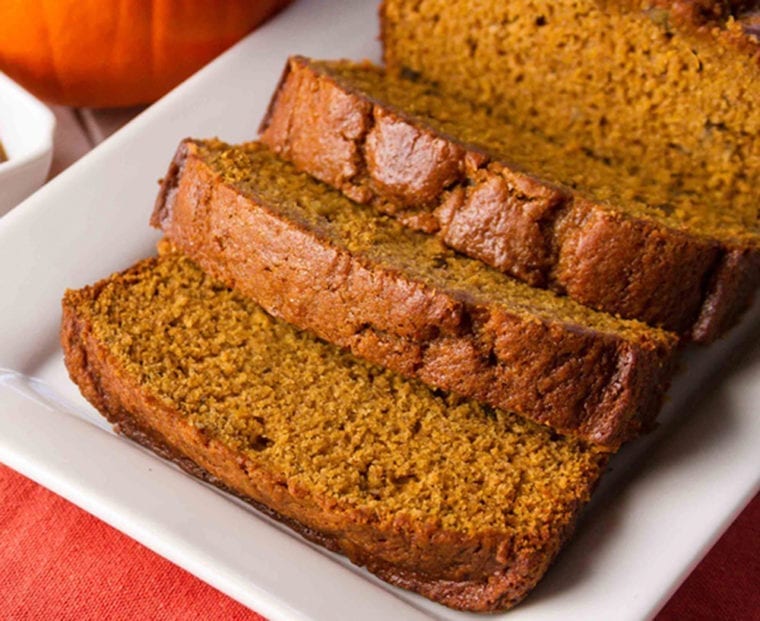
My grandmother clipped this pumpkin bread recipe from a magazine over 50 years ago, and it is my most-cherished family recipe. One of my clearest childhood memories is baking the loaves with my mom and carting them off to every neighborhood potluck and holiday party.
Now I bake pumpkin bread with my own kids, and it’s just as wonderful today as it was back then. It’s easy to make—just a bit of mixing and stirring, pop it in the oven, and, in about an hour, you’ll have a house smelling of sweet autumn spices and two scrumptious, pumpkiny loaves.
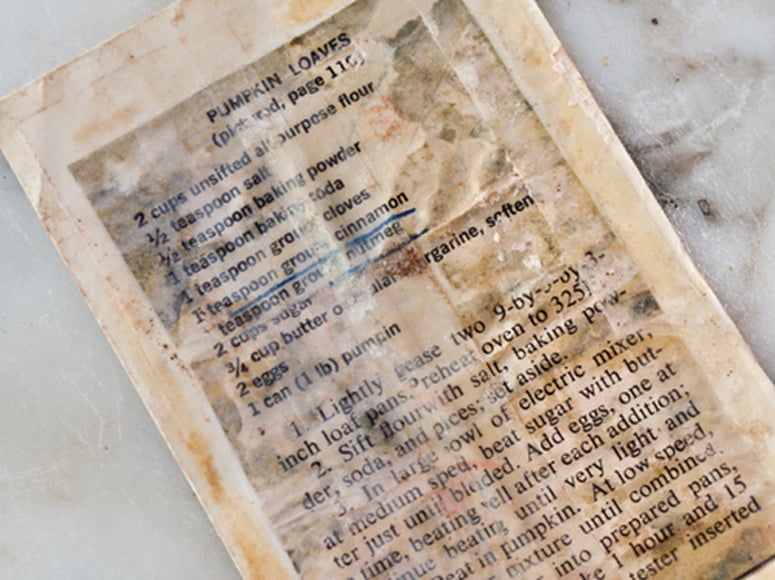
Above, you can see the original recipe from my grandmother’s recipe box—it’s definitely seen its share of spills! After a bit of research, I discovered that the recipe was first published in the McCalls Cook Book (Random House, 1963). The batter can also often be used to make muffins—my pumpkin muffins are nearly identical to this bread, but with the addition of a pecan streusel topping.
“This will be my family’s only pumpkin bread recipe from here on out. Thank you!”
What You’ll Need To Make Pumpkin Bread
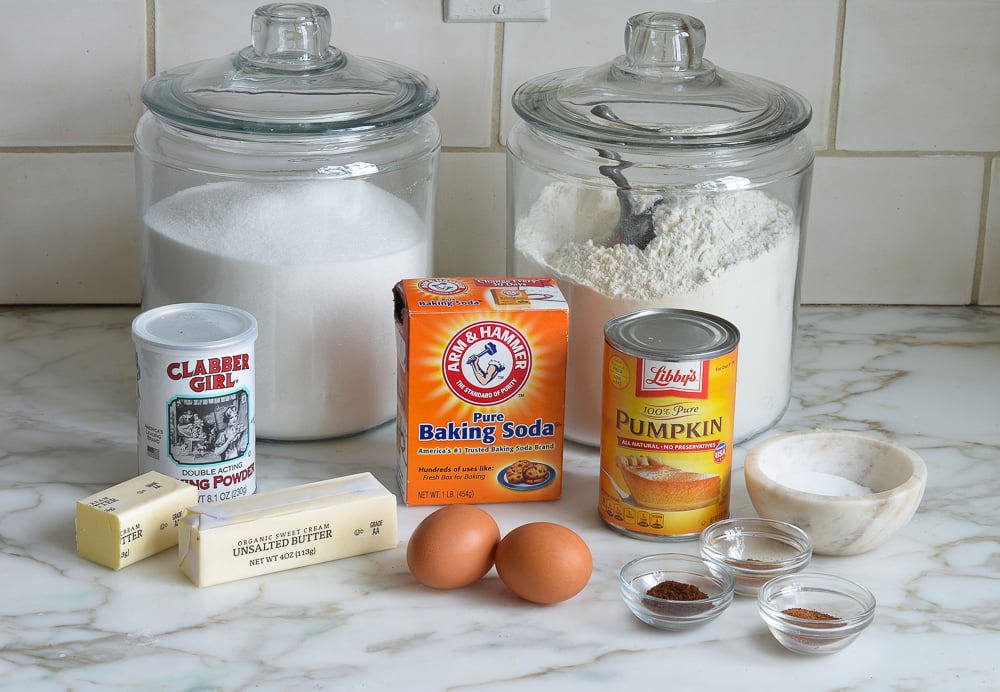
- All-purpose flour: Be sure to spoon the flour into your measuring cup and level it off with a knife. Scooping directly from the bag can pack in too much flour, resulting in dry, dense bread.
- Baking soda, baking powder, and salt: The baking soda and baking powder work together to give the bread a nice rise, while the salt balances the sweetness.
- Ground cinnamon, cloves, and nutmeg: This classic blend gives the bread its signature cozy pumpkin spice flavor. If your spices have been sitting in the pantry for a few years, it’s worth replacing them—fresh spices make a noticeable difference.
- Unsalted butter: Softened butter creams more easily with the sugar, creating a light, tender crumb. It should give slightly when pressed but still hold its shape.
- Sugar: Besides sweetening the bread, sugar helps keep it moist and contributes to its beautifully golden crust.
- Large Eggs: Bind the batter together and add richness and structure to the finished loaf.
- 100% pure pumpkin purée: Be sure to use pure pumpkin purée, not pumpkin pie filling, which contains added sugar and spices. I always use Libby’s because it has a consistent texture and rich pumpkin flavor.
- Jump to the printable recipe for precise measurements
How To Make Pumpkin Bread
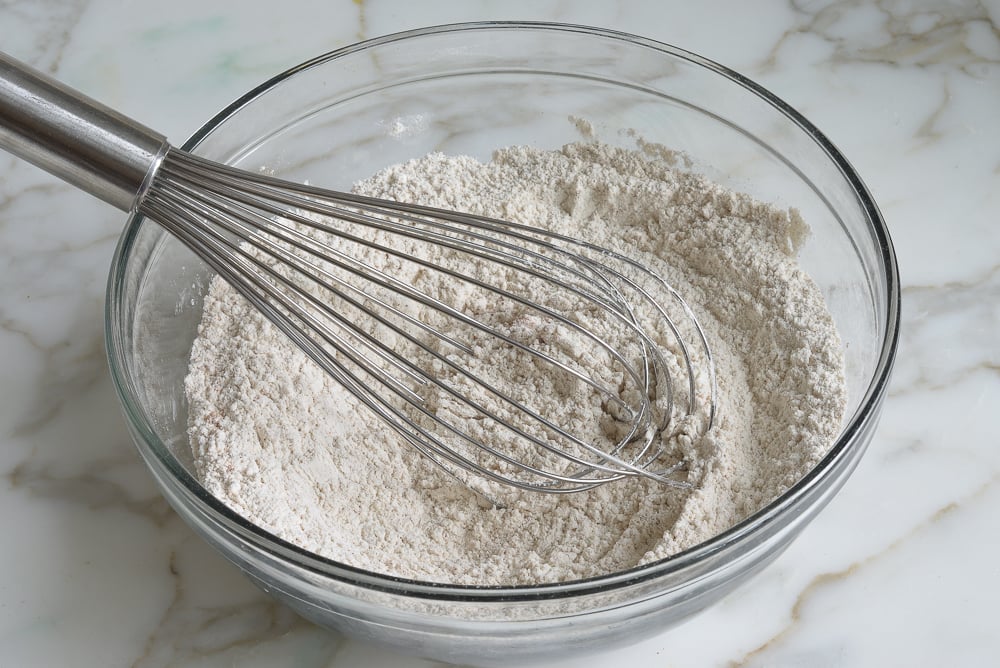
Step 1: Mix the dry ingredients. In a medium bowl, whisk together the flour, salt, baking soda, baking powder, cloves, cinnamon, and nutmeg until well combined. Whisking the dry ingredients first distributes everything evenly and helps prevent overmixing later, so every slice bakes up light, tender, and perfectly spiced.
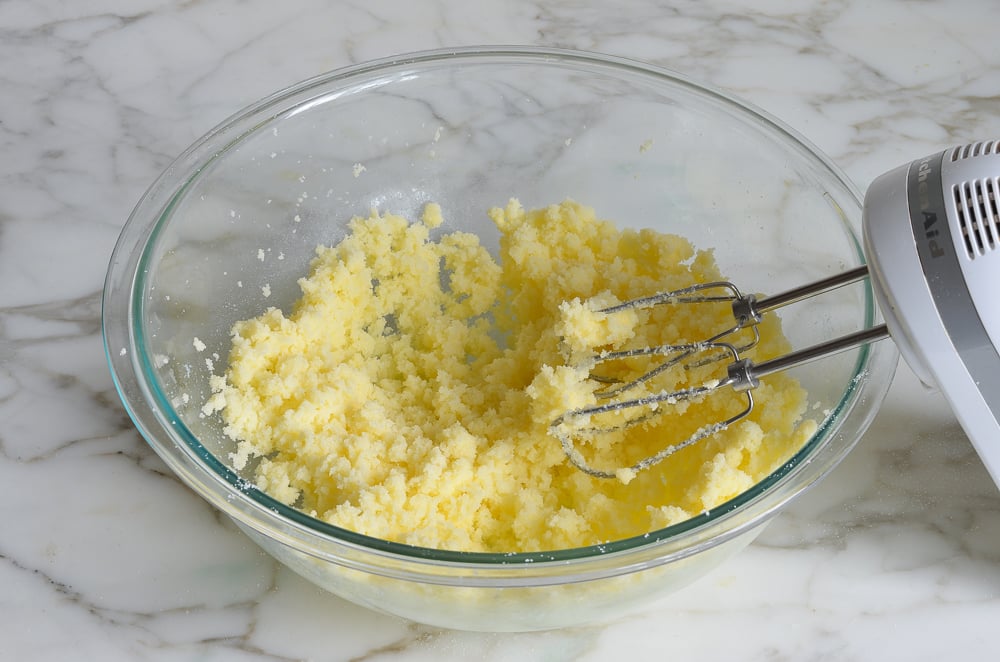
Step 2: Cream the butter and sugar. In the bowl of an electric mixer, beat the butter and sugar until just combined. Don’t worry if the mixture looks a little sandy or crumbly at this stage—that’s completely normal.
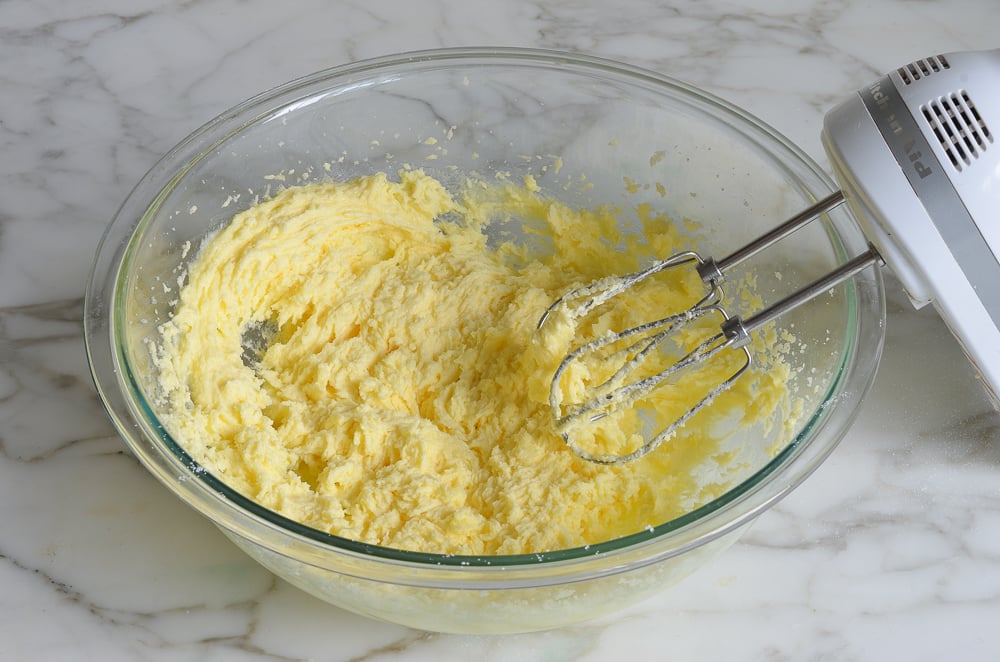
Step 3: Add the eggs. Beat in the eggs one at a time, then continue mixing until the mixture is light, pale, and fluffy. This extra mixing incorporates air into the batter, giving the finished bread a tender, delicate crumb.
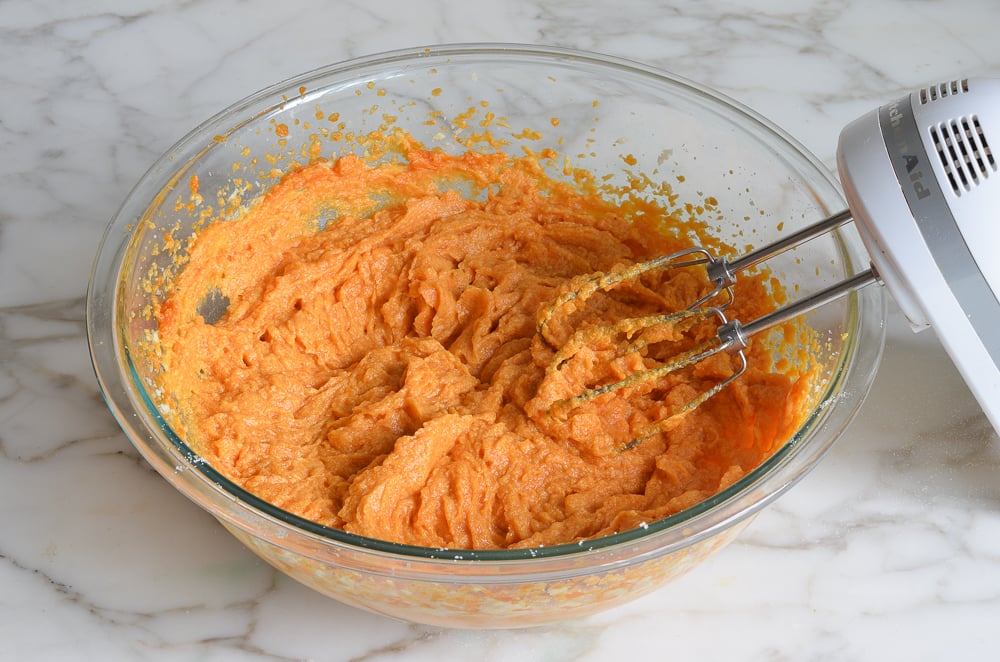
Step 4: Add the pumpkin. Mix in the pumpkin purée until combined. The batter may look slightly curdled at this point, but don’t worry—it will come together once the dry ingredients are added.
Step 5: Add the dry ingredients. Mix on low speed just until the flour disappears into the batter. Be careful not to overmix, or the bread can become tough instead of soft and tender.
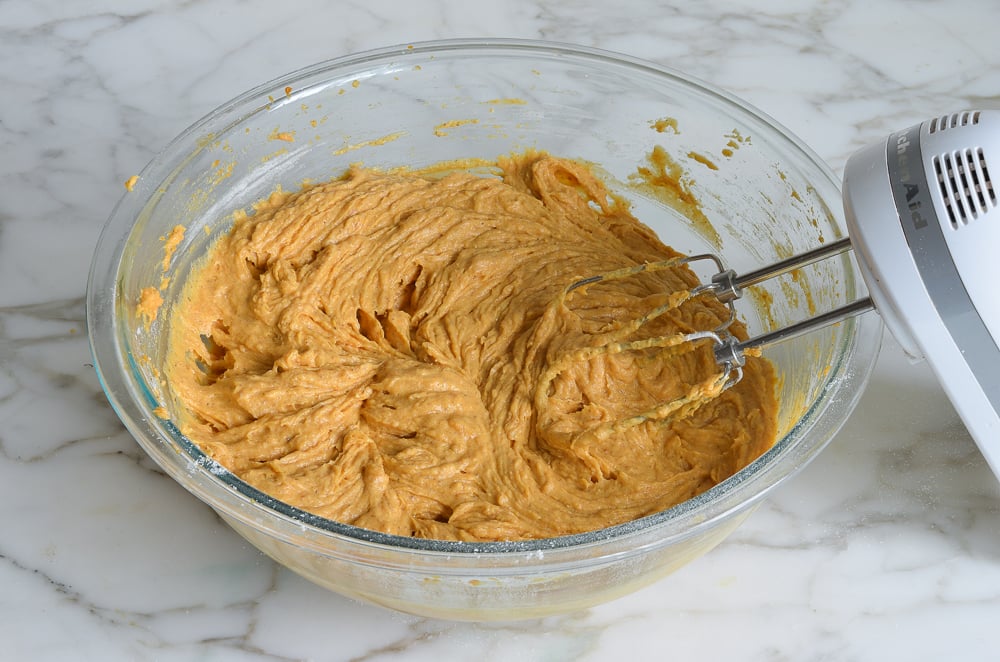
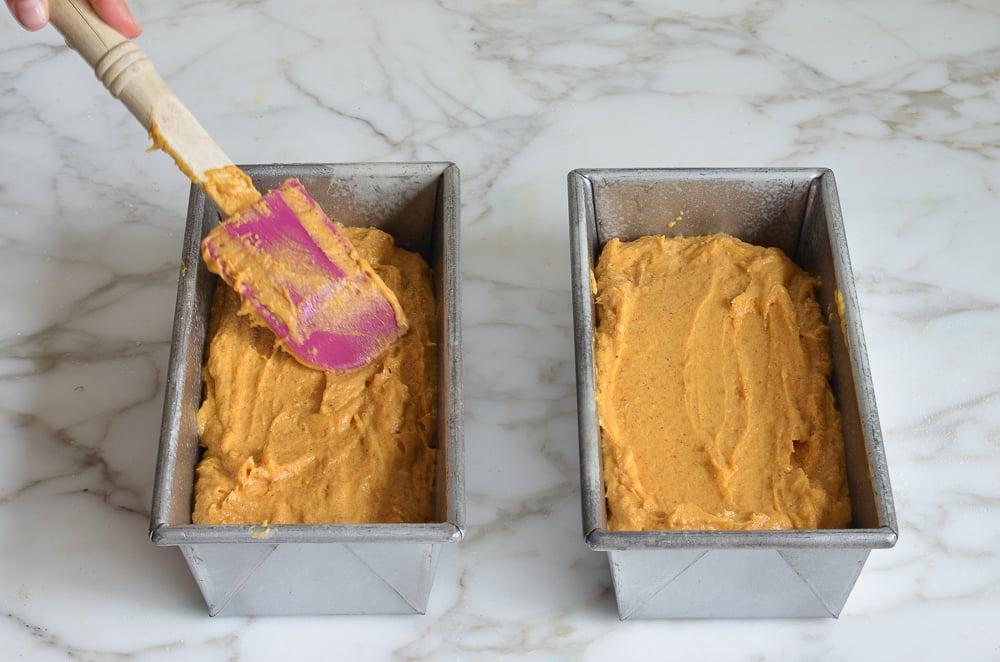
Step 6: Fill the loaf pans. Divide the batter evenly between the prepared loaf pans and smooth the tops with a rubber spatula, offset spatula, or even the back of a spoon. This helps the loaves rise evenly as they bake.
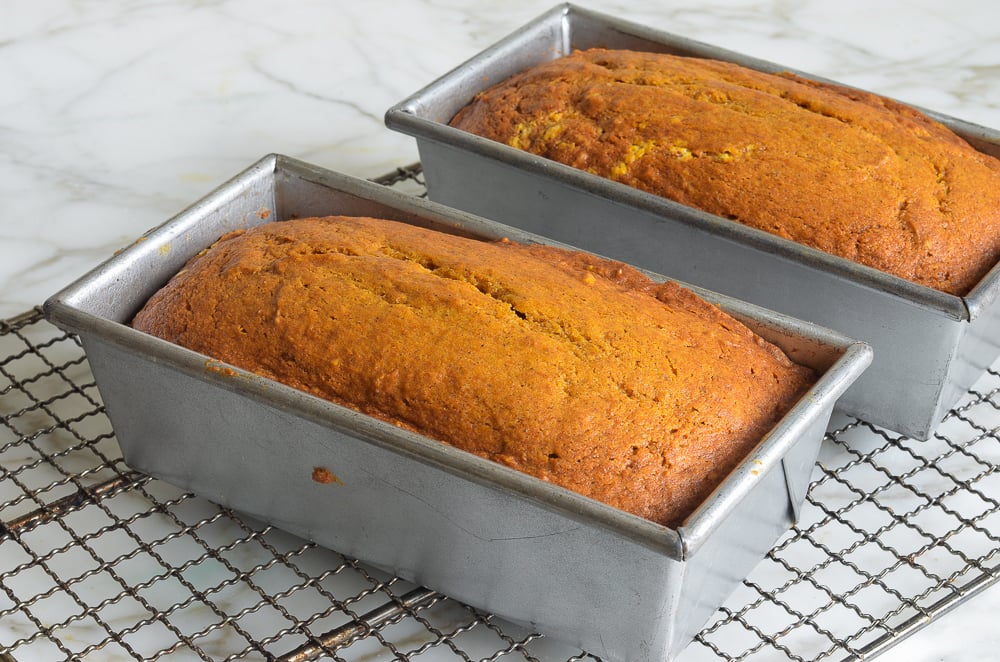
Step 7: Bake. Bake until the loaves are beautifully domed and a cake tester inserted into the center comes out clean or with just a few moist crumbs attached. Your kitchen will smell amazing long before they’re done!
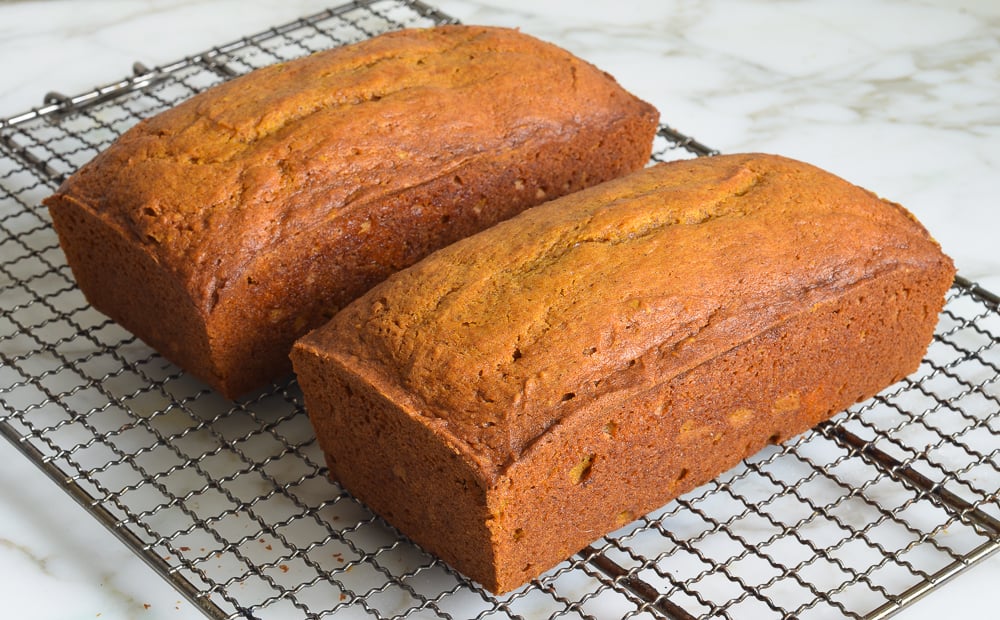
Step 8: Cool and serve. Let the loaves cool in the pans for about 10 minutes before turning them out onto a wire rack to cool completely. They continue to set up as they cool, making them easier to slice without crumbling. If you’re lucky enough to have leftovers, simply cover with aluminum foil or store in a cake keeper at room temperature for up to 3 days. You can also freeze them for longer storage.
Looking for more pumpkin recipes? If you’re in the mood for more fall baking, be sure to try my pumpkin pie, pumpkin cake, and pumpkin scones. They’re all reader favorites and perfect for pumpkin season.
More Pumpkin Recipes You’ll Love

Video Tutorial
Pumpkin Bread
Ingredients
- 2 cups all-purpose flour, spooned into measuring cup and leveled-off
- ½ teaspoon salt
- 1 teaspoon baking soda
- ½ teaspoon baking powder
- 1 teaspoon ground cloves
- 1 teaspoon ground cinnamon
- 1 teaspoon ground nutmeg
- ¾ cup (1½ sticks) unsalted butter, softened
- 2 cups sugar
- 2 large eggs
- 1 (15-oz) can 100% pure pumpkin (I use Libby's)
Instructions
- Preheat the oven to 325°F (165°C )and set an oven rack in the middle position. Generously grease two 8 x 4-in (20 x 10-cm) loaf pans with butter and dust with flour (alternatively, use a baking spray with flour in it, such as Pam with Flour or Baker's Joy).
- In a medium bowl, combine the flour, salt, baking soda, baking powder, cloves, cinnamon, and nutmeg. Whisk until well combined; set aside.
- In a large bowl of an electric mixer, beat the butter and sugar on medium speed until just blended. Add the eggs one at a time, beating well after each addition. Continue beating until very light and fluffy, a few minutes. Beat in the pumpkin. The mixture might look grainy and curdled at this point—that's okay.
- Add the flour mixture and mix on low speed until combined.
- Turn the batter into the prepared pans, dividing evenly, and bake for 65 to 75 minutes, or until a cake tester inserted into the center comes out clean. Let the loaves cool in the pans for about 10 minutes, then turn out onto a wire rack to cool completely. Once completely cooled, cover the loaf with aluminum foil or store it in a cake keeper and keep it at room temperature for up to 3 days.
Notes
- Fresh out of the oven, the loaves have a deliciously crisp crust. If they last beyond a day, you can toast individual slices to get the same fresh-baked effect.
- Freezing Instructions: The bread can be frozen for up to 3 months. After it is completely cooled, wrap it securely in aluminum foil, freezer wrap or place in a freezer bag. Thaw overnight in the refrigerator before serving.
Nutrition Information
This website is written and produced for informational purposes only. I am not a certified nutritionist and the nutritional data on this site has not been evaluated or approved by a nutritionist or the Food and Drug Administration. Nutritional information is offered as a courtesy and should not be construed as a guarantee. The data is calculated through an online nutritional calculator, Edamam.com. Although I do my best to provide accurate nutritional information, these figures should be considered estimates only. Varying factors such as product types or brands purchased, natural fluctuations in fresh produce, and the way ingredients are processed change the effective nutritional information in any given recipe. Furthermore, different online calculators provide different results depending on their own nutrition fact sources and algorithms. To obtain the most accurate nutritional information in a given recipe, you should calculate the nutritional information with the actual ingredients used in your recipe, using your preferred nutrition calculator.
Every fall season I use this recipe. People are amazed by this bread and cannot stop eating it! I add a vanilla glaze on top and some walnuts and it is perfect. I’ve used this recipe about 3 times this fall!
Another recipe without the recipe, I hate blogs, what happened to online recipes.
It sounds like you are just looking at the portion of the page that has the pictures with some instructions above. If you scroll down a bit to under the pictures, you’ll find the full recipe. Alternatively, at the very top of the page, to the right of the recipe name, you’ll see an orange/red button that says Jump to Recipe – if you click on that, it will take you directly to the recipe. Hope that clarifies!
So I used this recipe but…replaced 1c of the sugar with brown sugar, added 1/2tsp each of allspice, ginger, cardamom, black pepper (sifted to get only fine stuff), and vanilla, used 2c of cheese pumpkin that I steamed instead of canned, coated the pan in cinnamon sugar instead of flour, and sprinkled some on top, and it was a huge hit!! It was a tad clove heavy for me, but multiple other people said they liked the amount of clove, and everyone who tried it said it was a great balance of spiced and sweet. I think I might play around with the leavening agents since it wasn’t quite as fluffy as I was hoping, but the density (not to say it was too dense—it definitely wasn’t!) might be contributing to the appeal so I certainly can’t judge it on that!! It also cooked in only an hour, but my oven is troublesome so that might be why. I used this as a baseline instead of my family’s recipe since that always comes out too dense for me, so this was an improvement there for sure. I know it seems like I made a lot of changes but this recipe was for sure a GREAT start point and it was all easy changes! I might try a gluten free version with oat flour soon since mine is usually too dense as well!
I bet like me, you have 9″, not 8″ loaf pans, as this recipe uses. I end up almost doubling the recipe in order to fill my pans.
I followed the directions. Both breads are small, maybe 1 1/2 inches high. I wondered about it after I put the dough in the loaf pans. I found other recipes that call for 1 1/2 cups of flour for one loaf, after I made this one. Even my husband said something about them being small. They were made to take to a work pot luck tomorrow. I was only going to bring one, and give the other to a friend. I guess I’ll bring both to work.
I had the same issue so I’m wondering if the oven temp was too low. Mine is pretty accurate, however, I also bake other breads at a higher temperature (375F), so next time I’ll go with a higher temp and see if the loaves rise like they are supposed to.
The dough should have been more than 1.5 inches in the pan before it was even cooked! I have a feeling either your baking soda or baking powder (or both) were old and should be thrown out and replaced. I’m only guessing because I had similar happen to me before and someone suggested I replace my baking soda and powder with new andVoila! it solved my problem. I think we tend to forget how long we’ve had those things sitting around!
I’ve been making pumpkin bread for years, but I wasn’t happy with my recipe that called for unhealthy vegetable oil. Found this one last year and I’ve used it 3-4 times so far and every loaf turns out perfect and cooked all the way through without being overdone on the outside. Easy, peasy and perfectly delicious!
Yes! Same. I love my recipe but it calls for vegetable oil. Looking forward to trying this one.
This is an easy and delicious bread.
I love that it uses a whole can of pumpkin and other conventional measurements.
I add a cup of raisins and a cup of chopped walnuts.
Fantastic recipe! It was absolutely delicious.
I omitted the Cloves as I prefer that flavor.
I used a bread loaf and made a few cupcakes with this recipe.
The texture, density and taste was perfect.
I Highly recommend this recipe.
I found this to be way too sweet. Also, mine cookef in 45 minutes. That said, I liked the crumb. Wonder how much sugar could be left out?
Hi Diana, you can get away with reducing the sugar by 1/2 cup.
I give this recipe 5 stars if you reduce the sugar to 3/4 c from 2c. I did not try the original suggested sugar amount because it seemed obscene. The bread was delicious with less than half the amount of sugar. Also I added pumpkin seeds to the top
I agree about the sugar…I cut the sugar in half and used 1 cup of light brown sugar. It was plenty sweet.
I have used this recipe in my family for years and HANDS DOWN!! it’s my family’s favorite. There is nothing like making this bread on the 1st day of Fall and throughout the season. The house smells so wonderful and the kids love the aroma after walking through the front doors after school! Yumm-o!!
Excellent recipe – as usual. Very moist, and spicey. I added about 3/4 cup of chocolate chips. Turned out perfect.