
Vanilla Birthday Cake with Old-Fashioned Vanilla Buttercream

This post may contain affiliate links. Read my full disclosure policy.
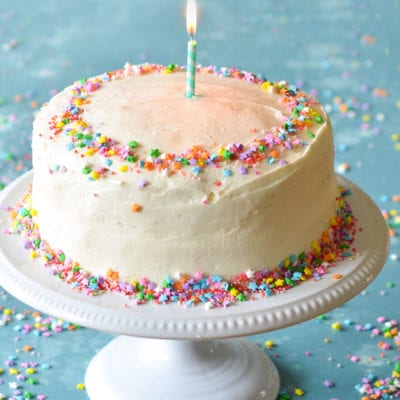
This classic white cake is soft, moist, and tender, with fluffy vanilla buttercream frosting—perfect for birthdays and every celebration in between.
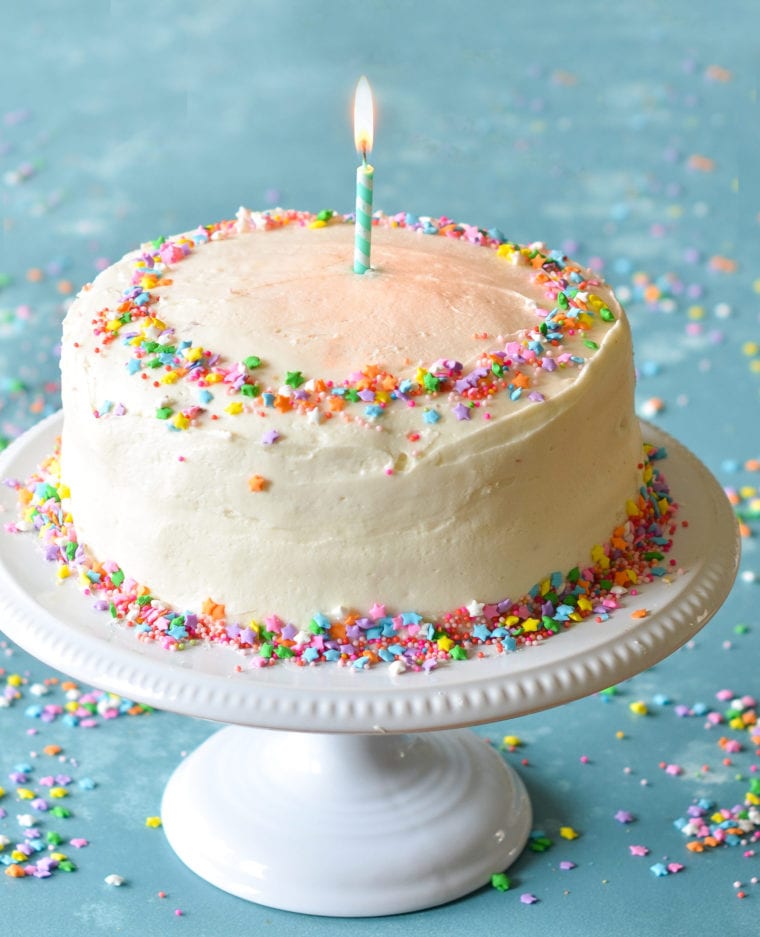
I’ve made this simple vanilla cake every year for my daughter’s birthday since she was two years old. The cake portion of recipe is adapted from one of my favorite baking books, Perfect Cakes by Nick Malgieri, and the vanilla buttercream frosting comes from my great-grandmother’s recipe box.
“Everyone who ate this cake raved about it! This recipe reminds me of the cakes I ate as a kid.”
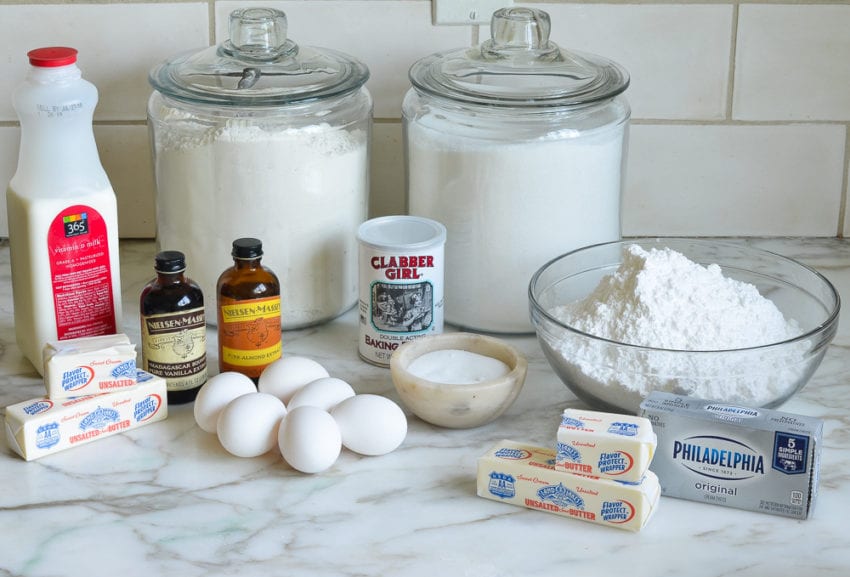
What you’ll need to make vanilla birthday cake
Step-by-Step Instructions
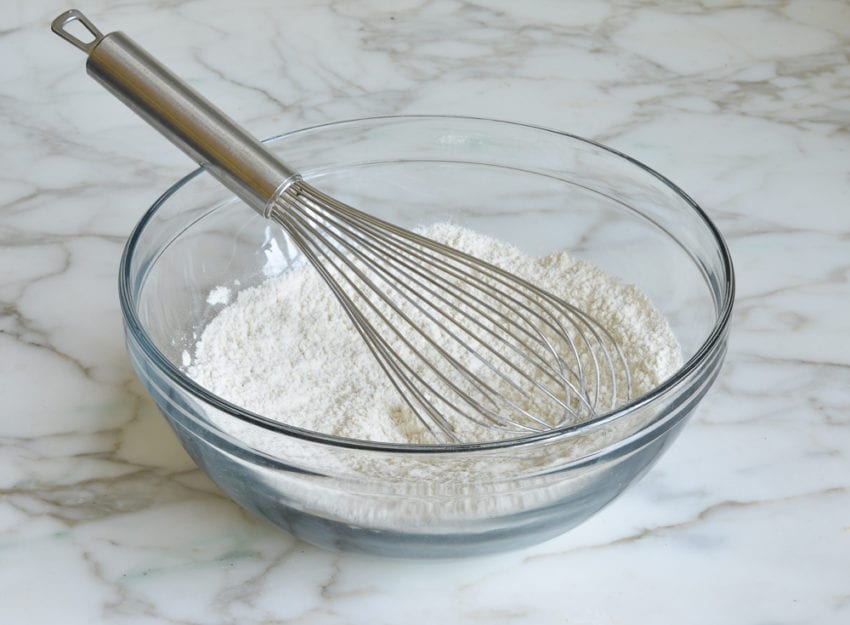
Step 1: Mix dry ingredients. In a medium bowl, whisk together the flour, baking powder, and salt.
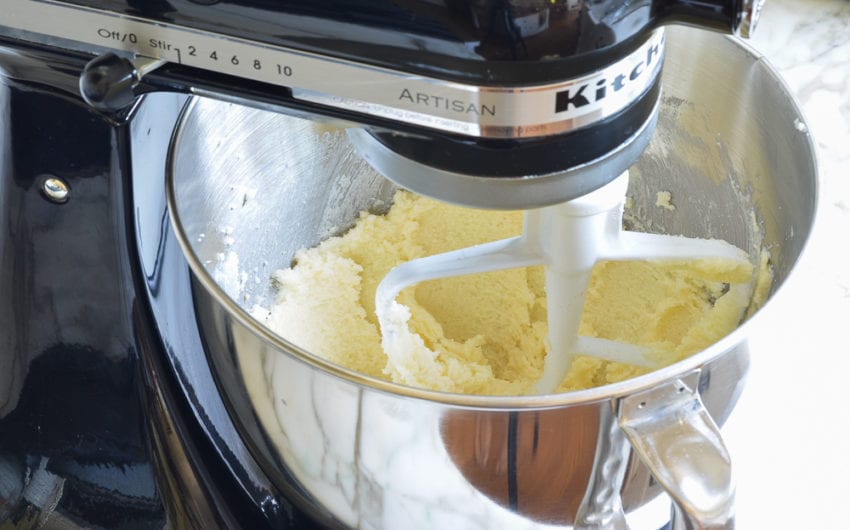
Step 2: Cream butter and sugar. Beat the softened butter and sugar until very light and fluffy, about 5 minutes.
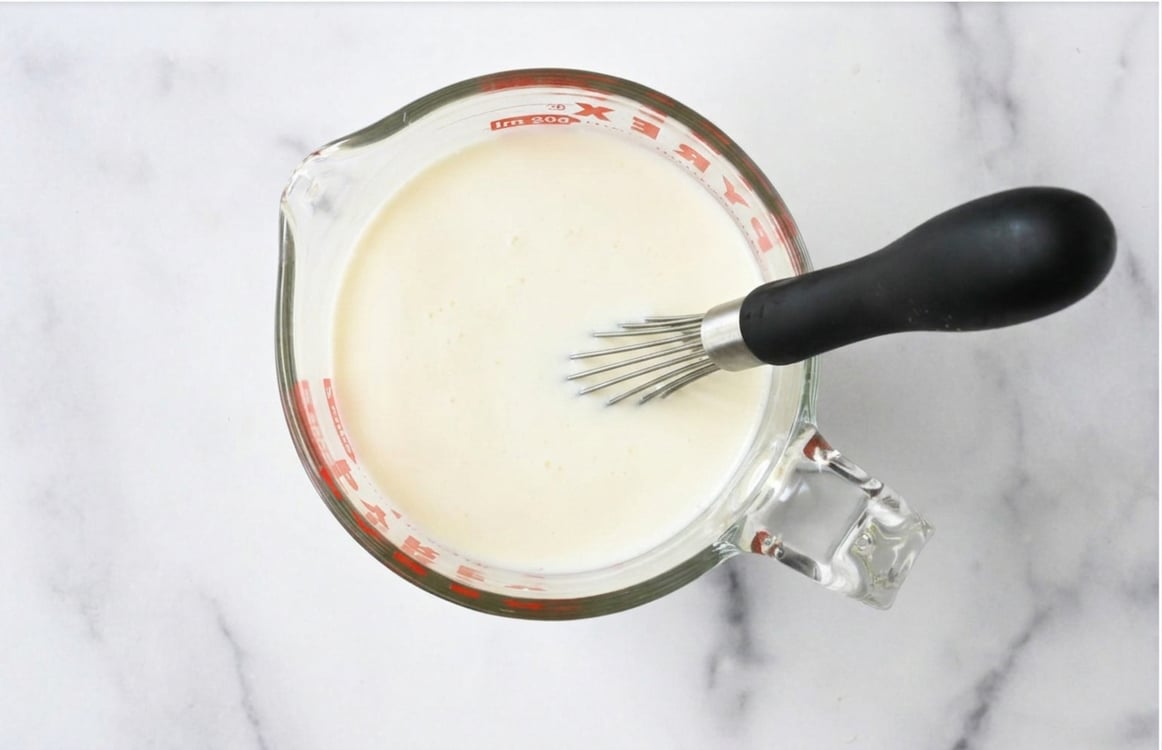
Step 3: Mix liquid ingredients. In a bowl or large measuring cup, combine the egg whites and milk. Whisk well to combine.
Pro tip: Be sure the eggs are at room temperature, otherwise your batter may curdle. (To warm them up quickly, place them in a bowl of hot water before cracking them.)
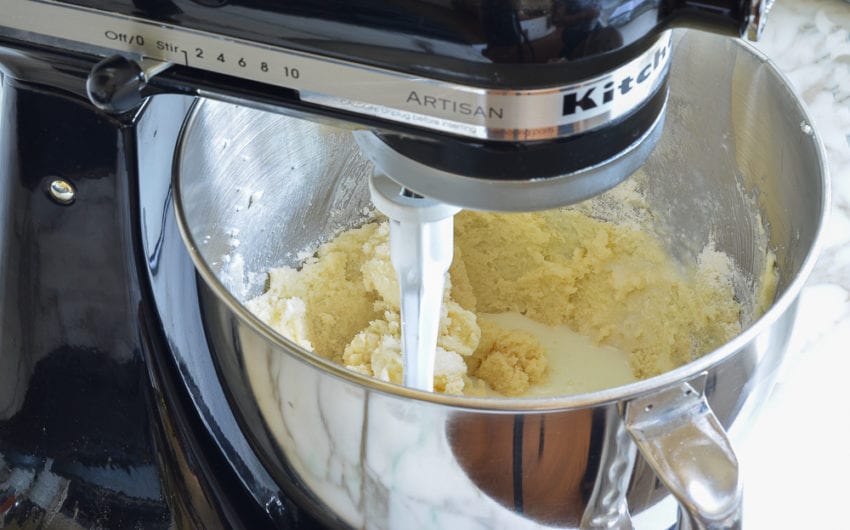
Step 4: Alternate wet and dry ingredients. Beat in the vanilla and almond extract, then add one-quarter of the flour mixture and beat on low speed. Next, add one-third of the milk/egg mixture. Continue alternating adding the flour and milk mixtures, scraping down the bowl as necessary.
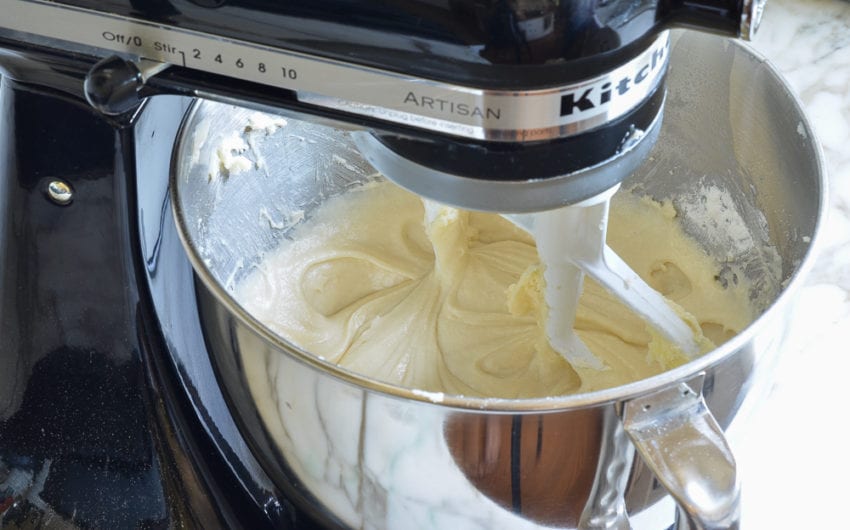
The finished batter should be completely smooth.
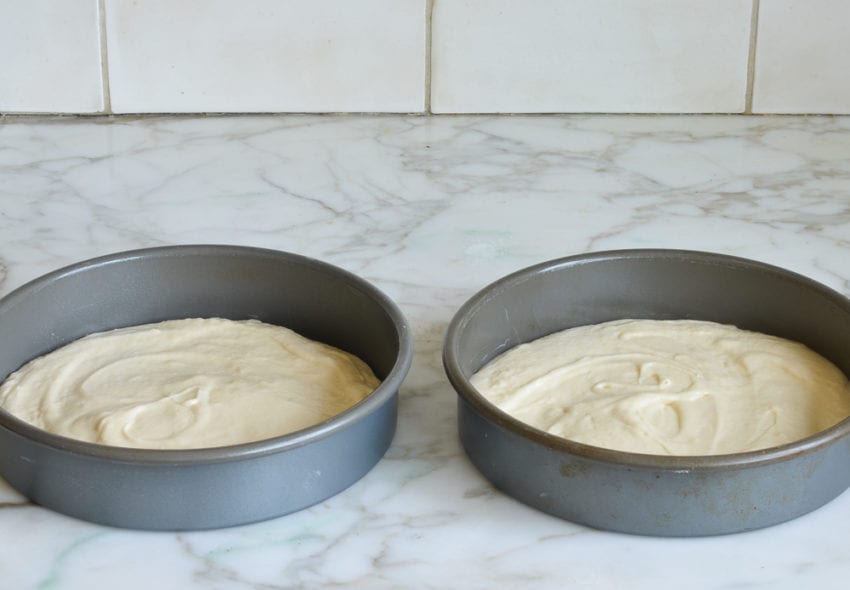
Step 5: Fill the pans. Pour the batter into the prepared cake pans and smooth the tops.
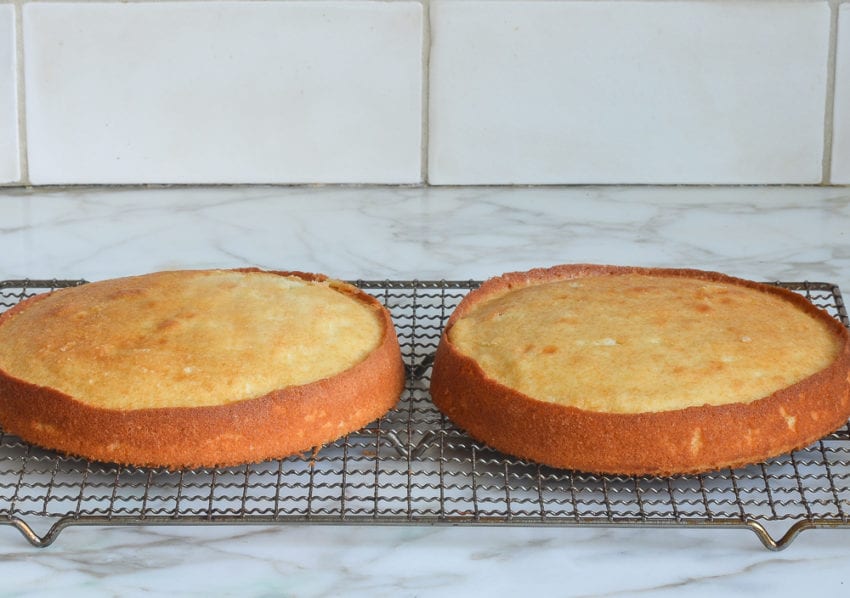
Step 6: Bake and cool. Bake the layers for 25 to 30 minutes, until they are set and a cake tester comes out clean. Cool the layers in the pans for five minutes, then unmold onto racks to finish cooling.
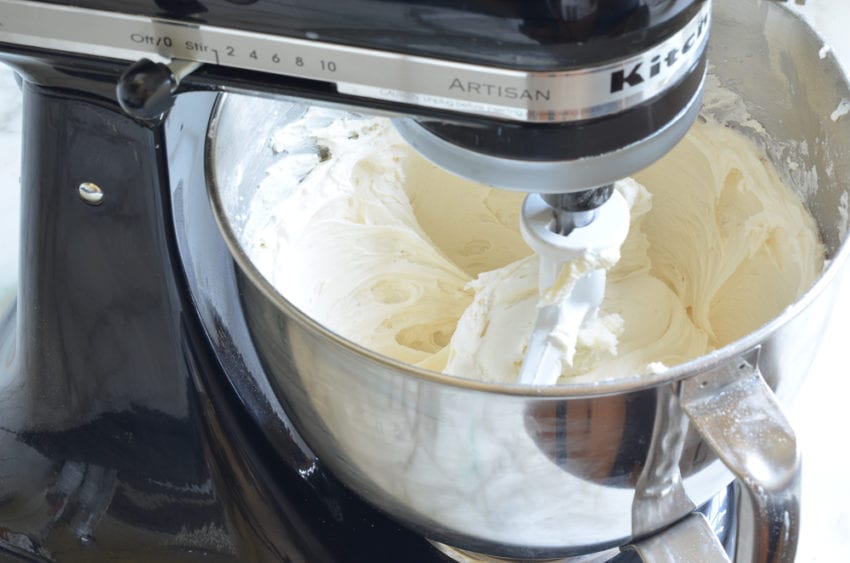
Step 7: Make the frosting. While the cake cools, in the bowl of an electric mixer, beat the butter and cream cheese until well combined. Gradually add the confectioners’ sugar, beating until smooth, then beat in the vanilla and salt. If the frosting is too thick, add 1 to 2 tablespoons of milk or cream.
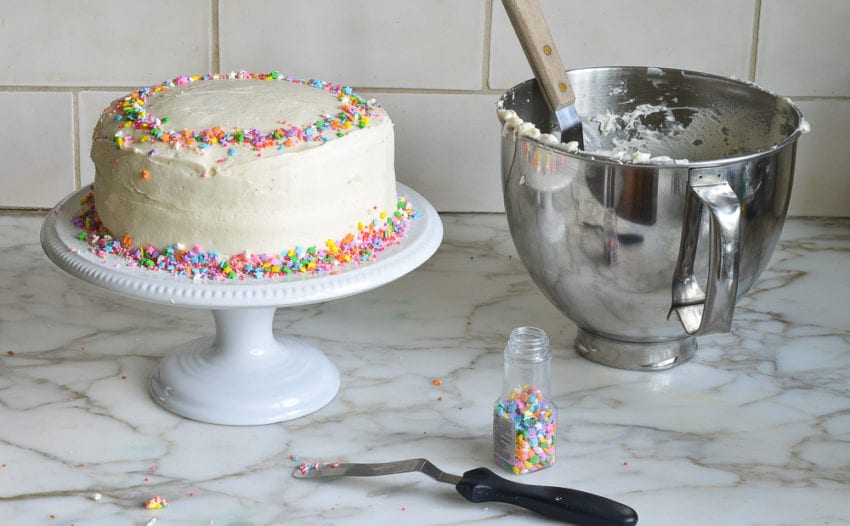
Step 8: Frost the cake. Once the layers are completely cool, ice the cake. You can spread the frosting smooth, or swirl it casually with a butter knife. I like to scatter some festive nonpareils or confetti sprinkles on the edges for color. Or for a change, try topping the cake with heaps of shredded sweetened coconut—it’s amazing.
More Cake Recipes You’ll Love
Vanilla Birthday Cake with Old-Fashioned Vanilla Buttercream
Ingredients
For the Cake Layers
- 2 cups all-purpose flour, spooned into measuring cup and leveled-off
- 2 teaspoons baking powder
- ¼ teaspoon salt
- ¾ cup (1½ sticks) unsalted butter, softened
- 1½ cups granulated sugar
- 6 large egg whites, at room temperature
- ¾ cup whole milk, at room temperature
- 1½ teaspoons vanilla extract
- ½ teaspoon almond extract
For the Buttercream
- ¾ cup (1½ sticks) unsalted butter, softened
- 4 oz cream cheese, at room temperature
- 6 cups confectioners' sugar
- 3 teaspoons vanilla extract
- Pinch salt
Instructions
For the Cake
- Preheat to 350°F (175°C) and set an oven rack in the middle position. Spray two 8-in (20-cm) cake pans with nonstick cooking spray. Cut two 8-in (20-cm) rounds of parchment paper and line the bottom of each pan; spray the paper with nonstick spray. (To measure the parchment paper, just trace the bottom of the pan.)
- In a medium bowl, whisk together the flour, baking powder, and salt.
- Place the butter and sugar in the bowl of a heavy-duty mixer fitted with the paddle attachment and beat on medium speed for about 5 minutes, or until very soft and light. Beat in the vanilla and almond extracts.
- Meanwhile, whisk together the egg whites and milk by hand in a medium bowl until just combined.
- Reduce the mixer speed to low and beat in one-quarter of the flour mixture, then one-third of the milk mixture, stopping and scraping down the bowl and beater after each addition. Beat in another quarter of the flour, then another third of the milk mixture. Scrape again. Repeat with another quarter of the flour and the remaining milk mixture; scrape. Finally, beat in the remaining flour mixture.
- Scrape the bowl with a large rubber spatula. Don't worry if the the batter looks a little grainy. Pour the batter into the prepared cake pans and smooth the tops.
- Bake the cakes for 25 to 30 minutes, until they are set and a toothpick inserted into the center emerges clean. Cool the cakes in the pans on rack for 5 minutes, then unmold onto rack to finish cooling right side up (keep parchment paper underneath cake layers so they don't stick to rack). When cake layers are completely cool, transfer to cake plate and frost with vanilla buttercream. (I always flip the bottom layer of the cake so that the domed side is facing down and touching the plate. That way, the surface that you're icing is flat and will minimize any separating between the two layers when you put the other layer on top of it.)
For the Vanilla Buttercream
- In the bowl of an electric mixer, cream the butter and cream cheese until creamy and well combined.
- Gradually add the confectioners' sugar, then beat in the vanilla and salt. If the frosting is too thick, add 1 to 2 tablespoons of milk or cream.
Notes
Nutrition Information
This website is written and produced for informational purposes only. I am not a certified nutritionist and the nutritional data on this site has not been evaluated or approved by a nutritionist or the Food and Drug Administration. Nutritional information is offered as a courtesy and should not be construed as a guarantee. The data is calculated through an online nutritional calculator, Edamam.com. Although I do my best to provide accurate nutritional information, these figures should be considered estimates only. Varying factors such as product types or brands purchased, natural fluctuations in fresh produce, and the way ingredients are processed change the effective nutritional information in any given recipe. Furthermore, different online calculators provide different results depending on their own nutrition fact sources and algorithms. To obtain the most accurate nutritional information in a given recipe, you should calculate the nutritional information with the actual ingredients used in your recipe, using your preferred nutrition calculator.
ummm I made this for my birthday and it looked ok. the only problem was it tasted like plain butter. I added Oreos into it to help do something but I’m still not too sure.
ABSOLUTELY DELICIOUS!!! This cake is truly my “go to” when it comes to birthday cake! My friends friends and family always request this cake. I also make it with gluten-free flour (Bob’s Red Mill–cup for cup) and no one can tell the difference. Thank you your hard work and dedication writing your new cookbook! It sure did help with my Christmas shopping this year! And, lastly, I appreciate all of your recipes–whether on this website or in your cookbook–thank you for sharing your passion of cooking with all of your followers! You have helped me to become a better cook!
💕
The cake came out extremely dry. Any ideas why? Thanks
Hi Christina, Sorry to hear this came out dry! Dryness is usually caused by overbaking or measuring the flour incorrectly. Did you use the spoon and level method to measure the flour? Even a few extra ounces can make a big difference.
Followed the instructions to the tee and it it worked out perfectly! Everyone loved it. Very moist cake with rich buttery icing.
Hey Jenn!
Can I make this ahead of time and freeze the layers and ice later? my daughters bday is the day after christmas and have so much baking to do already I thought I could have everything done early and just ice the day of.
Sure, Rebekah – that’s fine. 🙂
Amazing,simple and delicious!
I have a nut allergy! What can i sub the almond extract for?
Hi Margaret, You could use a teaspoon of lemon zest if you like lemon flavor or more vanilla extract — either way. 😊
How long can this cake stay out of the refrigerator ? I have it covered with a glass top but can it stay out overnight?
Hi Cindy, I think this is best if eaten within about 24 hours of baking it, but you can definitely leave it on the counter overnight. (Technically, it should be refrigerated, but I haven’t done that and it’s been fine.) Hope that helps!
Hi, I am from the UK and baking this cake on the weekend for a 2nd birthday party. By all purpose flour, do you mean plain flour?
Many thanks,
Anisha
Yes, it is the equivalent of plain flour in the UK. Hope everyone enjoys the cake!
Hello,
Is this recipe suitable to be covered with fondant?
Thank you very much
Sure – enjoy!